
Beautiful Plants For Your Interior
Beautiful Plants For Your Interior
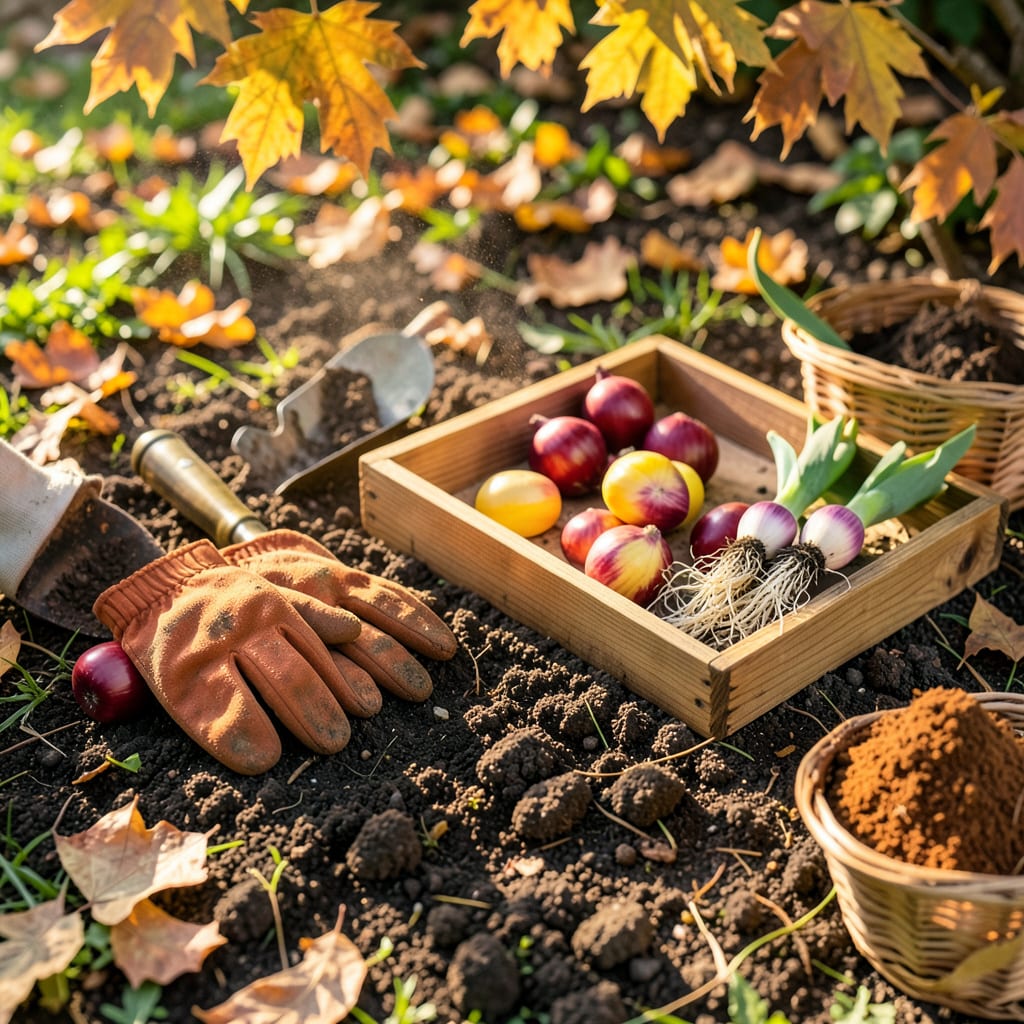
I used to think tulips were one-and-done plants—until I learned the simple trick of transplanting them. That first spring after moving my bulbs, I got twice as many blooms in a spot where they actually thrived instead of struggling. The key is timing: do it when the foliage yellows but before it completely dies back, usually 6-8 weeks after flowering.
What surprised me most? How forgiving tulips are if you handle the bulbs gently. You don’t need fancy tools—just a trowel, some compost, and a little patience. The same bulbs that looked sad and crowded in their old spot exploded with color the next year after their move. This isn’t just maintenance; it’s how you turn a decent tulip display into something your neighbors will ask about.
📚 In This Guide
Timing and technique make all the difference—here’s how to move your tulips without shocking their roots.
The ideal window is 6-8 weeks before your first fall frost, when soil temperatures drop below 60°F. This gives roots time to establish before winter but avoids triggering new top growth. I mark my calendar for late September through early October in most zones.
Never transplant during active blooming or immediately after—wait until foliage has yellowed and died back naturally. You’ll see the leaves turn brown and pull away easily when the bulb is truly dormant. Transplanting at the wrong time means no flowers next spring.
Select a location with full sun to light shade and well-draining soil. Tulips rot in soggy ground, so avoid low spots where water pools. I dig the new holes 12 inches deep and mix in 2 inches of compost to improve drainage and nutrients.
Space holes 4-6 inches apart for standard tulips, 8-12 inches for larger varieties. The depth should equal three times the bulb’s height—so a 2-inch bulb goes 6 inches deep. This mimics their natural growing conditions and protects against temperature swings.
Use a garden fork to loosen soil in a wide circle around the clump, about 6 inches out from the foliage. Gently lift the entire cluster—don’t pull individual bulbs yet. You’ll feel resistance as the roots detach; that’s normal.
Brush off excess soil and separate bulbs by hand. Discard any that feel soft or show mold. Healthy bulbs should be firm with papery skins. I keep the largest bulbs for replanting (they’ll bloom best) and compost the smallest ones that would take years to mature.
Place each bulb in its new hole with the pointy end facing up. The flat base should sit directly on the soil—don’t press it in. Backfill with your soil-compost mix, firming gently to eliminate air pockets. You’ll know it’s right when the soil surface feels level but not packed.
Water deeply after planting—1 inch of moisture should penetrate the soil. This settles everything and jumpstarts root growth. Don’t fertilize now; wait until shoots emerge in spring. I mark the spots with small sticks so I don’t accidentally dig there later.
Spread 2-3 inches of mulch (straw or shredded leaves) over the area after the ground freezes. This insulates bulbs against temperature fluctuations that can damage flower buds. Remove mulch gradually in early spring as shoots appear.
If rodents are a problem in your area, lay hardware cloth over the bed before mulching. I’ve lost entire plantings to squirrels digging for bulbs—this simple barrier saves hours of frustration. Your tulips will thank you with stronger stems and bigger blooms next season.
Getting tulips to thrive after transplanting comes down to a few key details that most gardeners overlook.
Timing Precision: That 6-8 week window before your first fall frost isn’t arbitrary—it’s when soil temperatures consistently stay below 60°F, which is critical for root development without triggering premature sprouting. I check my local agricultural extension’s soil temperature reports to be absolutely sure. If you transplant too early in warm soil, bulbs may produce weak foliage instead of storing energy for spring blooms. Too late, and roots won’t establish properly before winter.
Depth Matters More Than You Think: The “three times the bulb’s height” rule in Step 2 exists for a reason—it protects against freeze-thaw cycles that can heave bulbs out of the ground. For standard 2-inch tulip bulbs, that means exactly 6 inches deep, measured from the bulb’s base to the soil surface. I use a ruler the first few times until I can eyeball it accurately. Plant too shallow, and you risk winter damage; too deep, and they may not emerge properly in spring.
Watering Wisdom: The 1 inch of moisture mentioned in Step 4 isn’t just about hydration—it’s about eliminating air pockets that can cause bulbs to dry out over winter. I water in two stages: first to settle the soil, then a second pass 10 minutes later to ensure deep penetration. Use a rain gauge or straight-sided container to measure—most people underestimate what an inch of water actually looks like. Overwatering is just as dangerous, so make sure your planting site has the good drainage mentioned in Step 2.
Rodent Protection Strategy: The hardware cloth suggestion in Step 5 saved my tulips after I lost three consecutive plantings to squirrels. Use 1/4-inch mesh and cut pieces slightly larger than your planting area, burying the edges 2 inches deep. Remove it in early spring when shoots are 2-3 inches tall—by then, the bulbs will be established enough that animals usually leave them alone. This small extra effort in fall prevents heartbreaking losses come spring.
The ideal time is late summer to early fall (6-8 weeks before the first frost), when bulbs are dormant. Avoid spring transplanting—it stresses bulbs and may skip a bloom season. In warm climates (Zones 7-9), refrigerate bulbs for 6-8 weeks before planting to mimic winter chill.
Yes, but act immediately when shoots emerge (before leaves fully unfold). Dig carefully to preserve roots, replant at the same depth, and water well. Note: Transplant shock may delay blooms until next year. Avoid this if possible—fall is always safer!
Most tulips (except species types like Tulipa clusiana) decline after 2-3 years if left in place. For reliable blooms, dig up bulbs after foliage yellows (late spring), store in a cool, dry spot, and replant in fall. Hybrid tulips often perform best as annuals.
Common culprits:
Use well-draining pots (12”+ deep) and high-quality potting mix. Plant bulbs as deep as in-ground (6-8”), water once, then move to a cool (40-50°F), dark spot for 12-16 weeks. Bring into light when shoots appear. Perfect for renters or small spaces!
