
Beautiful Plants For Your Interior
Beautiful Plants For Your Interior
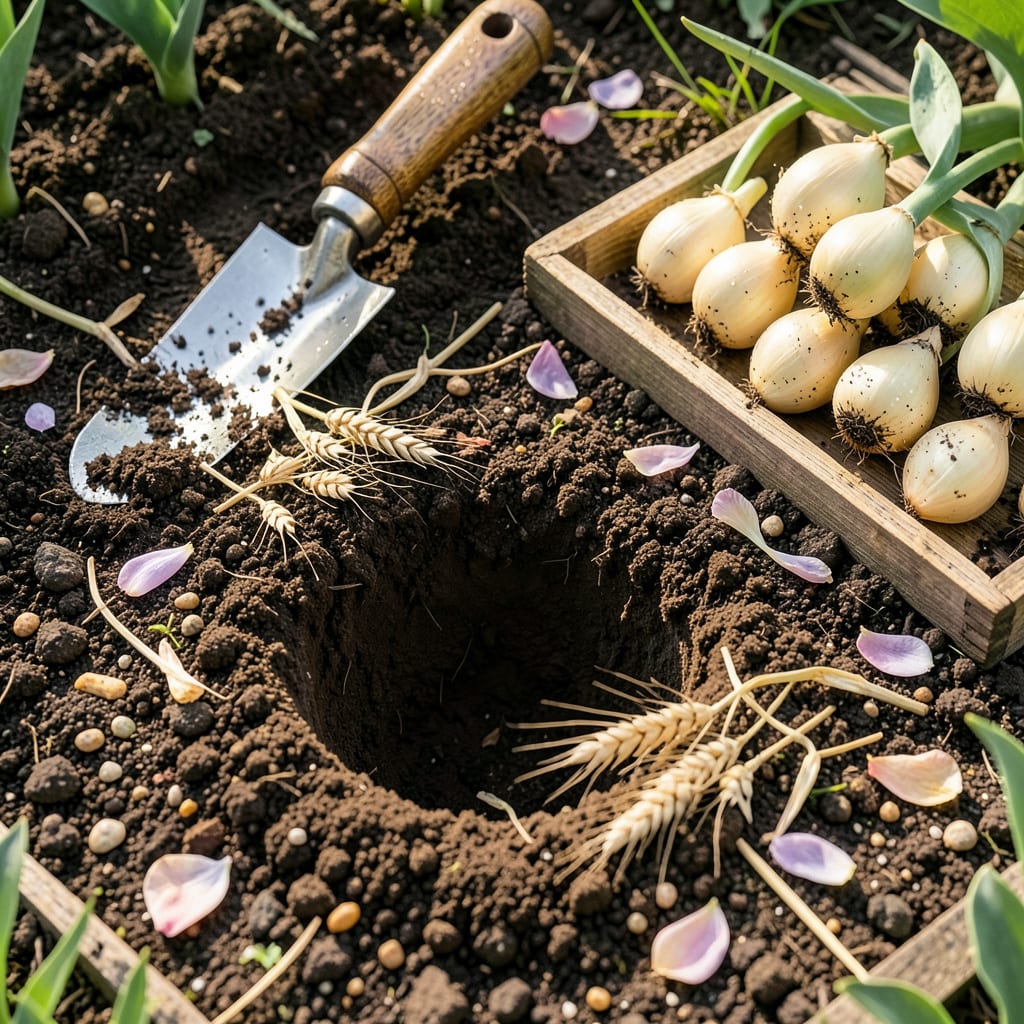
I used to think tulips were one-and-done plants—until I learned the secret of transplanting. Moving bulbs at the right time can turn lackluster blooms into a showstopping display next spring. The key is timing: do it when foliage yellows but before it completely dies back, usually 6-8 weeks after flowering. This is when bulbs enter dormancy and handle the move best.
What surprised me most? Transplanted tulips often perform better than original plantings. They establish stronger roots in fresh soil, leading to bigger, brighter blooms the following season. The process takes less than an hour for a small bed, and you’ll avoid the crowded, weak-stemmed plants that come from never dividing bulbs. Here’s exactly how to do it right.
📚 In This Guide
Timing and technique make all the difference—here’s how to move your bulbs without shocking them.
Transplant tulip bulbs only when they’re fully dormant, which occurs 6-8 weeks after flowering when foliage has yellowed and died back completely. I mark my calendar the moment the last petal falls, then count forward to avoid disturbing active growth. Early summer (June-July in most zones) is ideal—soil is still workable but bulbs have entered dormancy.
The single biggest mistake gardeners make is transplanting too early when bulbs are still storing energy. Test dormancy by gently digging up one bulb: if the basal plate (bottom) shows no white root nubs, it’s safe to move. Nighttime soil temperatures should consistently stay above 50°F but below 65°F for minimal stress.
Select a location with full sun exposure (6+ hours daily) and well-draining soil—tulips rot in soggy conditions. I dig the new holes 12 inches deep (three times the bulb height) and 4-6 inches apart before lifting the original bulbs. This prevents them from drying out while exposed. Amend the soil with 2 inches of compost worked into the bottom of each hole, but avoid fresh manure which can burn dormant bulbs.
Check soil pH with a simple test kit—tulips thrive in 6.0-7.0 range. If your soil tests acidic, mix in 1 cup of lime per square yard to the planting area. The holes should be wide enough that bulbs sit comfortably without touching the sides, allowing for root expansion next season.
Use a garden fork to carefully lift bulbs from 8 inches outside their perimeter to avoid slicing through them. I slide the fork under the entire clump, levering upward gently until the soil loosens. Brush off excess dirt but don’t wash or remove the papery tunic—this protects against disease and dehydration during the move.
Inspect each bulb immediately: discard any that are soft, moldy, or show signs of basal rot (dark brown discoloration). Healthy bulbs feel firm with intact tunics. Place them in the new holes with the pointed end facing upward, pressing lightly so the base makes contact with the soil. The top should sit 3 inches below the surface—shallow planting leads to floppy stems.
Backfill the holes with native soil, firming gently to eliminate air pockets that could cause rot. Water deeply immediately after planting—1 gallon per square foot—to settle the soil and initiate root contact. Unlike spring-planted bulbs, transplanted ones don’t need fertilizer at this stage; their energy reserves will carry them through until fall root growth begins.
Mark the locations with biodegradable flags (I use bamboo skewers with washi tape). New transplants won’t show foliage until spring, and it’s surprisingly easy to forget where you’ve planted them. Check the site after heavy rains: if water pools for more than 30 minutes, improve drainage by working in 1 inch of coarse sand around (not on top of) the bulbs.
Apply 2-3 inches of mulch (shredded leaves or straw) in late fall after the ground freezes to prevent frost heaving. I avoid wood chips which can alter soil pH over time. The mulch also deters rodents who might otherwise dig up the bulbs during winter food shortages.
Resist the urge to fertilize until you see 2 inches of green shoots emerge in early spring. At that point, apply a balanced 10-10-10 fertilizer at half strength. Your transplanted bulbs may bloom sparingly the first year as they recover, but by the second spring you’ll see the payoff: stronger stems, larger flowers, and the satisfaction of perfectly timed transplantation.
Perfect timing and careful handling transform good results into spectacular blooms next season.
Dormancy Timing: That 6-8 week window after flowering isn’t arbitrary—it’s when bulbs complete their energy storage cycle. I’ve found that marking my calendar the moment the last petal drops (as mentioned in Step 1) prevents the most common mistake: transplanting too early. The soil temperature sweet spot of 50-65°F at night ensures minimal transplant shock. Use a soil thermometer if you’re unsure—it’s worth the investment for perfect timing.
Depth Precision: The 12-inch depth specified in Step 2 isn’t just about aesthetics—it protects bulbs from temperature fluctuations that can break dormancy prematurely. When digging, I use a measuring stick to verify depth before placing bulbs. The 3-inch soil coverage above the bulb is equally critical; any shallower and you risk weak stems that can’t support those gorgeous blooms you’re working toward.
Soil Contact Technique: Here’s what changes everything: when backfilling in Step 4, water the hole before placing the bulb. This creates a muddy slurry at the bottom that ensures perfect soil-to-bulb contact. Then add the bulb and complete backfilling. The 1 gallon per square foot of water afterward isn’t just for settling soil—it eliminates air pockets that could lead to rot during dormancy. I use a measuring pitcher to get this exactly right.
Long-Term Protection: That 2-3 inches of mulch in Step 5 does double duty. Beyond preventing frost heave, it maintains consistent soil moisture during winter thaws that can trick bulbs into early sprouting. I’ve had best results with shredded oak leaves—they break down slowly and don’t compact like straw can. Just be sure to apply it after the ground freezes, not before, to avoid creating a cozy home for voles.
The ideal time is late summer to early fall (September–October), when bulbs are dormant but roots haven’t started growing. Avoid spring transplanting—it can shock bulbs and skip next year’s blooms! For warmer zones (7-9), aim for November–December after soil cools.
It’s risky! Transplanting during bloom can stress the plant, leading to wilted flowers or no future growth. If absolutely necessary, move the entire clump with soil intact right after flowering (but before foliage yellows) and water deeply. Expect weaker blooms next year.
Plant bulbs 6–8 inches deep (measure from the bulb’s base), with the pointy end up. Deeper planting protects from frost and encourages stronger stems. In sandy soil, go 1–2 inches deeper; in heavy clay, add grit to the hole for drainage. Pro tip: Space bulbs 4–6 inches apart for fuller displays!
Common causes:
Yes, but only short-term! Dig bulbs after foliage dies back, brush off soil, and store in a cool, dry, dark place (40–50°F) like a paper bag in the fridge. Avoid plastic—it traps moisture and causes rot. Replant within 8–12 weeks for best results.
