
Beautiful Plants For Your Interior
Beautiful Plants For Your Interior
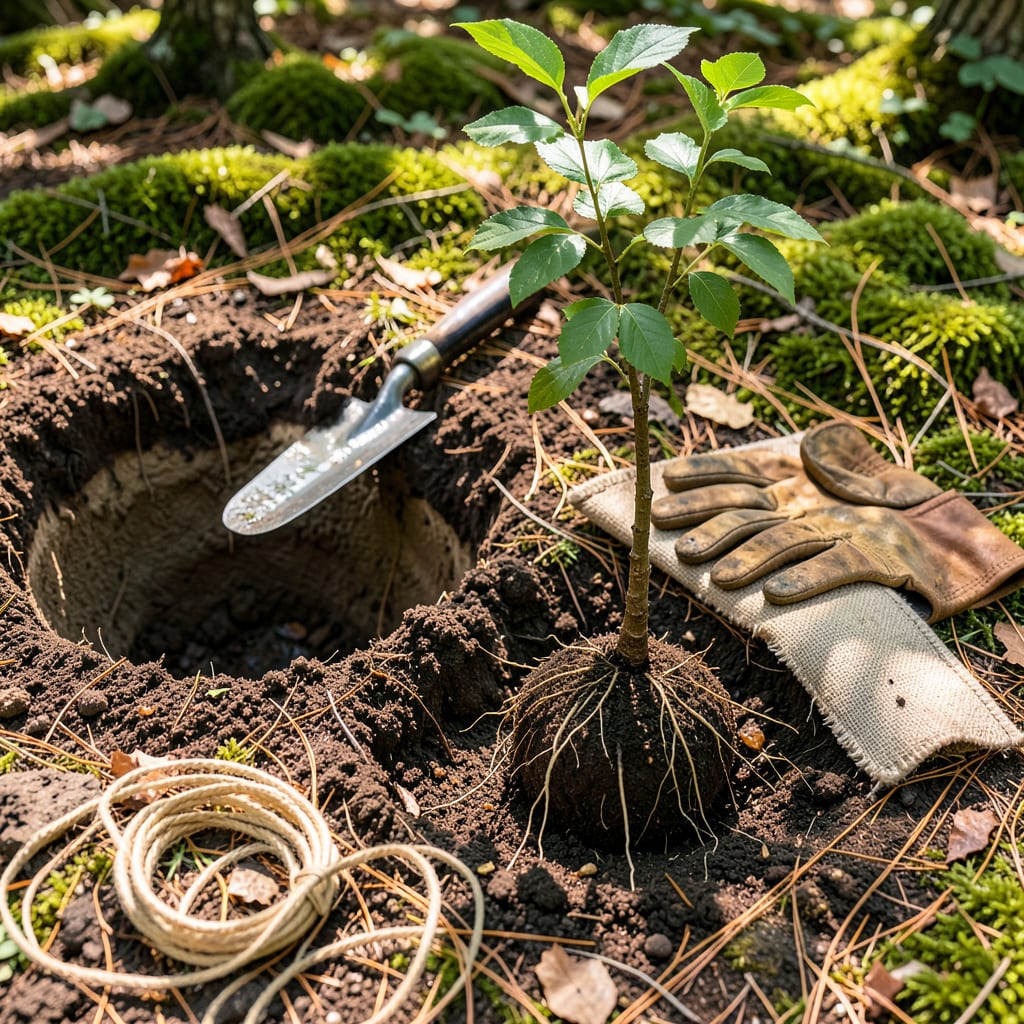
Every wild sapling I’ve ever transplanted started as a gamble—some thrived, others didn’t. The difference? Timing and technique. Moving trees from the woods to your yard isn’t like planting nursery stock; these young survivors need special handling to beat transplant shock and actually grow. I’ve learned the hard way that early spring or late fall gives roots the best shot at establishing before stress hits.
You don’t need fancy equipment—just a sharp spade, burlap to protect roots, and the patience to dig wide enough. The real secret? Keeping as much native soil around the roots as possible and watering deeply for the first 3 weeks. What you’re really doing is convincing a wild plant that your yard is now its forest. When it works, you get a tree with character no nursery could ever sell.
📚 In This Guide
Before you head into the woods with your shovel, let’s make sure you’ve got everything you need! Transplanting wild trees isn’t just about muscle—it’s about having the right tools and preparation to give your sapling the best shot at survival. Here’s your
Moving wild saplings takes care, but this method ensures they thrive in their new home.
Look for young trees with 1/4 to 1/2-inch diameter trunks—these transplant best. Avoid anything with damaged bark or yellowing leaves. I dig a 12-inch deep hole at the new location first, so the roots can go straight into moist soil. The hole should be twice as wide as the root ball you’ll remove.
Check the soil drainage by filling the hole with water. If it doesn’t drain within 30 minutes, mix in compost or sand. You want the soil to hold moisture but never stay soggy. Position the hole where the tree will get appropriate light—most forest saplings prefer partial shade their first year.
Using a sharp spade, dig a trench around the sapling in a 12-inch diameter circle, going down until you’ve undercut the roots. For a 1/2-inch trunk, aim for a 10-12 inch deep root ball. Lift the entire mass carefully—don’t shake off the native soil, as it contains beneficial fungi.
Wrap the root ball immediately in burlap or a damp towel to prevent drying. If you must transport it, place the wrapped ball in a bucket with 2 inches of water at the bottom. Never let the roots sit exposed to air or sun for more than 15 minutes—this is when most transplant shock begins.
Place the tree in the prepared hole at the same depth it grew in the woods—the trunk flare (where roots meet stem) should sit 1 inch above soil level. Backfill with the native soil you removed from the hole, not amended soil. This preserves the mycorrhizal fungi network the tree depends on.
Water thoroughly as you fill, letting the soil settle naturally around the roots. Create a 3-inch high soil berm around the edge of the hole to act as a water basin. After planting, the soil should feel moist but not muddy when you press your finger in.
Drive three 4-foot stakes into the ground around the tree and loosely tie the trunk with soft tree tape. This prevents wind rock while allowing some movement. Cover the ground with 2-3 inches of mulch (wood chips or leaf litter), keeping it 3 inches away from the trunk to prevent rot.
Water deeply every 3-4 days for the first month, then taper to weekly. You’ll know the tree is establishing when you see new leaf growth within 4-6 weeks. If leaves wilt by afternoon, increase water temporarily—this is normal transplant stress that should resolve within a week.
Transplanting trees from the wild requires attention to detail—here’s what I’ve learned from years of trial and error.
Root Ball Protection: When digging the sapling in Step 2, keep the root ball intact by sliding your spade under the roots at a 45-degree angle. The 12-inch diameter circle mentioned is critical—smaller root balls mean more transplant shock. I wrap the roots immediately in damp burlap (not plastic) to maintain moisture without suffocating the roots during the 15-minute window before planting.
Soil Preparation Secret: In Step 1, when testing drainage with the 30-minute water test, pay attention to how the water absorbs. If it drains too quickly (under 10 minutes), your soil may be too sandy—mix in some compost to help retain moisture. The goal is moist but not soggy soil that will encourage root growth without drowning the sapling.
Planting Depth Precision: Step 3 emphasizes planting with the trunk flare 1 inch above soil level for good reason. I use a straight stick laid across the hole to check this measurement—it’s easy to plant too deep when backfilling. The 3-inch soil berm you create should be packed firmly enough to hold water but not so compacted that it prevents oxygen from reaching the roots.
Establishment Monitoring: During the first month when you’re watering every 3-4 days as directed in Step 4, check the soil moisture by inserting your finger 2 inches deep. The soil should feel cool and slightly damp. That afternoon wilting mentioned in the instructions is normal—just increase water slightly and it should perk up by morning. True concern comes if wilting persists for more than 3 days.
Timing is key! Early spring (before buds break) or fall (after leaves drop) are ideal—when trees are dormant. Avoid summer’s heat or winter’s freeze. For evergreens, early spring or late summer works best. Always check local frost dates for the safest window.
Smaller is better! Saplings under 3 feet tall with a trunk diameter of 1 inch or less have the highest survival rate. Larger trees (over 6 feet) require heavy equipment and expert help—root damage risks skyrocket. Stick to young, flexible trees for DIY success.
Shock is normal—don’t panic! Keep soil moist (not soggy) and mulch heavily to retain water. Prune back up to ⅓ of the foliage to reduce stress. Avoid fertilizing for 6–8 weeks. If leaves wilt or brown, shade the tree temporarily with burlap until it recovers.
Always check local laws! Many state parks and national forests prohibit removing plants without permits. Private land? Get the owner’s written permission. Some areas allow small quantities for personal use—call your local forestry office or extension service to avoid fines.
Consider bare-root nursery saplings or seed propagation instead! Nurseries offer native species adapted to your region. Collecting seeds or cuttings (with permission) lets you grow trees without harming wild roots. Plus, you’ll skip transplant shock and legal hassles.
