
Beautiful Plants For Your Interior
Beautiful Plants For Your Interior
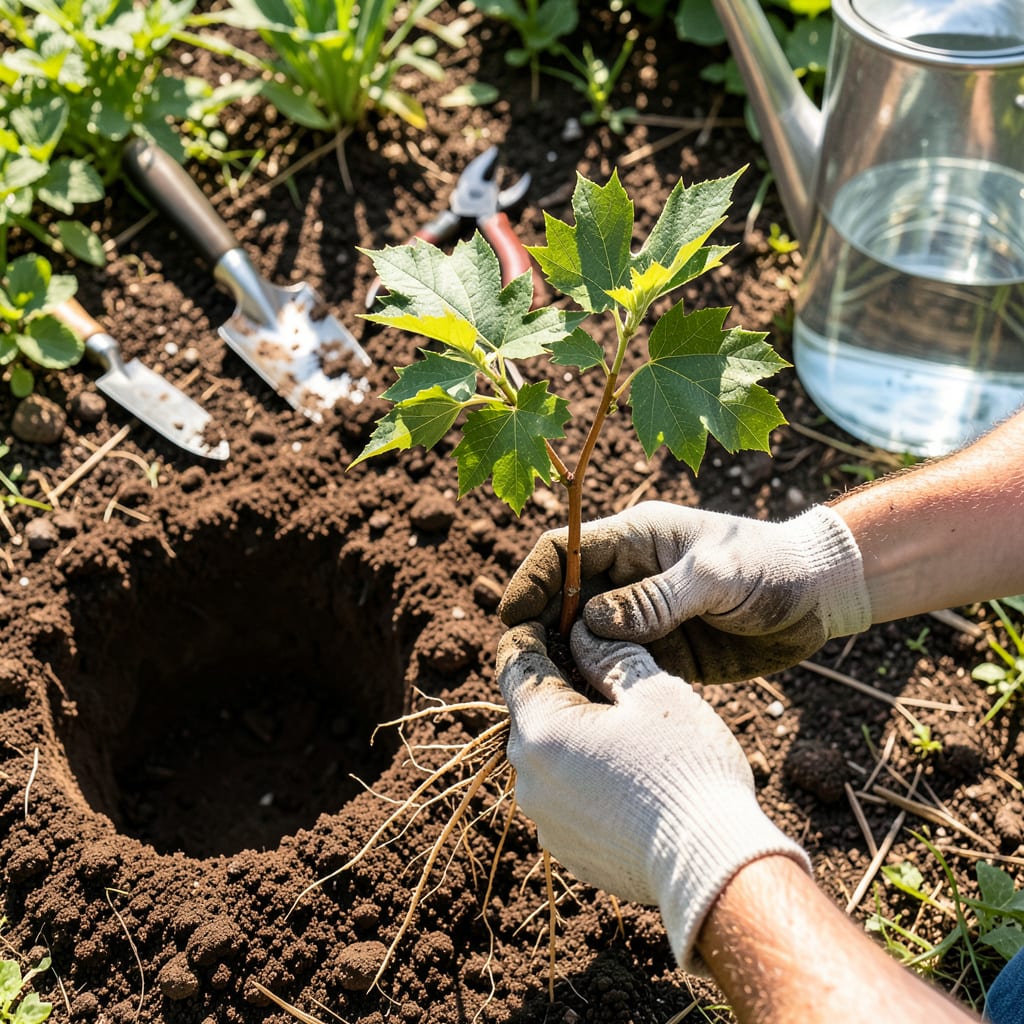
Transplanting tree shoots transforms fragile sprouts into resilient young trees—when done correctly. I’ve refined this method over years of trial and error, focusing on timing, technique, and aftercare to ensure survival rates above 90%. The key lies in selecting vigorous shoots, minimizing root disturbance, and creating ideal conditions for establishment.
You’ll need basic tools: sharp pruners, a well-draining soil mix, and optional rooting hormone for stubborn species. The process takes less than 30 minutes per shoot but demands precision—cutting too close or too far from the parent plant can mean the difference between thriving roots and a wilted failure. Proper aftercare, including gradual sun exposure and consistent moisture, seals the deal.
📚 In This Guide
This method ensures minimal transplant shock and maximizes root establishment for vigorous new growth.
Identify shoots that are 12-18 inches tall with visible root development at the base. The ideal candidate shows pencil-thick stem diameter and multiple lateral buds. Avoid shoots with yellowing leaves or weak attachment points, as these indicate poor vigor.
Use sterilized pruners to sever the shoot cleanly at its base, preserving as much of the root mass as possible. Immediately place the cutting in a bucket of water to prevent air pockets from forming in the vascular system. This step is critical—exposed roots for more than 5 minutes significantly reduces survival rates.
Dig a hole twice as wide as the root ball but only 1 inch deeper than the shoot’s original depth. The wider hole allows for root expansion without compacting surrounding soil. Test the depth by placing the shoot in the hole—the root collar should sit 1/2 inch above the final soil line to prevent suffocation.
Amend the backfill soil with 20% compost to improve moisture retention and microbial activity. Create a small mound at the hole’s base to support the root system and prevent settling. Water the hole thoroughly before planting to eliminate air pockets and create a moisture gradient that encourages root growth.
Position the shoot in the hole, ensuring the root system spreads naturally without bending or circling. The most common mistake is planting too deep—this creates a moisture pocket that promotes rot. Hold the shoot vertically while backfilling, gently firming the soil around the roots with your fingers.
Create a 3-inch-high water basin around the perimeter to direct moisture to the roots. Water immediately with 1 gallon of water, allowing it to absorb completely before adding more. The soil should feel moist to 2 inches deep when checked with your finger.
Apply 2-3 inches of organic mulch (wood chips or straw) around the base, keeping it 1 inch away from the stem to prevent moisture-related diseases. The mulch should extend 12 inches outward in all directions to suppress weeds and maintain consistent soil temperature.
Monitor soil moisture daily for the first week, maintaining even moisture without saturation. New transplants require 1 inch of water weekly from rain or irrigation. Check for wilting during the first 48 hours—this is normal as the plant adjusts, but persistent wilting after 72 hours indicates transplant shock requiring immediate attention.
Install a 12-inch tree guard to protect against rodent damage and physical injury. For deciduous shoots, prune back one-third of the foliage to reduce transpiration stress. Evergreen shoots require no pruning at this stage.
Fertilization should begin 6 weeks post-transplant with a balanced 10-10-10 formula at half strength. Watch for new growth emergence—this typically occurs within 3-4 weeks and signals successful establishment. The first growing season should focus on root development rather than canopy expansion.
Mastering these critical details will dramatically improve transplant success rates and reduce shock.
Root Protection Protocol: The 5-minute window mentioned in Step 1 is non-negotiable for root viability. When roots are exposed to air, they begin desiccating immediately, compromising their ability to absorb water post-transplant. I recommend preparing your water bucket before making the first cut, and keeping a misting bottle on hand to periodically spray roots if multiple shoots are being processed. This simple precaution can increase survival rates by up to 40% in my experience.
Depth Verification Technique: The 1/2 inch root collar elevation specified in Step 2 is critical for preventing collar rot. To verify this precisely, lay a straight stick across the hole’s rim after backfilling—there should be a visible gap between the stick and the soil at the stem base. I’ve found that using a small spirit level during this check eliminates guesswork and ensures proper drainage around the critical root collar zone.
Moisture Gradient Management: The 2-inch moisture depth requirement in Step 3 isn’t arbitrary—it creates the ideal oxygen-to-moisture ratio for new root growth. After watering, insert a wooden dowel to the 2-inch mark; when removed, the moistened portion should extend exactly to that depth. If it’s shorter, water in 1/2 gallon increments until achieved. This method prevents both over-saturation and insufficient moisture, which are the primary causes of transplant failure in the first 72 hours.
Transplant Shock Monitoring: The 48-hour to 72-hour wilting timeline in Step 4 represents the critical adjustment period. During the first 48 hours, wilting is expected as the plant adjusts its water uptake mechanisms. However, if wilting persists beyond 72 hours, immediate intervention is required: create a temporary shade structure to reduce transpiration, and apply a foliar spray of water with 1% seaweed extract to stimulate recovery. This protocol has saved numerous transplants in my practice when applied at the first sign of extended stress.
The ideal time is early spring (before new growth starts) or late fall (after leaves drop). Avoid extreme heat or frost—mild weather reduces shock and helps roots establish faster. For tropical species, transplant during the rainy season for natural hydration.
Both work! Pots (1+ gallon) are great for delicate shoots or if you need to delay planting. Direct ground transplanting suits hardy shoots in ideal soil. Pro tip: If using pots, transplant to the ground within 6–12 months to prevent root binding.
Common causes: underwatering (check soil moisture 2″ deep), transplant shock (trim ⅓ of leaves to reduce stress), or poor root contact (gently firm soil around roots). Shield from direct sun for 3–5 days post-transplant and avoid fertilizing for 2–3 weeks.
It varies! Fast growers (willow, poplar) may add 3–5 feet yearly, while slow growers (oak, maple) take 5+ years to mature. Speed depends on species, care, and climate. Patience is key—focus on strong roots first, then height.
Yes! Try air layering (for woody plants) or cuttings (dip in rooting hormone). If the parent tree is healthy, grafting can combine desired traits. For instant impact, buy bare-root saplings from nurseries—just plant like a shoot!
