
Beautiful Plants For Your Interior
Beautiful Plants For Your Interior
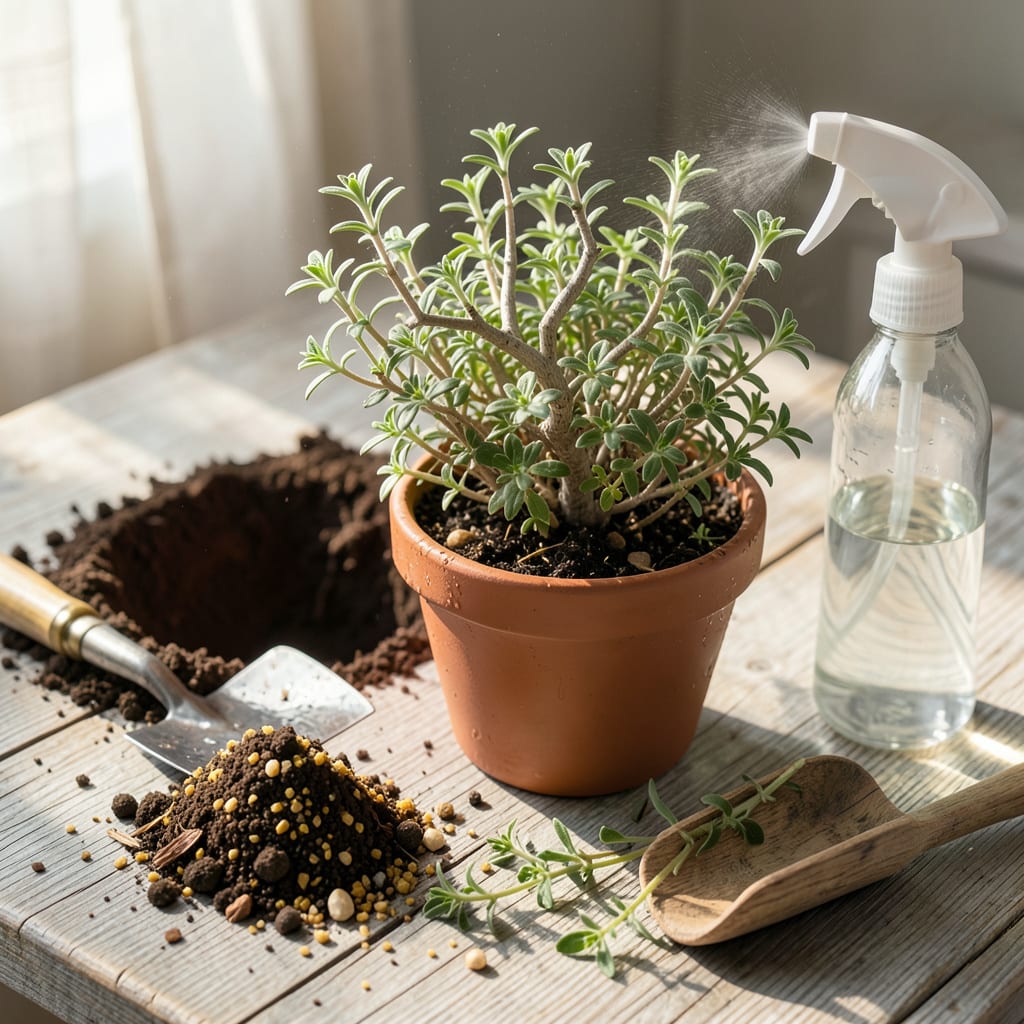
I used to lose half my thyme plants when moving them—until I figured out the foolproof timing and technique. Transplanting thyme isn’t complicated once you know the two critical factors: when to do it and how to handle those delicate roots. Spring or early fall works best, right after the last frost or before the first one hits.
The difference between a plant that thrives and one that sulks? Preparation. A sharp trowel, well-draining soil, and a gentle touch are all you need. I’ll walk you through each step—from lifting the plant without tearing roots to the right way to water it in—so your thyme doesn’t just survive the move, it takes off. No more wilted stems or stunted growth.
📚 In This Guide
Moving thyme doesn’t have to be stressful—here’s how I do it without losing a single plant.
Transplant thyme in early spring or early fall when temperatures stay between 60-70°F. This gives plants time to establish roots before summer heat or winter cold. I always check the forecast for at least 5 days of mild weather after transplanting to reduce shock.
Select a spot with full sun (6+ hours daily) and well-draining soil. Thyme despises wet feet, so avoid low areas where water pools. If your soil is heavy clay, mix in 2-3 inches of coarse sand to improve drainage. Test drainage by digging a 12-inch hole, filling it with water, and watching how quickly it empties—anything slower than 1 inch per hour needs amendment.
Water your thyme plant thoroughly 24 hours before transplanting to hydrate roots and reduce stress. Use a hand trowel to dig a 6-inch wide circle around the plant base, going deep enough to preserve the entire root ball. Thyme roots grow horizontally, so width matters more than depth here.
Slide the trowel under the root ball and lift gently. If roots resist, widen your circle rather than pulling—broken roots mean slower recovery. I always keep a bucket of water nearby to immediately soak any exposed roots if the process takes longer than expected. The goal is to move the plant with at least 80% of its original soil intact around the roots.
Dig a hole in the new location that’s twice as wide as the root ball but no deeper. Planting too deep suffocates the stem. Place the thyme in the hole so the soil line matches its original depth—you should see the same amount of stem above ground as before.
Space multiple thyme plants 12-18 inches apart to allow air circulation, which prevents fungal diseases. Backfill with native soil, pressing lightly to eliminate air pockets. I create a small soil berm around the edge to help direct water to the roots during the first few waterings. Water immediately with 1 pint of water to settle the soil, then add more if the water absorbs too quickly.
Keep the soil consistently moist (but not soggy) for the first 2 weeks—this is critical while roots re-establish. Check moisture by inserting your finger 1 inch deep into the soil; water when it feels dry. After two weeks, reduce watering to only when the top 2 inches become dry, as thyme prefers drier conditions once established.
Avoid fertilizing for 4-6 weeks after transplanting—new roots can burn from excess nutrients. Instead, I apply a 1-inch layer of gravel mulch around (but not touching) the plant to conserve moisture and prevent weeds. Watch for wilting in the first week; if leaves droop by afternoon, provide temporary shade with a lightweight row cover until the plant recovers its vigor.
Here’s what I’ve learned from years of moving thyme plants—small details that make a huge difference in survival rates.
Timing Secret: That 24-hour pre-watering in Step 2 isn’t just about hydration—it’s about root preparation. When soil is evenly moist, roots become more pliable and less likely to snap during digging. I’ve found that watering in the morning 24 hours before transplanting gives the best results, as plants have all day to absorb moisture before the move.
Root Ball Protection: When digging that 6-inch wide circle in Step 2, think of it as creating a protective cocoon. The goal of keeping 80% of the original soil intact isn’t arbitrary—this familiar soil environment reduces transplant shock dramatically. I use my hands to gently shape the root ball before lifting, which helps hold everything together better than just using the trowel.
The Depth Factor: In Step 3, matching the original soil line is more critical than you might think. Even planting just 1 inch too deep can suffocate the stem where it meets the roots. I use a stick or my finger to mark the original soil level on the stem before lifting the plant, then align it perfectly in the new hole. This simple trick prevents the most common cause of thyme transplant failure.
Watering Wisdom: During those first 2 weeks mentioned in Step 4, consistent moisture means checking soil twice daily in hot weather. The “1 inch deep” finger test is perfect—thyme roots are shallow, so surface dryness doesn’t tell the whole story. I water in the early morning to allow foliage to dry before evening, which prevents fungal issues while keeping roots happy.
Spring (after the last frost) or early fall is ideal for transplanting thyme—warm soil and mild weather help roots establish. Avoid extreme heat or freezing temps. In warm climates (Zones 7+), early winter works too, but protect young plants from cold snaps.
Watch for wilting, yellowing leaves, or stunted growth—these signal transplant shock. Check soil moisture (keep it lightly damp, not soggy) and ensure 6+ hours of sunlight. If leaves crisp, it may need shade cloth temporarily. Most thyme bounces back in 1–2 weeks!
Trim leggy stems by one-third before transplanting to reduce stress and encourage bushier growth. Avoid heavy pruning post-transplant—wait until new growth appears (4–6 weeks). Use clean shears to prevent disease.
Gently! Water the pot 1 hour before transplanting to loosen soil. Tip the pot sideways, cradle the base, and slide the root ball out intact. Avoid tugging stems. If roots are circling, lightly tease them apart to prevent girdling.
Take 3–4 inch stem cuttings from healthy thyme, strip lower leaves, dip in rooting hormone (optional), and plant in sandy soil or water. Keep moist and warm (70°F+). Roots form in 3–6 weeks—faster than seed-growing and less risky than transplanting mature plants!
