
Beautiful Plants For Your Interior
Beautiful Plants For Your Interior
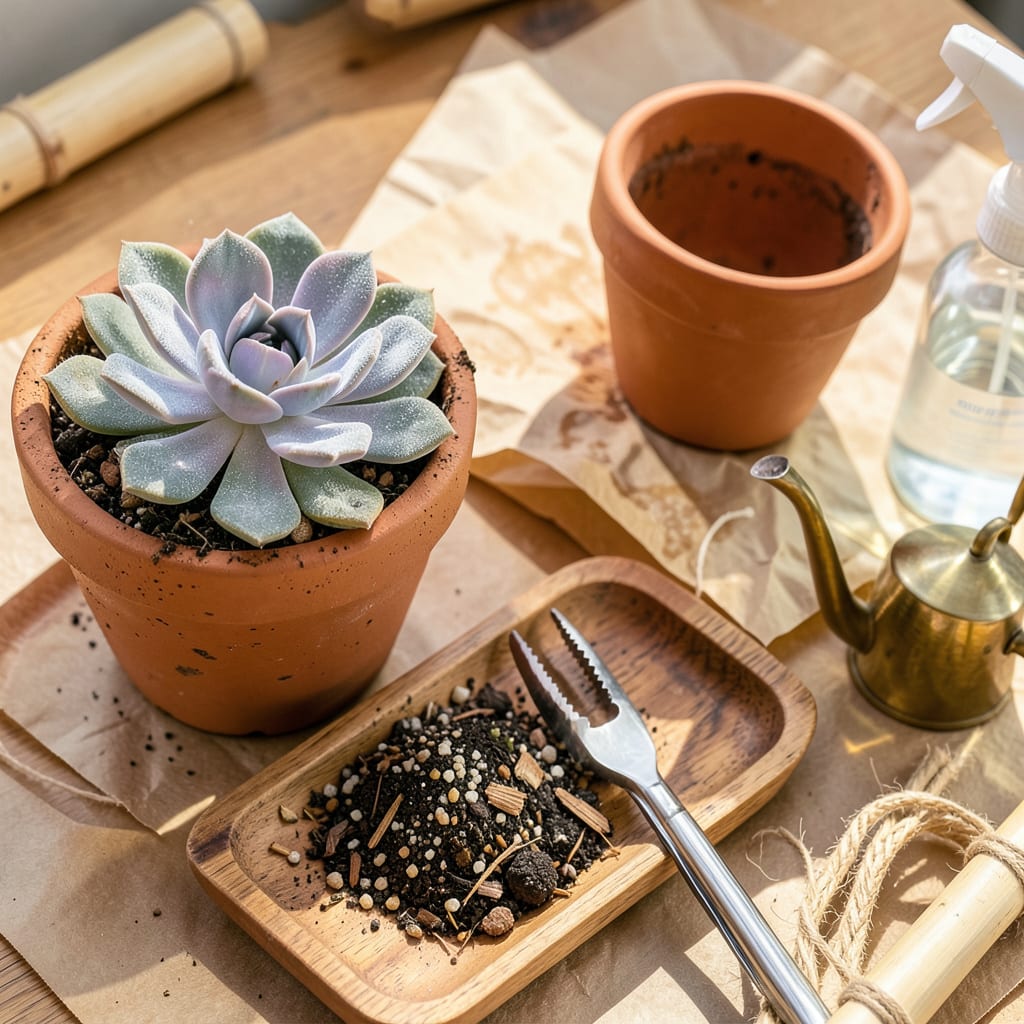
I used to lose half my succulents after repotting—until I learned the right way. Transplanting these tough little plants isn’t complicated once you know the tricks, and doing it properly means they’ll grow faster and stay healthier. The key is timing: wait until they’re slightly root-bound or top-heavy, and always move them in spring or early summer when they’re actively growing.
What changed everything for me? Using the right soil (think gritty, fast-draining) and giving them a dry rest after the move. No more sad, mushy leaves or stunted growth. You’ll see new roots in weeks, and those stretched-out plants will plump right back up. Let’s get them settled into their new homes the right way.
📚 In This Guide
Moving your succulents to new homes doesn’t have to be stressful—follow these simple steps for happy, healthy plants.
Choose pots with drainage holes that are 1-2 inches wider than your current containers. Succulents rot easily in standing water, so drainage is non-negotiable. I like to use unglazed terra cotta because it wicks away excess moisture through the walls.
Fill the bottom third of each new pot with a fast-draining cactus/succulent mix. Don’t use regular potting soil—it holds too much water. You can create your own mix by blending 60% potting soil with 40% perlite or coarse sand.
Water your succulents 2-3 days before transplanting—this plumps up the roots and makes removal easier. Turn the pot sideways and tap the rim against a table edge while supporting the plant. If it resists, run a butter knife around the inner rim to loosen the root ball.
Grasp the base of the plant (not the leaves) and lift it out. If roots are tightly bound, gently massage the root ball with your fingers to loosen them. Healthy roots should be white or tan—not black or mushy, which indicates rot.
Place the succulent in its new pot so the base sits at the same level it was before—burying the stem causes rot. Fill around the roots with your prepared mix, pressing lightly to eliminate air pockets. Leave ½ inch of space between the soil surface and pot rim for watering.
Don’t water immediately after repotting. Wait 5-7 days before watering to allow any damaged roots to callous over. This prevents root rot from developing in disturbed roots. You’ll see the plant stabilize in its new home within a week.
Move transplanted succulents to bright, indirect light for the first week. Direct sun can stress them while they adjust. After that, gradually reintroduce them to their normal light conditions—most succulents need 6+ hours of sunlight daily.
Resume your normal watering routine only when the soil is completely dry. Stick your finger 1-2 inches deep—if it feels dry, it’s time to water. Overwatering is the #1 killer of transplanted succulents, so when in doubt, wait another day.
Watch for wrinkled leaves (underwatering) or yellow, mushy leaves (overwatering) in the first month. Both are normal adjustment reactions but need correction. Wrinkled leaves mean it’s time for a deep watering; yellow leaves mean you should hold off until the soil dries completely.
You’ll know your transplant was successful when you see new growth—either fresh leaves or extended stems—within 3-4 weeks. This is your plant’s way of saying “thank you” for its new, roomier home. Most succulents only need repotting every 2-3 years, so enjoy your thriving plants!
Transplanting succulents becomes much easier when you know these key details that most guides overlook.
Soil Mix Matters: In Step 1, when preparing your containers, don’t skimp on the drainage components. The 60% potting soil to 40% perlite/sand ratio is ideal because it mimics arid conditions succulents love. I’ve found that adding a handful of crushed charcoal helps prevent bacterial growth in the mix. Regular potting soil alone holds too much moisture, which is why so many transplanted succulents fail within weeks.
Root Handling Technique: During Step 2, when removing your plant, here’s what nobody tells you: if roots are circling the pot, gently tease them outward before repotting. This encourages outward growth in the new container. I use a chopstick to carefully separate tightly bound roots without damaging them. The goal is to distribute roots evenly in the new pot for better stability.
Watering Wisdom: The 5-7 day waiting period in Step 3 is crucial, but here’s the thing—this timing assumes average household conditions. If your home is particularly dry (below 40% humidity), you might extend this to 7-10 days. The key is letting those tiny root hairs callous completely. I check by lightly tugging the plant after 5 days—if it resists slightly, it’s ready for water.
Light Transition Strategy: For Step 4’s aftercare, don’t underestimate the importance of gradual light reintroduction. I move my succulents to their final sun location for just 2 hours a day initially, increasing by an hour daily. This prevents sunburn, which appears as white or brown patches on leaves. Even sun-loving varieties like echeveria benefit from this careful transition.
Spring and early summer are ideal—when succulents enter their active growth phase. Avoid winter (dormancy) or extreme heat (stress). If repotting indoors, mild temperatures year-round work, but give them time to adjust before seasonal changes.
Most succulents bounce back in 1–3 weeks with proper care. Avoid direct sun for 3–5 days post-transplant, and water sparingly (wait 5–7 days). Signs of recovery: firm leaves, new growth, or roots anchoring in the soil.
No! Wait 5–7 days to water—this prevents root rot while damaged roots heal. If the soil is bone-dry after a week, give a light drink. Overwatering is the #1 killer of freshly transplanted succulents.
Regular soil retains too much moisture. Use a fast-draining mix: 50% cactus/succulent soil + 50% perlite/pumice. For DIY, add coarse sand (not beach sand!). Poor drainage = soggy roots = sad succulents.
Patience! Minor stress is normal—adjust care and monitor for 2 weeks.
