
Beautiful Plants For Your Interior
Beautiful Plants For Your Interior
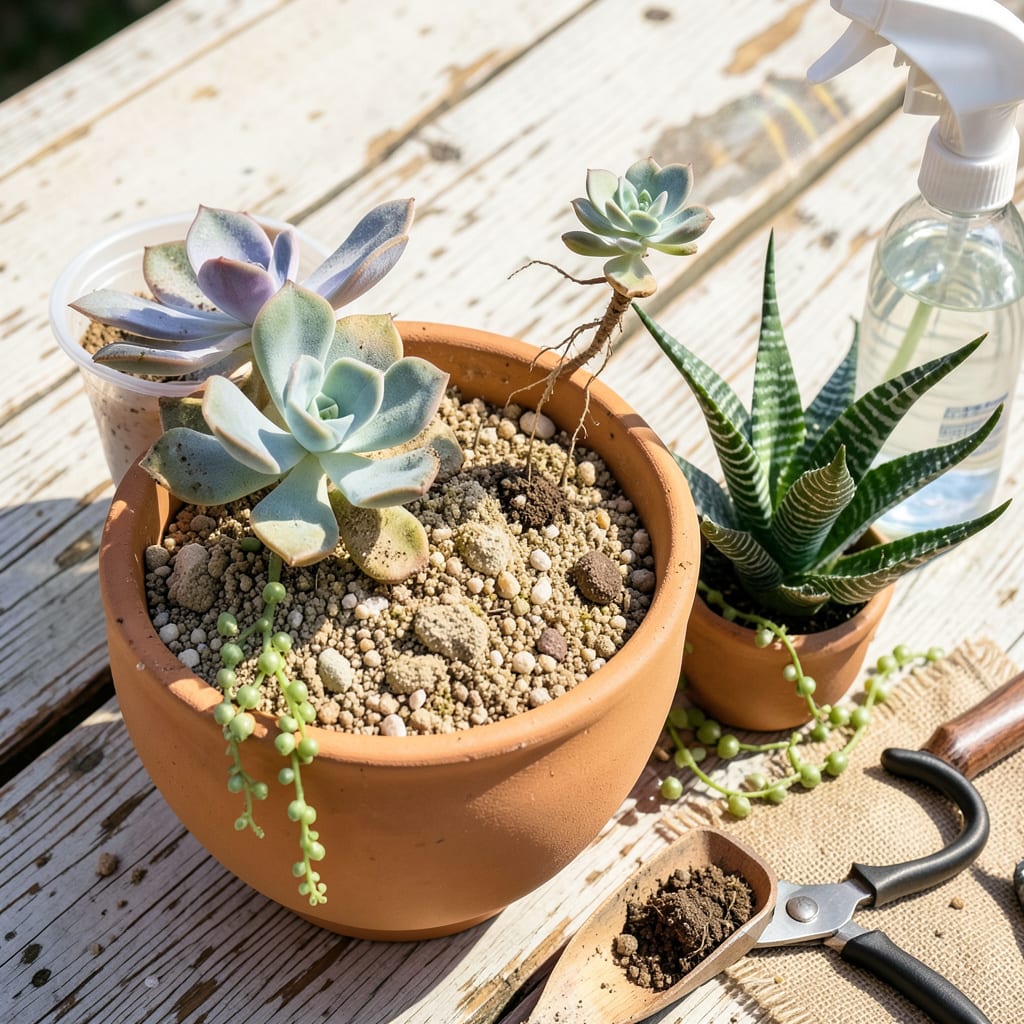
That moment when your succulent looks like it’s bursting out of its pot? That’s not enthusiasm—it’s a cry for help. I’ve rescued dozens of root-bound succulents over the years, and the secret isn’t fancy tools or expensive soil. It’s timing, technique, and giving the roots room to breathe without shocking the plant.
You’ll know it’s time when you see roots circling the drainage holes or the plant toppling over from its own weight. The process takes less than 20 minutes with the right supplies: a pot just 1-2 inches larger, gritty soil mix, and a gentle touch. What you get is a happier plant that grows faster and stays healthier for years.
📚 In This Guide
Moving your succulents to a bigger home doesn’t have to be stressful—here’s how I do it without a single casualty.
Choose a pot that’s 1-2 inches wider than the current one, with drainage holes at the bottom. I always use unglazed terra cotta because it wicks away excess moisture that could rot roots. Fill the new pot one-third full with a well-draining cactus/succulent mix—never regular potting soil, which holds too much water.
Tap the pot gently on a hard surface to settle the soil, then create a small mound in the center. This elevation helps position the succulent at the right depth. I like to pre-moisten the soil slightly so it doesn’t repel water later, but it should feel barely damp—not wet—to the touch.
Gently squeeze the sides of the current pot to loosen the root ball, then turn it upside down while supporting the plant with your fingers. If it resists, run a butter knife around the inner edge to free stuck roots. The goal is to keep the root ball intact—broken roots mean recovery time.
Inspect the roots once removed. Healthy roots are firm and white; black or mushy roots indicate rot. If you find damaged sections, trim them with clean scissors and let the plant dry for 2-3 days before repotting. This prevents infection in fresh cuts.
Place the succulent on the soil mound, centering it so the base sits ½ inch below the pot rim. This prevents water from pooling around the stem. Add more soil around the sides, pressing lightly to eliminate air pockets but not compacting too firmly—succulents need aerated roots.
Don’t bury the stem deeper than it was before. The soil line should match where it sat in the old pot. I use a chopstick to nudge soil into tight spaces without pressing too hard. The plant should feel snug but not immovable when you tug gently.
Here’s the critical part: don’t water immediately. Wait 5-7 days before giving it a thorough drink. This gives any disturbed roots time to heal and prevents rot in the fresh soil. Place the pot in bright, indirect light during this period—no full sun until it’s had time to adjust.
After the waiting period, water deeply until it runs from the drainage holes, then let the soil dry completely before watering again. You’ll know it’s ready when the top 1-2 inches feel bone-dry and the pot feels lightweight when lifted.
Watch for signs of stress over the next 2-3 weeks. Wrinkled leaves mean underwatering, while yellow, mushy leaves indicate overwatering. If the plant leans, it’s stretching for light—rotate the pot quarter-turn weekly to keep growth even.
Hold off on fertilizing for at least a month. New soil contains enough nutrients, and feeding too soon can burn recovering roots. Once you see new growth, you’ll know the transplant was successful and normal care can resume.
These practical insights will help you avoid the most common pitfalls when moving your succulents to larger homes.
Root Handling Technique: When removing your succulent in Step 2, resist the urge to pull it out by the stem. I learned this the hard way after snapping off several leaves—always support the root ball from below while gently squeezing the pot’s sides. If roots are tightly bound, soak the pot in water for 10 minutes to loosen them naturally before attempting removal.
Soil Moisture Wisdom: The barely damp soil mentioned in Step 1 is crucial. Here’s what nobody tells you—succulents hate wet feet, but completely dry soil can repel water like a raincoat. Test by squeezing a handful: it should hold shape briefly then crumble. I use a spray bottle to mist the soil layer by layer until it reaches that perfect “just damp” consistency.
Depth Discipline: That ½ inch below the pot rim in Step 3 isn’t arbitrary. I’ve seen countless succulents rot because their stems sat in moist soil. Use a ruler if you’re unsure—place it across the pot to measure. The soil line should match exactly where it was in the old container, no deeper. This simple check prevents 90% of post-transplant issues.
Light Transition Strategy: The bright, indirect light mentioned in Step 4 needs clarification. East-facing windows are ideal, but if you only have south or west exposures, use a sheer curtain to filter the intensity. I rotate my plants daily during that 5-7 day waiting period to ensure even light exposure without stressing the recovering roots.
Spring or early summer is ideal —when succulents are actively growing. Avoid winter (dormancy) or extreme heat (stress risk). If roots are circling or poking out, repot ASAP regardless of season, but shield them from direct sun for a week after.
Nope! Regular soil holds too much moisture, causing rot. Use a well-draining mix: 50% cactus/succulent soil + 50% perlite/pumice. DIY alternative? Mix coarse sand, gravel, and a bit of coconut coir for airflow.
Check for these signs:
Probably just transplant shock—normal for 1–2 weeks! Keep it in bright, indirect light, water lightly (only when soil is bone-dry), and avoid fertilizing. If leaves stay mushy or blacken, overwatering or rot may be the culprit.
Yes! Try these fixes first:
