
Beautiful Plants For Your Interior
Beautiful Plants For Your Interior
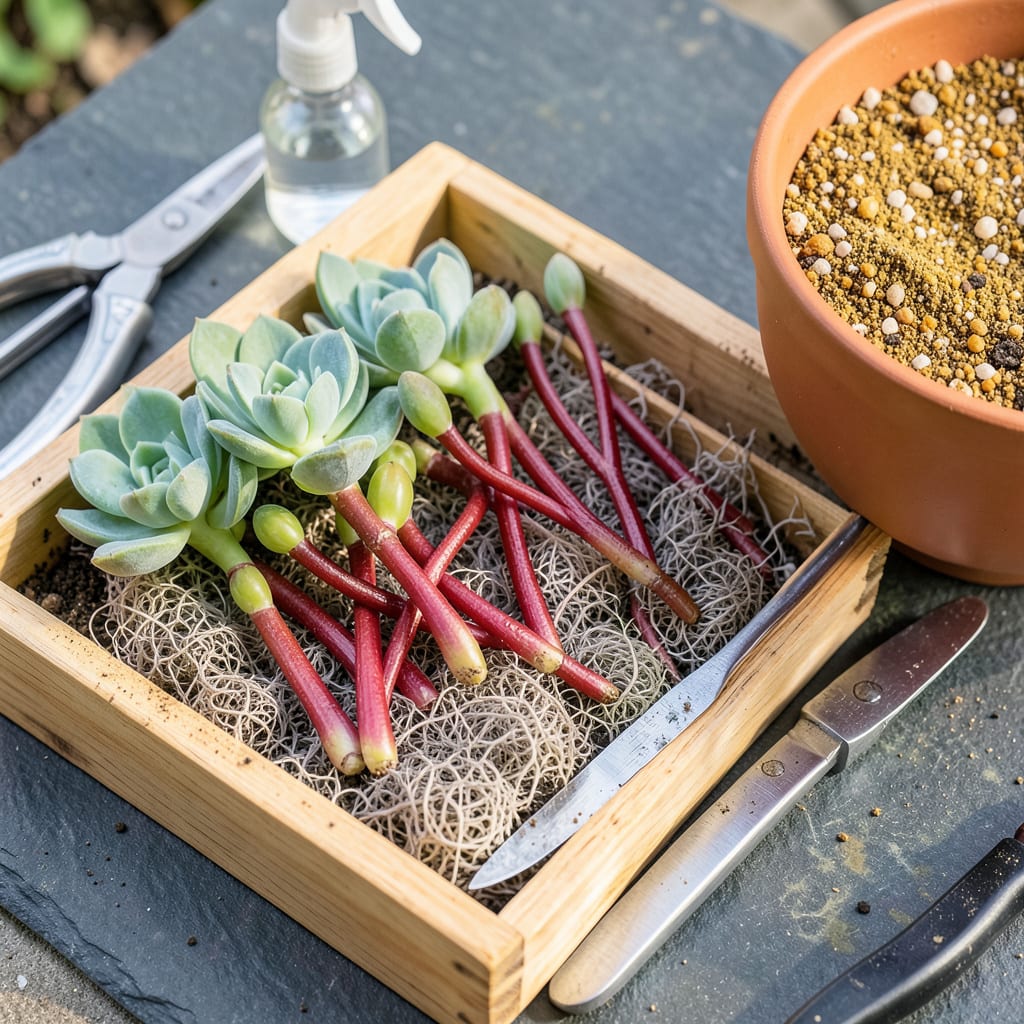
Succulent cuttings often fail because of two preventable mistakes: excess moisture and poor soil contact. I’ve refined this transplant method over years of trial and error, focusing on what actually works—dry callusing, minimal water, and the right soil texture. The difference shows in 90% success rates compared to the 50% survival many beginners experience.
Timing matters as much as technique. Transplant when cuttings have callused (typically 3-7 days after snipping) and when temperatures stay above 60°F. This method eliminates rot while encouraging roots to establish quickly. You’ll see new growth within weeks, not months, when done correctly.
📚 In This Guide
This method ensures high success rates with minimal stress to both cuttings and parent plants.
Begin by selecting healthy, mature stems from your succulent. Use clean, sharp scissors or pruning shears to make a precise cut at a 45-degree angle. This angled cut increases surface area for root development while preventing water pooling that could cause rot.
Allow the cuttings to callus by placing them in a warm, dry location with indirect light for 3-7 days. You’ll know they’re ready when the cut end forms a dry, hardened surface. This critical step prevents bacterial infection when planted.
Choose a well-draining cactus or succulent mix—standard potting soil retains too much moisture. I recommend blending 60% perlite or pumice with 40% cactus mix for optimal drainage. Moisten the medium lightly until it’s just damp to the touch, not wet.
Fill your container (ensure it has drainage holes) to within 1 inch of the rim. Gently firm the medium to eliminate air pockets but avoid compacting it. The ideal texture should allow water to drain completely within seconds when tested.
Create a small hole in the medium using a pencil or chopstick. Insert the callused end of the cutting about 1 inch deep—deep enough for stability but shallow enough to prevent stem rot. For leaf cuttings, lay them flat on the soil surface without burying.
Position the cuttings so they’re stable but not packed tightly. Leave 2-3 inches between cuttings to allow airflow and prevent moisture buildup. Don’t water immediately; wait 5-7 days to let any damaged cells heal before introducing moisture.
Place the container in bright, indirect light with temperatures between 65-75°F. Avoid direct sun until roots establish, which typically takes 2-4 weeks. You’ll see new growth as your first indicator of successful rooting.
Water sparingly—only when the soil is completely dry to the touch. Use the “soak and dry” method: saturate the soil until water runs from the drainage holes, then wait until fully dry before watering again. Overwatering is the primary cause of failure at this stage.
Once new growth appears, gradually introduce more light and standard watering. Begin with morning sun only for a week, then increase exposure. After 4-6 weeks, treat as mature plants with full sun and regular watering cycles.
Watch for signs of stress: yellowing indicates overwatering, while wrinkled leaves suggest underwatering. Adjust care accordingly. Most succulents establish fully within 8-12 weeks, at which point they’ll require minimal maintenance.
Mastering succulent propagation requires attention to detail at each stage of the process. These professional insights will maximize your success rate while avoiding common pitfalls that lead to failure.
Callusing Technique: The 3-7 day callusing period in Step 1 is non-negotiable for preventing bacterial infection. Place cuttings in a location with consistent airflow—avoid enclosed containers that trap humidity. A wire rack over a baking sheet works exceptionally well for even air circulation. The callus should appear completely dry and slightly translucent before planting.
Medium Composition: When blending your 60% perlite/pumice with 40% cactus mix in Step 2, sift the components together to eliminate dust particles that can compact and reduce drainage. Test your final mix by squeezing a handful—it should crumble immediately when released, indicating proper aeration. Consider adding a thin layer of coarse sand on top to further deter moisture retention at the soil surface.
Environmental Control: Maintaining the 65-75°F temperature range during the 2-4 week rooting period is critical. Use a seedling heat mat set to 70°F if your environment falls below this range, but avoid placing cuttings directly on the mat—elevate the container on small feet or a wire rack. Temperature fluctuations above 75°F can accelerate moisture loss, while anything below 65°F significantly slows root development.
Watering Discipline: The 5-7 day waiting period before initial watering in Step 3 serves two purposes: allowing microscopic root hairs to develop without rot risk, and giving any damaged tissue time to heal. When you do water, use room temperature water to avoid shocking the developing roots. Apply water directly to the soil—never over the cuttings—to prevent moisture from pooling on leaves or stems.
Let cuttings callus for 2–5 days (longer for thick stems like echeveria) before transplanting. This prevents rot by sealing the wound. Pro tip: Place them in bright, indirect light and dry air during this time—no soil yet!
While possible, water rooting isn’t ideal for most succulents. It often leads to weak, brittle roots. Stick to well-draining soil for 90% success. Exception: Some Sedum or String of Pearls may tolerate water propagation temporarily.
Overwatering is the #1 culprit! Wait until soil is bone-dry before watering. Other causes: too much direct sun (sunburn) or poor drainage. Trim mushy stems and replant in fresh, gritty soil if rot sets in.
Aim for spring or early summer—their active growing season! Avoid winter (dormancy) or extreme heat (stress). Indoor growers: Year-round transplanting works with grow lights and stable temps (65–80°F).
Not required, but it can speed up rooting (especially for tricky varieties like Haworthia). Use a light dusting on the callused end. Alternative: Dip in cinnamon (natural antifungal) before planting.
