
Beautiful Plants For Your Interior
Beautiful Plants For Your Interior
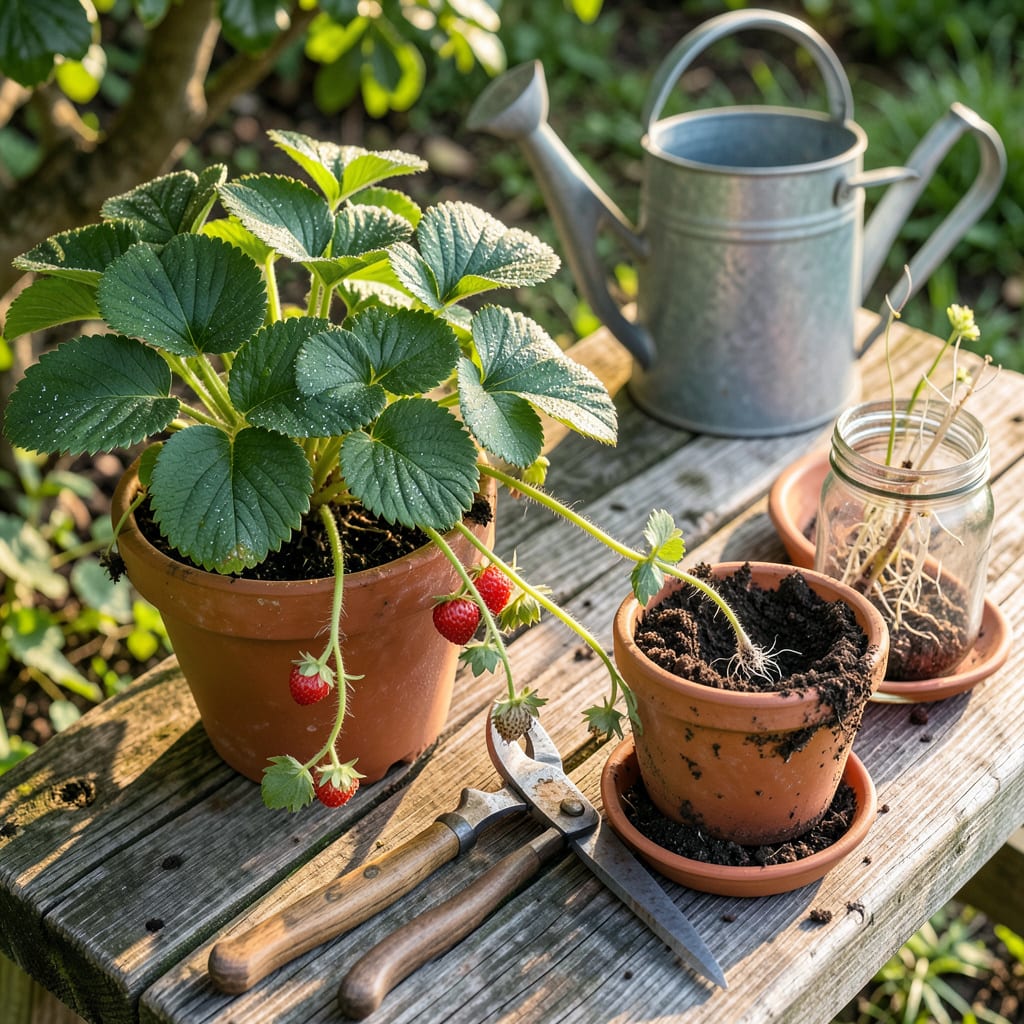
Free strawberry plants from your existing patch? That’s the magic of runners. 🌱 I’ve turned a handful of parent plants into a thriving 20-foot row just by transplanting these little offshoots—no nursery trips, no extra cost. The key is timing it right and handling those delicate roots like they’re gold (because they kind of are).
Do it wrong, and you’ll end up with wilted runners that never take. Do it right, and you’ll get bigger harvests next season from plants that already know your soil and climate. I’ll show you the no-fail method I use every late summer—simple tools, 10 minutes per plant, and results that’ll make your neighbors ask for your secret.
📚 In This Guide
Here’s the method I use every season to turn one strawberry plant into dozens—without buying new ones.
Look for runners that have developed at least three small leaves and a tiny root nub where they touch the soil. These are called “daughter plants,” and they’re your ticket to free strawberries. I always choose runners from the most productive mother plants—the ones that gave me the biggest, sweetest berries that season.
Avoid runners that look weak, discolored, or have spotted leaves. The health of your new plants depends entirely on the runner you select. Gently trace the runner back to the mother plant to confirm it’s still attached and receiving nutrients. You’ll feel slight resistance when you tug very lightly—that means it’s ready but not fully severed yet.
Using clean pruning shears, cut the runner about 1 inch from the daughter plant side, leaving a small stem attached. Then make a second cut 2-3 inches from the mother plant to remove the connecting stem completely. This two-cut method prevents damage to both plants and gives the new transplant its best start.
Don’t pull or twist the runner—this can damage the delicate root system forming on the daughter plant. If the runner resists cutting, your shears need sharpening. I keep a small file in my gardening kit just for this. The cuts should be clean and immediate, with no fraying of the stem.
Dig a small hole just deep enough so the crown (where leaves meet roots) sits level with the soil surface. Planting too deep smothers the crown; too shallow exposes roots. I use my finger to measure—first knuckle depth is perfect for most strawberry runners.
Gently spread any existing roots outward in the hole before backfilling. Press the soil lightly around the base, then water immediately with 1 cup of water to eliminate air pockets. You’ll see the plant settle slightly into the soil—that’s exactly what you want. Don’t fertilize yet; wait until you see new growth in about 7-10 days.
Keep the soil consistently moist but not soggy for the first 2 weeks. I check daily by sticking my finger 1 inch into the soil—if it feels dry at that depth, it’s time to water. Early morning watering works best, giving leaves time to dry before evening and preventing fungal issues.
After the first two weeks, you can reduce watering to every 2-3 days, depending on your climate. Watch for wilting in the late afternoon—this is normal for new transplants. But if leaves stay wilted overnight, you’re either underwatering or the roots were damaged during transplant. Adjust accordingly.
Newly transplanted runners need morning sun and afternoon shade for the first week to prevent stress. I use a temporary shade cloth or position them where they’ll get natural shade from taller plants. After 7 days, they can handle full sun (6+ hours daily) like established plants.
Protect young transplants from birds and slugs immediately. A simple cloche made from a plastic bottle (cut in half) works wonders for the first few days. Remove it once you see new leaf growth—usually within 5-7 days—to prevent overheating. This is when you’ll know your transplant has successfully taken root.
After years of trial and error, these are the game-changing insights that transformed my strawberry patch from struggling to thriving.
Selection Secret: In Step 1, don’t just look for runners with three leaves—choose ones with plump, white root nubs the size of a grain of rice. These develop faster than thin, stringy roots. I learned this after losing half my first batch to weak root systems that couldn’t establish properly. The mother plant’s health matters too: if she produced small, tart berries, her daughters will too.
Cutting Technique: When making those two cuts in Step 2, angle your shears 45 degrees away from the daughter plant on the first cut. This creates a sloped surface that prevents water from pooling on the stem, which can cause rot. Between us, I ruined three runners before realizing my straight cuts were creating tiny water basins! A quick swipe with rubbing alcohol on your shears between plants prevents disease spread too.
Planting Depth Hack: That “first knuckle” measurement in Step 3 is gold, but here’s what nobody tells you—press down gently after planting until you see the soil level rise to just 1/8 inch below the crown. This accounts for natural settling when you water with that critical 1 cup. I use a chopstick to measure this tiny gap—it’s made all the difference in preventing crown rot.
Watering Wisdom: During those first 2 weeks mentioned in Step 4, water at the base of the plant only—never overhead. Strawberry leaves are prone to fungal spots, and evening moisture is their enemy. I lost an entire row to leaf spot before switching to a watering wand with a narrow spout. The 1-inch finger test is perfect, but check two spots around each plant—soil dries unevenly in sun exposure.
Early fall or spring (when temps are 50–75°F) is ideal. Summer’s heat stresses plants, reducing survival rates. If you must transplant in summer, do it on a cloudy day, water deeply, and provide shade cloth for 1–2 weeks to ease shock.
June-bearing varieties: Fruit in 10–12 months (next spring). Everbearing/day-neutral types may yield small berries in 6–8 weeks if transplanted early in the season. Remove first-year flowers on June-bearers to boost root growth for bigger harvests later.
Yes! Snip the runner after the new plant has rooted (usually 3–4 weeks). Use clean shears to cut 1–2 inches from the mother plant. This prevents nutrient drain and helps both plants thrive. Pro tip: Dip shears in rubbing alcohol to avoid disease spread.
Try raised beds (12″ deep with compost-rich soil) or containers (5-gallon pots with drainage). Strawberries love slightly acidic soil (pH 5.5–6.5). Mix in pine bark fines or coconut coir for drainage. Avoid clay-heavy soil—it suffocates roots!
Common causes:
