
Beautiful Plants For Your Interior
Beautiful Plants For Your Interior
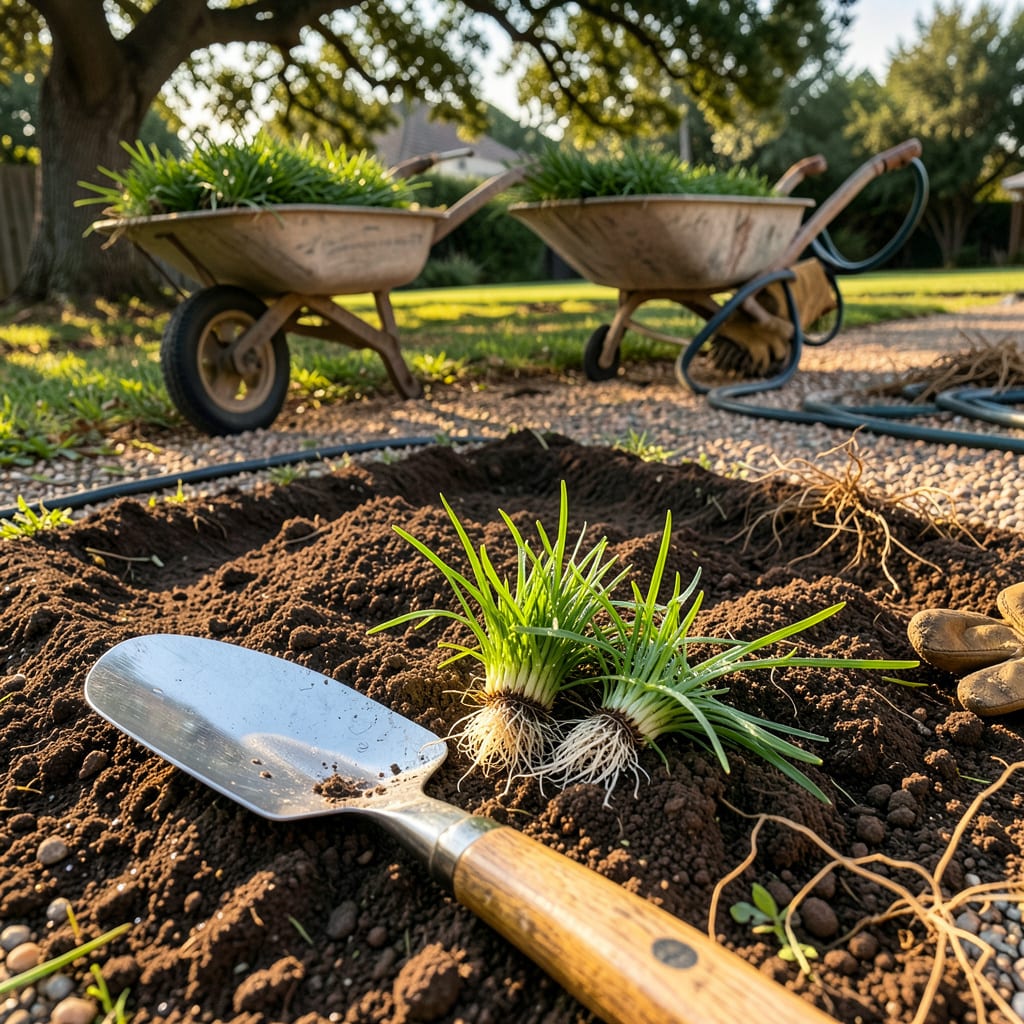
That patchy lawn doesn’t stand a chance. I’ve moved St. Augustine grass in 90°F heat and during spring rains, and the secret isn’t luck—it’s timing and technique. Transplant it right, and you’ll watch bare spots fill in with thick, emerald-green turf faster than you’d expect. The difference between success and disappointment often comes down to two things: how you prep the soil and how gently you handle those grass plugs.
No fancy equipment needed—just a sharp shovel, some patience, and a watering schedule that doesn’t quit. Within 3 weeks, those transplanted sections will start knitting together, and by midsummer, you won’t remember where the bare spots were. The best part? This method works whether you’re repairing a small patch or overhauling half your yard.
📚 In This Guide
This method ensures your new grass establishes quickly with minimal transplant shock—perfect for patchy lawns or full renovations.
Begin by marking the area where you’ll install the St. Augustine plugs or sod. Use a flat-edged shovel to remove any existing vegetation, including roots, to prevent competition. The soil should be loose to a depth of 4-6 inches—this encourages rapid root penetration and establishment.
Test soil moisture by squeezing a handful. It should crumble when pressed but hold shape briefly—this indicates ideal planting conditions. If the soil is too wet, wait 24-48 hours before proceeding to avoid compaction. I always rake the area smooth afterward to create a level surface for even contact with the new grass.
For plugs, use a plugger or trowel to create holes spaced 6-12 inches apart (closer spacing fills faster but requires more material). Insert each plug so the top sits 1/4 inch above soil level—this accounts for natural settling. Press the soil firmly around the edges to eliminate air pockets, which can dry out roots.
If using sod, lay sections in a staggered brick pattern, ensuring edges butt tightly without overlapping. Use a sharp knife to trim pieces for perfect fits around curves or obstacles. The key here is immediate soil-to-root contact—any gaps delay establishment and invite weeds.
Water immediately after planting until the soil is saturated to a depth of 4-6 inches. You’ll know it’s sufficient when water pools briefly on the surface before absorbing. For the first 7-10 days, maintain consistent moisture—this means watering daily in early morning to prevent evaporation loss.
After the initial week, gradually reduce frequency but increase depth. Aim for 1-1.5 inches of water weekly, including rainfall. I check moisture by lifting a plug corner—if the roots feel damp but not soggy, the schedule is working. Overwatering is just as harmful as underwatering during this phase.
New growth typically appears within 7-14 days under ideal conditions. Watch for yellowing leaves, which signal either overwatering or nutrient deficiency. If plugs fail to root, gently tug one—resistance indicates successful establishment, while easy removal means you need to replant.
Once the grass reaches 3 inches in height, it’s ready for its first mowing. Use a sharp blade set to 2.5-3 inches—never remove more than one-third of the leaf blade at once. This height promotes deep rooting and shades out weeds. I recommend waiting 4-6 weeks before applying fertilizer to avoid burning tender new roots.
After 6-8 weeks, your transplanted St. Augustine should be fully established. Gradually reduce water to 1 inch per week, including rainfall. The grass will develop a deeper green color and denser growth pattern as it matures.
Begin a regular fertilization schedule using a 16-4-8 or similar ratio formula every 6-8 weeks during the growing season. Watch for brown patch fungus in humid conditions—this appears as circular dead spots. If detected, reduce evening watering and improve air circulation immediately. Proper maintenance now ensures a lush, resilient lawn for years.
Getting the details right makes all the difference between a struggling lawn and lush, established grass. Here’s what I’ve learned from years of transplanting St. Augustine.
Soil Preparation Secret: In Step 1, when loosening the soil to that critical 4-6 inch depth, I’ve found that mixing in a 1-inch layer of compost dramatically improves root establishment. This isn’t just about aeration—it creates a nutrient-rich zone that encourages rapid root growth during those first 7-10 days when the grass is most vulnerable. The compost also helps retain moisture without becoming waterlogged, which is particularly important if you’re working with sandy soil that drains too quickly.
The Watering Technique That Changed Everything: During that crucial 7-10 day period mentioned in Step 3, I use a simple trick to ensure proper saturation: place empty tuna cans around the planting area. When they’re filled to 4-6 inches during watering, you’ll know you’ve reached the ideal depth. This takes the guesswork out of “saturated soil” and prevents both overwatering and underwatering. Early morning watering isn’t just about evaporation—it allows the grass to dry slightly before evening, reducing fungal disease risks that St. Augustine is particularly susceptible to.
Plug Spacing Strategy: The 6-12 inch spacing recommendation in Step 2 is ideal, but here’s what nobody tells you—closer spacing (6 inches) is worth the extra material cost in high-traffic areas or slopes. I learned this the hard way when plugs spaced 12 inches apart on a gentle slope kept washing out during heavy rains. The tighter spacing creates a network of roots that stabilizes the soil much faster. For flat areas with less foot traffic, 12 inches works fine and saves on material costs.
Establishment Monitoring: When checking for root establishment as described in Step 4, don’t just tug on the plugs—look for new white roots emerging from the sides of the plug. This is the surest sign of successful establishment. I also recommend marking your planting date on a calendar. If you don’t see new growth by day 14, it’s time to investigate potential issues like insufficient water, poor soil contact, or possibly diseased plugs. That two-week mark is your critical diagnostic window.
Late spring to early summer ( May–July) is ideal when soil temps hit 70–80°F. Avoid winter—cold shocks roots! Fall works in warm climates (like Florida/Texas), but give it 4–6 weeks before first frost to establish.
Under ideal conditions (water + sun), plugs fill in at 2–4 inches per month. Full coverage may take 3–12 months, depending on spacing (6–12″ apart speeds up results). Pro tip: Fertilize 6 weeks post-transplant to boost growth!
Can I transplant St. Augustine from my neighbor’s yard? (Is it legal/ethical?)
Always ask permission first—taking sod without consent is theft! If allowed, use a sharp spade to cut 3–4″ deep plugs. Warning: Some HOAs or local laws restrict grass sharing; check rules to avoid fines.
Common culprits:
| Method | Cost (per 1,000 sq ft) | Pros/Cons |
|---|---|---|
| Sod | $200–$500 | Instant lawn; most expensive. |
| Plugs | $50–$150 | Budget-friendly; slower coverage. |
| Seeds | $30–$80 | Cheapest; St. Augustine rarely grows from seed—plants/sod are better! |
