
Beautiful Plants For Your Interior
Beautiful Plants For Your Interior
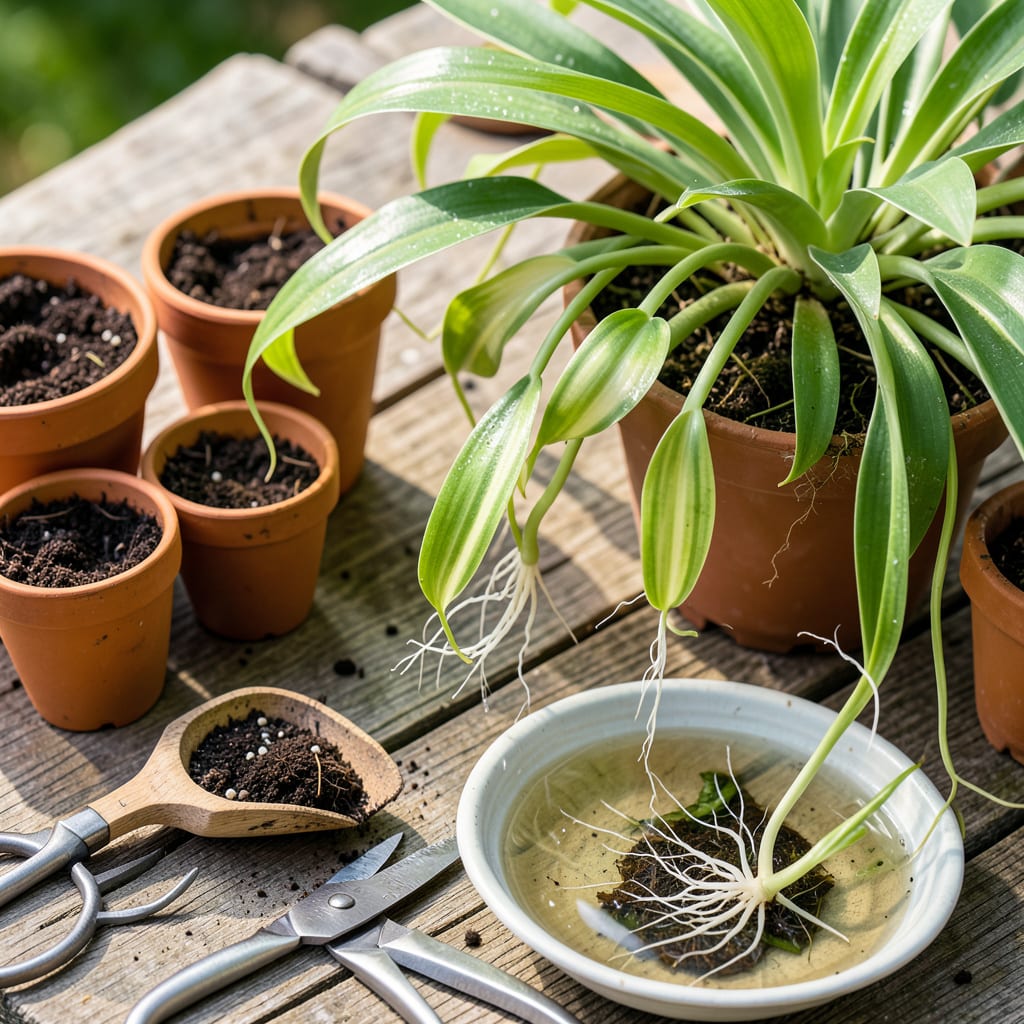
Those tiny spiderettes dangling from your plant aren’t just cute—they’re free houseplants waiting to happen. I’ve turned dozens of these babies into thriving plants with a simple method that works every time. The secret? Waiting until they develop their own roots (about 2-3 inches long) before making the cut.
You’ll need just three things: sharp scissors, small pots, and well-draining soil. The process takes 10 minutes max, and within weeks, you’ll watch those little starters push out fresh growth. No green thumb required—this is the most forgiving plant propagation you’ll ever try.
📚 In This Guide
Here’s my simple method for turning those cute little offshoots into independent, thriving plants.
Look for spiderettes (the baby plants) that have developed their own root system at least 1-2 inches long. The roots should appear white and firm—not brown or mushy. I like to select offshoots that already show 3-4 small leaves, as these establish faster.
Gently separate the baby from the mother plant by following its connecting stolon (the long stem) to where it attaches. Use clean scissors to snip this connection, leaving about ½ inch of stolon attached to the baby. This prevents damage to both plants.
Choose small pots—about 3-4 inches in diameter—with drainage holes. Spider plants despise soggy roots, so proper drainage is non-negotiable. Fill each pot with a well-draining potting mix, leaving about ½ inch of space at the top for watering.
Moisten the soil lightly before planting. You want it damp but not dripping—think of a wrung-out sponge. I use room-temperature water to avoid shocking the tender new roots. Create a small hole in the center about 1 inch deep for the baby plant.
Place the baby plant in the hole so its base sits just above the soil line. The roots should spread downward naturally without bending. Gently firm the soil around the base, but don’t pack it tightly—spider plants need some air around their roots.
Water immediately after planting until you see moisture coming through the drainage holes. This settles the soil around the roots and eliminates air pockets. You’ll notice the leaves perk up within a few hours if the transplant was successful.
Position your new plants in bright, indirect light—an east-facing window works perfectly. Avoid direct afternoon sun, which can scorch tender new leaves. Spider plants thrive in normal household temperatures between 60-75°F.
Maintain consistent moisture for the first 2-3 weeks. Check the soil daily—when the top ½ inch feels dry, water thoroughly until it drains from the bottom. You’ll see new growth within 7-10 days if conditions are right.
After 3-4 weeks, when you see several inches of new growth, begin treating your spider plant like a mature specimen. Let the soil dry slightly more between waterings—about 1 inch deep—and fertilize lightly with balanced houseplant food every 4-6 weeks.
Watch for brown tips, which usually indicate either overwatering or fluoride sensitivity. If this happens, switch to distilled or rainwater. Your plant will tell you what it needs—yellowing lower leaves mean too much water, while crispy edges suggest thirst or low humidity.
Transplanting spider plant babies is simpler than you think—just pay attention to these key details that make all the difference.
Root Selection: In Step 1, focus on choosing spiderettes with roots that are 1-2 inches long and pure white. I learned the hard way that brown or mushy roots often fail to establish. The 3-4 small leaves mentioned are your visual confirmation that the baby has enough energy stored to thrive independently. Don’t rush this step—waiting for proper root development prevents transplant shock.
The Depth Factor: When planting in Step 3, that 1-inch deep hole is critical. Planting too deep suffocates the base, while too shallow exposes roots to air. I use the tip of my finger to measure—it’s the perfect depth gauge. The ½ inch of stolon you leave attached acts as a nutrient bridge during the first few days, so don’t trim it flush with the baby.
Watering Wisdom: During the first 2-3 weeks mentioned in Step 4, resist the urge to water on a schedule. Instead, test the top ½ inch of soil daily with your fingertip. Spider plants communicate clearly—drooping slightly means “water me,” while yellowing means “you’re overdoing it.” Room-temperature water prevents root shock in these tender new plants.
Temperature Matters: That 60-75°F range in Step 4 isn’t just ideal—it’s essential. I once placed new transplants near a drafty window where temps dipped below 60°F at night, and their growth stalled completely. If your home runs cool, consider a seedling heat mat under the pots for the first week to encourage root development.
Look for plantlets with roots at least 1–2 inches long (about the size of a paperclip ). If they resist gentle tugging, they’re ready! Smaller roots may struggle to establish. Wait until they’ve developed a few sturdy roots for the best success.
Both work! Water-rooting () lets you monitor growth, but soil transplanting skips the shock of transition. For beginners, try water first—just move them to soil once roots hit 2+ inches. Soil-planted babies may adapt faster but need consistent moisture.
Wilting often means overwatering () or transplant shock. Brown tips? Likely low humidity or fluoride in tap water. Fix it: Let soil dry slightly between waterings, mist leaves, and use distilled/rainwater. Trim dead tips to redirect energy.
Spring or early summer () is ideal—warm temps and longer daylight help roots establish. Avoid winter (growth slows) or extreme heat (stresses plants). Indoor transplants? Anytime with stable temps (65–75°F) works!
Hold off for 4–6 weeks! Fresh soil has nutrients, and fertilizer can burn tender new roots. After that, use a diluted balanced houseplant fertilizer (½ strength) monthly in growing season. Skip fertilizer in winter—let them rest!
