
Beautiful Plants For Your Interior
Beautiful Plants For Your Interior
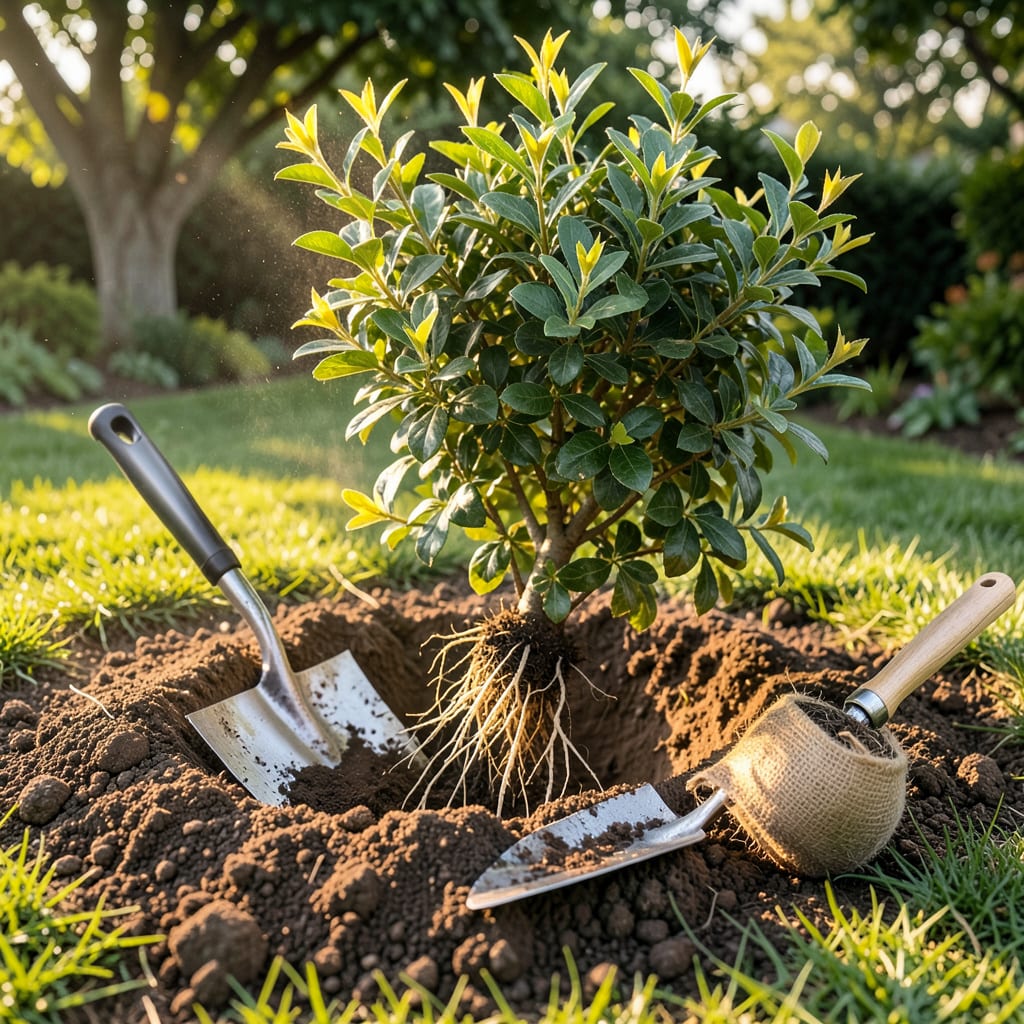
Moving a shrub feels like performing surgery on your landscape—but I’ve relocated dozens without losing a single one. The secret isn’t luck; it’s timing and technique. Transplant in early spring or fall when roots are active but growth is slow, and you give plants their best shot at thriving in a new spot.
You’ll need just three things: a sharp spade, burlap for root protection, and patience. I’ve seen shrubs bounce back from relocation shock in 2-3 weeks when done right, with new growth proving the roots have settled in. The process takes less than an hour, but the payoff lasts for years.
📚 In This Guide
Moving established shrubs doesn’t have to be stressful—here’s how I’ve relocated dozens without losing a single plant.
Before disturbing the shrub, dig the new hole at least twice as wide and equal depth to the root ball. I make the sides sloped rather than straight to encourage outward root growth. Test the depth by placing the shovel handle across the hole—it should sit level with the surrounding soil.
Mix a handful of compost into the bottom of the hole and water thoroughly. This creates a welcoming environment for roots to explore immediately. If your soil is heavy clay, add a few handfuls of coarse sand to improve drainage. The hole should look like a shallow bowl, not a deep tunnel.
Start digging 12-18 inches away from the shrub’s drip line (where branches end). Use a sharp spade to cut cleanly through roots rather than tearing them. For shrubs under 3 feet tall, you can usually manage this alone; larger specimens may need two people and a tarp for dragging.
Once you’ve circled the plant, angle the spade underneath to lift the entire root ball. You’ll feel resistance—that’s normal. Wrap the root ball in burlap if you need to transport it any distance. Keep the soil intact around roots; exposed roots dry out within minutes in sun or wind.
Place the shrub in the new hole at the exact same depth it grew before. I check this by laying a straight board across the hole—where the board crosses the stem should match the original soil line. Backfill with native soil, not amendments, to encourage roots to spread into surrounding earth.
Create a water basin by mounding soil in a 3-inch high ring around the plant, about 6 inches out from the stem. This directs water to the root zone. Water immediately with 5 gallons for small shrubs, 10 gallons for larger ones, until you see water pooling in the basin.
Water deeply every 2-3 days for the first two weeks, then taper to weekly watering. The soil should feel moist 4 inches down when you check with your finger. Mulch with 2-3 inches of wood chips, keeping it 3 inches away from the stem to prevent rot.
Don’t fertilize for 6-8 weeks—new roots are sensitive to chemical burns. If leaves wilt in afternoon sun, provide temporary shade with burlap screens. You’ll know the shrub has established when you see new leaf growth, typically within 4-6 weeks.
Check the soil moisture weekly by digging down 3-4 inches near the root zone. If the soil forms a loose ball when squeezed, moisture is good. If it crumbles, water deeply. Stake only if the shrub leans more than 15 degrees—most establish better without support.
Prune minimally during the first year, removing only dead or damaged branches. The plant needs all its foliage to produce energy for root growth. By the second season, you can resume normal pruning. I’ve found that even “finicky” shrubs like hydrangeas thrive with this method when given proper aftercare.
After moving hundreds of shrubs, I’ve learned these key details make all the difference between a thriving plant and one that struggles to recover.
Root Ball Protection: In Step 2, when digging up the shrub, resist the urge to shake off excess soil from the root ball. That soil contains beneficial microbes and protects delicate feeder roots. I wrap the entire root ball in damp burlap for transport—even short moves—to prevent drying. The moment roots are exposed to air and sun, they begin desiccating within minutes.
Watering Technique: The 5-10 gallons of immediate watering in Step 3 isn’t just about moisture—it’s about eliminating air pockets. After watering, I gently press down on the soil around the base to help settle it. Then I water again with another 2-3 gallons. This two-step approach ensures complete soil contact with roots, which is critical for preventing transplant shock.
Depth Verification: Here’s what nobody tells you about planting depth in Step 3: look for the soil line on the stem where the color changes from green to brown. This natural mark shows exactly where the soil level should be in the new hole. I’ve saved dozens of shrubs from being planted too deep by using this visual cue rather than guessing.
Aftercare Observation: During the 2-3 day watering schedule in Step 4, pay attention to leaf orientation. If leaves are pointing downward even when watered, the shrub is stressed. This often means either overwatering (roots can’t breathe) or underwatering (roots are drying). Dig down 4 inches to check moisture—it should feel like a wrung-out sponge, not soggy or bone dry.
The ideal time is early spring (before new growth starts) or fall (4-6 weeks before the first frost). These seasons give roots time to establish in cool, moist soil. Avoid transplanting in extreme heat or freezing conditions—stress kills shrubs faster than a forgotten houseplant!
Yes, but it’s tricky! For shrubs over 3 feet tall, root prune 6-12 months ahead by cutting a trench around the root ball. On moving day, dig wide (not deep) to preserve feeder roots, and water thoroughly. Big shrubs may need burlap-wrapped roots or a tree spade for safe relocation.
Prep like a pro:
Transplant if it’s healthy but misplaced (e.g., wrong sunlight). Replace if it’s diseased, severely root-bound, or over 10 years old—older shrubs often fail to recover. Test first: Scratch the bark; green underneath means it’s alive and worth saving!
Common culprits:
