
Beautiful Plants For Your Interior
Beautiful Plants For Your Interior
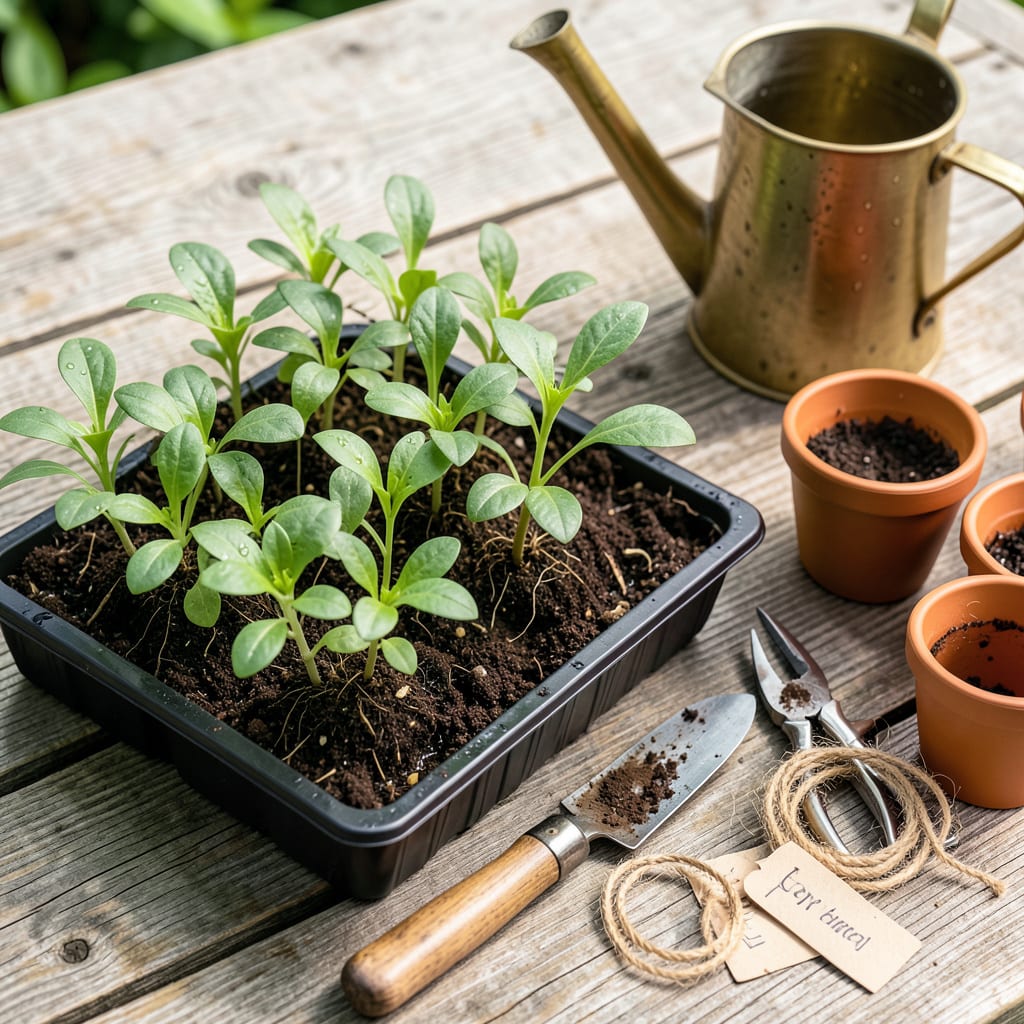
That first time I moved my seedlings from cozy trays to the big, unpredictable garden, I held my breath. Would they make it? Turns out, transplanting isn’t about luck—it’s about timing and technique. When those tiny plants have 2-3 true leaves and roots just starting to peek from the drainage holes, they’re ready for their new home.
Here’s the thing—most transplant failures happen before you even put them in the ground. Hardening off for 7-10 days makes all the difference, and the right soil prep prevents shock. I’ve killed my share of seedlings learning this, but now my transplants thrive with just a trowel, good soil mix, and careful handling. The payoff? Plants that establish faster and produce earlier than anything you’d buy.
📚 In This Guide
This method ensures your seedlings transition smoothly with minimal shock and maximum growth potential.
Begin by watering your seedlings thoroughly 1-2 hours before transplanting. This ensures the root ball stays intact and reduces transplant shock. I use room-temperature water to avoid stressing the plants—cold water can cause roots to contract.
Select containers that are 2-3 inches larger in diameter than the current ones. Clean them with a 1:10 bleach-water solution to eliminate pathogens. Fill each new container with pre-moistened potting mix, leaving 1 inch of space at the top for watering.
Gently squeeze the sides of the current container to loosen the root ball. Turn it upside down while supporting the stem between your fingers. If the seedling resists, run a clean knife around the inner edge to free it. Never pull by the stem—this severs critical vascular connections.
Inspect the roots. Healthy roots appear white or light tan. Dark, mushy roots indicate rot; trim these with sterilized scissors. If roots are circling, gently tease them outward to encourage outward growth in the new container.
Create a hole in the new container’s soil slightly deeper than the seedling’s current depth. Place the seedling in, ensuring the soil line matches its original level—burying the stem too deep can suffocate it. Fill around the root ball with potting mix, pressing lightly to eliminate air pockets.
Water immediately with a ¼-strength fertilizer solution to help roots establish. The soil should settle around the roots without compacting. If the seedling leans, add more mix to stabilize it—don’t press hard, as this can crush tender roots.
Move seedlings to bright, indirect light for 24-48 hours. Direct sun immediately after transplanting can scorch stressed leaves. Maintain 65-75°F and 50-60% humidity—a clear plastic bag tented over the pot works well for humidity control.
Resist fertilizing for 7-10 days post-transplant. The roots need time to heal before processing nutrients. Watch for wilting—the most common sign of transplant shock. If it occurs, mist leaves lightly and reduce light exposure temporarily.
After 3-5 days, begin reintroducing normal light conditions. Start with 2 hours of morning sun, increasing daily. Check soil moisture twice daily—transplanted seedlings dry out faster than established plants. The goal is consistently moist (not soggy) soil for the first week.
Look for new growth within 7-14 days—this confirms successful transplanting. Yellowing lower leaves are normal as the plant redirects energy to roots. Remove them only if they’re completely dry. By week 3, your seedlings should show accelerated growth compared to pre-transplant.
These practical insights will help you avoid common pitfalls and ensure your seedlings thrive after transplanting.
Preparation Timing: The 1-2 hour pre-watering window in Step 1 is critical for root ball integrity. I’ve found that watering exactly 90 minutes before transplanting gives the perfect balance—roots are fully hydrated but not waterlogged. Room-temperature water is non-negotiable; cold water can shock roots and set back growth for days. This small detail makes a surprising difference in survival rates.
Container Transition: When selecting new containers that are 2-3 inches larger, pay attention to material. Terracotta dries out faster than plastic, which can stress seedlings during the critical 24-48 hour recovery period. I prefer plastic for the first week, then transition to terracotta if desired. The 1:10 bleach solution mentioned in Step 1 should sit in containers for at least 5 minutes to fully sanitize—don’t rush this step.
Post-Transplant Environment: The 24-48 hour indirect light period in Step 4 isn’t just about light—it’s about temperature stability. I use a simple thermometer to verify the 65-75°F range, as even small fluctuations can stress seedlings. For humidity control, a clear plastic bag works, but I’ve had better success with a dome-shaped humidity tray that allows gradual acclimation. Remove any condensation droplets daily to prevent fungal issues.
Root Handling Technique: In Step 2, when inspecting roots, look for the fine white root hairs—these are the most sensitive and critical for water absorption. If you see circling roots, gently tease them in opposite directions rather than just outward. This encourages a more natural root spread in the new container. Sterilize your scissors between plants to prevent cross-contamination, especially if you’re trimming any damaged roots.
The ideal time is when seedlings have 2-4 true leaves (not just the starter leaves) and roots are visible at the drainage holes. For most plants, this is 3-6 weeks after germination. Avoid transplanting during extreme heat or cold—aim for mild, overcast days to reduce stress.
Always harden off for 7-10 days! Move seedlings outdoors gradually (1-2 hours/day, increasing exposure) to acclimate them to sun, wind, and temperature swings. Skipping this step can cause shock or wilting. Start hardening off 1-2 weeks before the final transplant.
No trays? No problem! Use egg cartons, yogurt cups, or toilet paper rolls (cut in half). Poke drainage holes in the bottom and fill with seed-starting mix. For biodegradable options, try peat pots or cow pots—plant them directly into the soil later!
Wilting or yellowing often signals transplant shock. Causes include overwatering, root damage, or sudden environmental changes. Fix it by:
Plant at the same depth as their original container, except for tomatoes or leggy stems—bury those deeper (up to the first true leaves) to encourage root growth. Press soil lightly around the base to eliminate air pockets, but avoid compacting it too tightly.
