
Beautiful Plants For Your Interior
Beautiful Plants For Your Interior
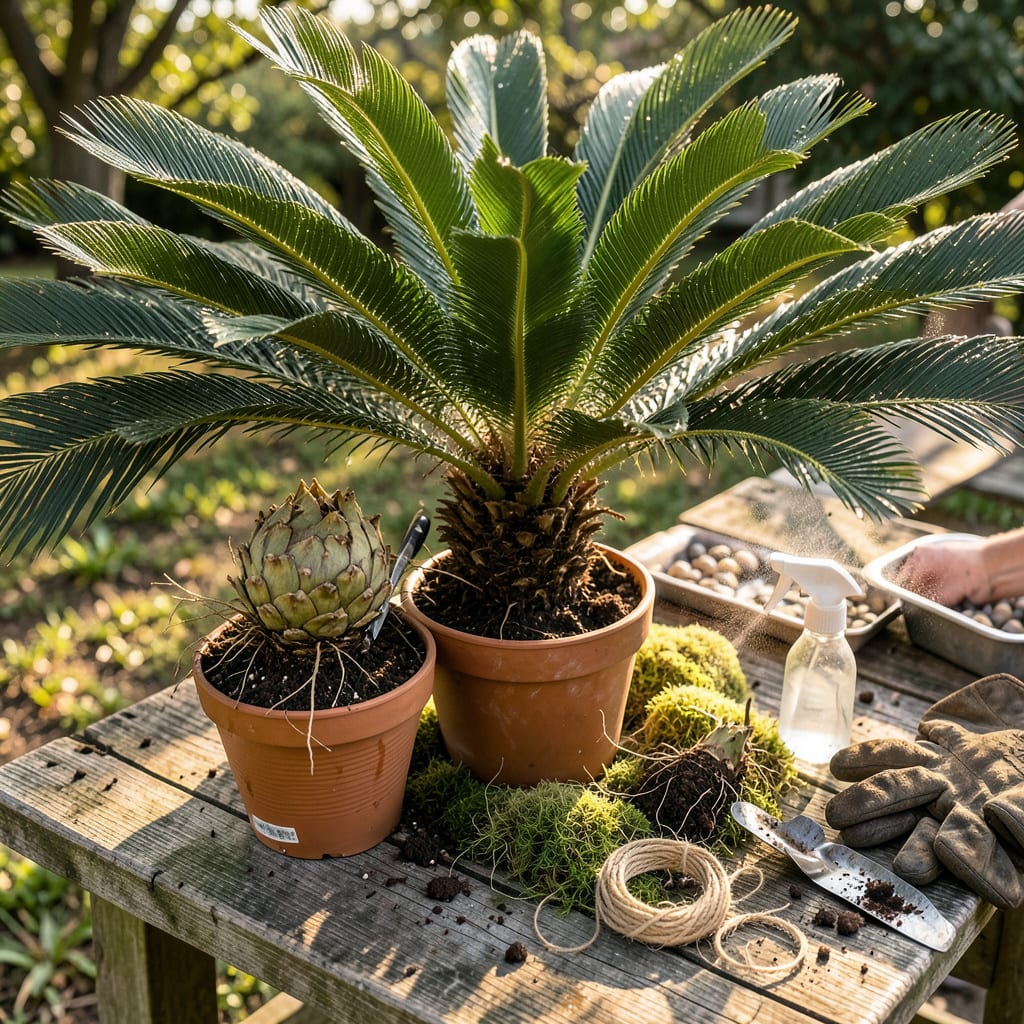
That first time I separated sago palm pups from their mother plant, I was convinced I’d kill them. Turns out, these tough little offsets practically beg to be transplanted—they’re built to thrive once you give them room to grow. The key is timing: early spring, just as new growth starts, gives pups the full season to establish roots before winter.
You’ll need just three things: a sharp knife (or pruners), well-draining potting mix, and gloves (those fronds are deceptively spiky). The process takes 20 minutes per pup, and within 6-8 weeks, you’ll see new fronds unfurling. I’ve propagated dozens this way, and the success rate is embarrassingly high—even with my early clumsy attempts.
📚 In This Guide
Here’s the method I’ve perfected over years—your pups will establish faster with these precise techniques.
Select a pup that’s at least 6 inches in diameter with its own visible root system. Smaller pups often lack sufficient energy reserves to survive separation. Use a sharp, sterilized knife to expose the base where the pup connects to the mother plant—you’ll see a distinct bulge at the junction.
Trace the pup’s perimeter with your knife, cutting through the fibrous tissue connecting it to the parent. Work slowly; rushing here risks tearing the pup’s basal plate (the critical growth center). I’ve found that 1/4-inch deep initial cuts work best before leveraging the pup gently with a trowel.
Immediately dust the cut surface with a fungicide powder (I use sulfur-based) to prevent fungal invasion through the fresh wound. Let the pup rest in a shaded area for 24-48 hours—this callusing period is non-negotiable for cycad survival. The cut surface should develop a dry, corky layer before planting.
While waiting, prepare your planting site or container. Sago palms demand exceptional drainage—amend native soil with 50% coarse sand or perlite. For containers, use a mix of 60% cactus/succulent mix and 40% perlite. The pup’s roots will rot instantly in compacted or moisture-retentive media.
Position the pup so the top of its root ball sits 1 inch above the soil line. This seems counterintuitive, but sagos planted too deep suffocate. The pup’s original orientation matters—plant it at the same angle it grew on the mother plant. I mark the “front” with a Sharpie before removal to ensure proper positioning.
Backfill with your prepared mix, firming gently to eliminate air pockets. Create a shallow berm around the pup to direct water toward the roots, but leave the center open to prevent standing water. Water immediately with 1 gallon of water containing a root stimulator (I use 1 tbsp of vitamin B1 per gallon).
Place the pup in bright, indirect light for the first 4-6 weeks. Direct sun now will scorch the vulnerable transplant. Maintain soil moisture at “just damp”—sagos despise soggy conditions but need consistent humidity during establishment. I check daily by inserting a wooden skewer; it should emerge with faint moisture marks but no soil clinging.
Withhold all fertilizer for 3 months. The pup must focus energy on root regeneration, not foliage production. You’ll know establishment is successful when new fronds emerge from the center—this typically occurs 6-12 months after transplanting, depending on pup size and growing conditions.
After 6 weeks, begin introducing morning sun for 1-2 hours daily, increasing by 30 minutes weekly. Sago palms ultimately require full sun (6+ hours) for optimal growth, but the transition must be gradual. Watch for frond yellowing—this indicates either too much sun too soon or overwatering.
Resume normal watering once established—deep soaks every 10-14 days in summer, less in winter. Your first post-transplant fronds may appear smaller than the parent’s; this is normal. True maturity and size consistency typically appear in the second year of growth after transplanting.
After years of transplanting these resilient yet finicky plants, I’ve learned what truly makes the difference between success and disappointment.
Critical Timing Insight: The 24-48 hour callusing period in Step 2 isn’t just important—it’s the single most crucial factor for survival. I’ve lost pups that were planted immediately versus those that developed that protective corky layer. Don’t rush this step; the longer you wait within this window, the better the pup’s chances. A full 48 hours gives maximum protection against fungal invasion when planted.
Precision Cutting Technique: When making those initial 1/4-inch deep cuts in Step 1, angle your knife slightly downward toward the mother plant. This creates a natural wedge that makes separation cleaner. I use a sterilized utility knife with a fresh blade—dull tools crush rather than cut the fibrous tissue. Between us, I ruined three pups before realizing how much this matters.
Soil Preparation Secret: The 50% coarse sand or perlite amendment mentioned in Step 2 isn’t just for drainage—it creates the exact pore space sago roots need. I test my mix by filling a pot, watering thoroughly, then checking if water drains completely within 10 seconds. If yours doesn’t, add more perlite. Compacted soil is the #1 killer of transplanted pups, even with perfect callusing.
Watering Wisdom: That 1 gallon of water with vitamin B1 in Step 3 should be applied in two stages—half immediately after planting, then the remainder 10 minutes later. This prevents runoff while ensuring deep penetration. I use a water breaker on my hose to avoid disturbing the soil. The berm technique mentioned is genius—it directs every drop to the roots where it’s needed most during those critical first weeks.
You can safely remove pups every 2–3 years to avoid stressing the mother plant. Spring or early summer ( active growth season) is ideal. Over-harvesting weakens the parent—stick to 1–2 pups per year if the plant is young or recovering.
Yes! But only if your climate is frost-free (USDA zones 8–11). For colder areas, pot them first and overwinter indoors. Ground-planted pups need well-draining soil and partial shade for the first month to reduce transplant shock.
Yellowing often signals overwatering or poor drainage. Let the soil dry between waterings, and check for root rot (mushy, dark roots = trouble). If the pup was recently moved, it might just be adjusting—give it 4–6 weeks before panicking!
Hold off for 6–8 weeks! Freshly transplanted pups are sensitive. Once established, use a balanced palm fertilizer (8-2-12 ratio) twice yearly (spring/fall). Avoid high-nitrogen mixes—they can burn young roots.
For speed, try water propagation: Place the pup’s base in a jar of water (change weekly) until roots sprout (~3–6 months). Alternatively, dip the cut end in rooting hormone before planting in a sandy soil mix for quicker soil establishment.
