
Beautiful Plants For Your Interior
Beautiful Plants For Your Interior
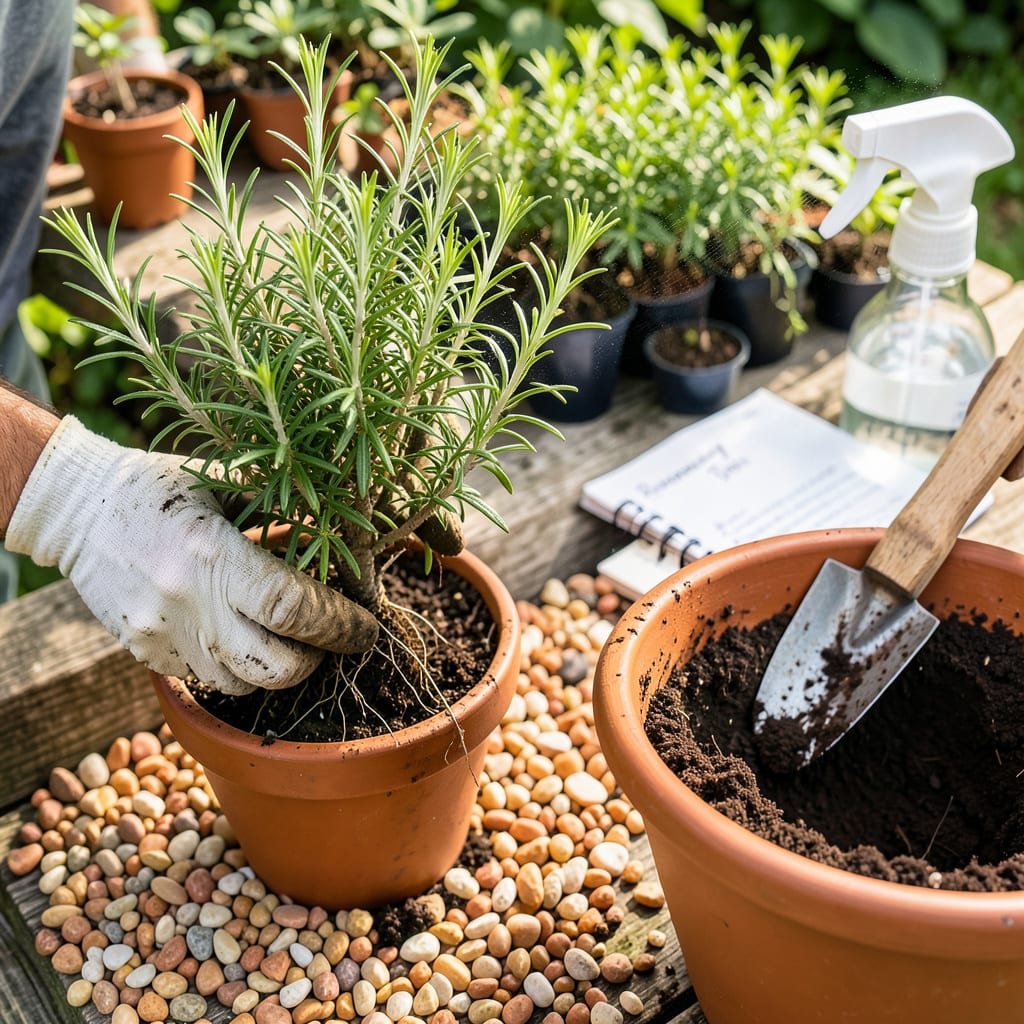
That first time I transplanted rosemary, I nearly killed it with kindness. Too much water, not enough sun—lesson learned the hard way. The truth is, rosemary thrives when moved properly, whether you’re upsizing a root-bound pot or shifting it to a sunnier spot. Timing matters: early spring or fall gives roots the best chance to settle before summer heat or winter chill.
What surprised me most? How quickly rosemary bounces back when you get it right. The key is treating the roots gently and matching the new location to what this Mediterranean herb naturally loves—well-draining soil and 6+ hours of sunlight. You’ll see new growth within weeks if you nail the basics. No green thumb required, just a little patience and the right approach.
📚 In This Guide
Moving rosemary doesn’t have to be stressful—here’s how to do it without shocking your plants.
Transplant in early spring after the last frost or early fall when temperatures stay between 60-75°F. Rosemary hates cold roots, so avoid transplanting if nighttime temps drop below 50°F. I always check the 10-day forecast first to ensure no surprises.
Select a spot with full sun (6+ hours daily) and well-draining soil. If your garden has heavy clay, amend the planting area with compost or sand to improve drainage. Rosemary thrives in slightly alkaline soil (pH 6.0-7.0), so test if you’ve had issues growing herbs before.
Water the plant deeply 24 hours before transplanting—this keeps the root ball intact. Use a sharp spade to dig in a circle around the plant, starting about 6 inches from the base to capture the full root system. Rosemary roots grow wider than deep, so go wide rather than digging straight down.
Once you’ve loosened the soil, slide the spade underneath and lift gently. If roots resist, don’t yank—dig deeper around the edges. I always keep a tarp nearby to set the plant on while transporting it, which prevents root exposure to air and sun.
Dig a hole twice as wide as the root ball but no deeper. Rosemary suffers if planted too deep, so position it at the same soil level as before. Backfill with native soil mixed with a handful of compost, pressing lightly to eliminate air pockets.
Water immediately after planting until the soil is moist but not soggy. The goal is to settle the soil around the roots without drowning them. I create a small berm around the base to help direct water to the roots during the first few waterings.
Keep the soil consistently moist (but never waterlogged) for the first 2-3 weeks while roots establish. After that, water only when the top 1-2 inches of soil feel dry—rosemary prefers dry conditions once established. Mulch lightly with gravel or sand to retain moisture and prevent weeds.
Avoid fertilizing for at least 4-6 weeks after transplanting. New roots are sensitive, and fertilizer can burn them. Watch for wilting in the first week—this is normal transplant shock. If leaves stay wilted after 48 hours, the plant may need more water or temporary shade.
Transplanting rosemary successfully comes down to timing and technique—here’s what I’ve learned from years of moving these resilient herbs.
The Temperature Factor: Those 60-75°F guidelines in Step 1 aren’t just suggestions—they’re critical. Rosemary roots shut down below 50°F, which is why I always check soil temperature at 6″ depth with a thermometer before moving plants. Morning transplants work best when daytime highs are in the 70s, giving roots time to settle before evening cool-down.
Root Ball Protection: The 24-hour pre-watering in Step 2 makes all the difference. I’ve found that adding 1 tablespoon of liquid seaweed to the water helps reduce transplant shock. When digging, if your root ball crumbles despite watering, wrap it in burlap for transport—this holds it together until replanting.
Post-Transplant Monitoring: During those first 2-3 weeks mentioned in Step 4, I check plants daily at dawn. Rosemary shows stress through curled leaves before wilting becomes obvious. A light misting of the foliage (not soil) in the early morning helps reduce moisture loss while roots establish. Remove any flowers that form during this period—they divert energy from root growth.
Soil Transition Trick: When backfilling in Step 3, I mix a handful of the original soil with the new hole’s soil. This introduces beneficial microbes the plant is already accustomed to, easing the transition. For clay-heavy soils, I add perlite rather than sand—it won’t compact over time like sand can.
While rosemary can be transplanted in summer, it’s risky due to heat stress. Opt for early morning or late evening to avoid wilting, and water deeply for 2 weeks. Spring or fall (when temps are 60–75°F) is ideal for smoother recovery.
Watch for drooping leaves, yellowing, or crispy tips—classic shock signs. Don’t panic! Trim damaged foliage, keep soil moist (not soggy), and shield from direct sun for 3–5 days. Most plants bounce back in 2–3 weeks with proper care.
Potted → ground: Harden off the plant for 1 week first. Ground → pot: Dig wide to preserve roots and use well-draining soil. Pro tip: Trim leggy growth pre-transplant to reduce stress.
Rosemary thrives in sandy, gritty soil with pH 6.0–7.0. Mix 60% potting soil + 30% perlite/sand + 10% compost. Avoid heavy clay or moisture-retentive mixes—they cause root rot. For pots, ensure drainage holes!
Not necessarily! Wilting is common post-transplant. Check soil moisture (stick your finger 1″ deep—dry? Water! Soggy? Hold off). If stems are still green, it’s likely recovering. If brown/mushy, root rot may be the culprit.
