
Beautiful Plants For Your Interior
Beautiful Plants For Your Interior
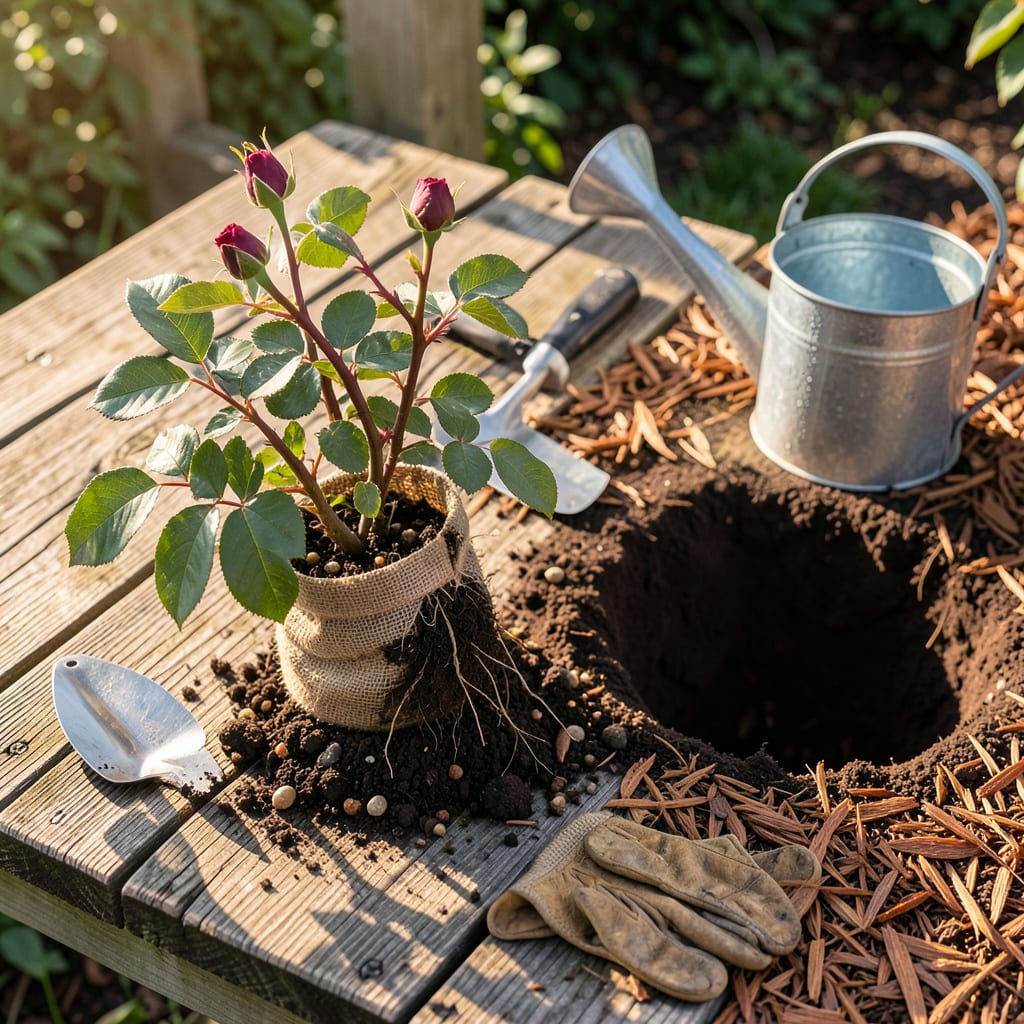
Moving a rose bush feels like performing surgery on your garden—terrifying until you know the right cuts to make. I’ve relocated dozens over the years, and the ones that thrive follow a simple rule: timing and tenderness. Transplant in early spring or fall when the plant is dormant but the soil is workable, and you’ll avoid the shock that dooms summer moves.
What you’re really doing is convincing the roots to trust their new home. Dig wide, not deep—most rose roots spread horizontally—and keep that root ball intact like it’s a fragile package. The first week after the move is critical: water deeply, shade the leaves, and resist the urge to prune. By the third week, you’ll see new growth proving the transplant took.
📚 In This Guide
Moving established roses doesn’t have to be stressful—here’s how I do it with minimal shock and maximum success.
Early spring or fall is ideal for transplanting roses, when temperatures stay between 50-70°F and plants are dormant. I avoid summer moves because heat stress can kill even well-prepared bushes. Start by digging the new hole first—it should be twice as wide as the root ball but no deeper than the original planting depth.
Mix the excavated soil with equal parts compost to create a nutrient-rich backfill. Test the drainage by filling the hole with water—if it doesn’t empty within 30 minutes, you’ll need to amend with sand or choose another spot. Roses despise wet feet more than almost anything else.
Prune the bush back by one-third to reduce water loss through leaves. Use clean bypass pruners to make angled cuts just above outward-facing buds. This isn’t just about size—it’s about directing new growth away from the center for better air circulation.
Dig a trench around the bush at the drip line (where water drips from the outer leaves). Work your way inward, creating a root ball about 12-18 inches in diameter for standard bushes. For climbing roses, you’ll need to trace and preserve longer lateral roots. Slide a tarp under the root ball to drag it to the new location without breaking soil contact.
Place the bush in the new hole at the same depth it grew before—you should see the original soil line on the main stem. Backfill with your compost mix, gently firming the soil around the roots to eliminate air pockets. Create a 3-inch-high water ring around the perimeter to direct moisture to the roots.
Water deeply until the soil is saturated and muddy at the base. I use 3-5 gallons per bush initially, then maintain consistent moisture for the first 2 weeks. The key sign you’re doing it right? The soil should feel damp 4 inches down when you check with your finger.
Apply 2-3 inches of mulch (wood chips or shredded bark) around the base, keeping it 3 inches away from the stem to prevent rot. For the first month, water every 2-3 days unless rain provides at least 1 inch per week. You’ll know the bush is establishing when you see new growth at the pruning cuts.
Hold off on fertilizer until you see 3-4 inches of new growth—usually after 4-6 weeks. The roots need to recover before they can handle feeding. Watch for wilting in late afternoon (normal) versus morning wilting (needs more water). This careful attention now means stronger blooms next season.
Transplanting roses successfully comes down to timing, technique, and aftercare—here’s what I’ve learned from years of moving these finicky beauties.
Timing is Everything: The 50-70°F window mentioned in Step 1 isn’t just a suggestion—it’s critical. I once tried moving roses in early summer when temperatures hit 85°F, and even with perfect technique, half the bushes struggled. Early spring (just as new growth starts) or fall (6 weeks before first frost) gives roots time to establish before extreme weather hits. If you must move during summer, choose an overcast day and provide temporary shade for at least a week afterward.
Root Ball Protection: When digging that 12-18 inch root ball in Step 2, keep as much native soil attached as possible. I wrap the entire root ball in burlap after sliding it onto the tarp—this prevents soil from crumbling during the move. For climbing roses with extensive root systems, trace roots outward until you hit pencil-thick laterals, then cut cleanly with sharp pruners rather than tearing. The more intact roots you preserve, the faster your rose will recover.
Watering Wisdom: That initial 3-5 gallons in Step 3 isn’t excessive—it’s exactly what’s needed to saturate the entire root zone. Here’s what most guides don’t tell you: after watering, wait 10 minutes, then water again. The first soaking often reveals air pockets that collapse, creating space for more water. During those first 2 weeks, check moisture 4 inches down daily; surface dryness is misleading with roses. I use a chopstick to test depth—if it comes out clean, it’s time to water again.
Stress Signals: In Step 4, that mention of afternoon wilting versus morning wilting is your most important diagnostic tool. Late-day drooping is normal as the plant adjusts, but if leaves are limp before 10 AM, you’ve got a water issue. Don’t just add more water though—dig down to check moisture. Sometimes “wilting” means waterlogged roots (from poor drainage) just as often as drought. When in doubt, the finger test 4 inches deep never lies.
It’s risky! Roses transplant best in early spring or fall when temps are mild (50–70°F). Summer heat stresses plants, but if you must, choose a cool, overcast day, prune aggressively, and water daily for 2+ weeks. Avoid extreme heat—wait for fall if possible.
Aim for a root ball 12–18 inches wide for small bushes, 24+ inches for mature plants. Depth should match the bush’s drip line (outer leaf edge). Use a sharp spade to slice cleanly around roots—ragged cuts invite disease. Pro tip: Soak the root ball in water post-dig to reduce shock!
First, prune wilted stems (cut at a 45° angle) to reduce water loss. Drench the soil with 1 gallon of water mixed with 1 tbsp Epsom salt (magnesium boost!). Shield from sun with shade cloth for 3–5 days. Avoid fertilizer—it burns stressed roots. Most roses bounce back in 2–3 weeks with consistent care.
Not ideal! Blooming saps energy needed for root recovery. If unavoidable, remove all flowers and buds first to redirect resources. Transplant early morning, keep roots moist, and expect temporary shock (yellow leaves, drooping). Fall or early spring is still the safest time.
Bare-root roses (dormant, no soil) transplant best in late winter/early spring—they establish faster with less shock. Potted roses can move anytime (avoid summer), but require extra watering to adjust. Bare-root = cheaper; potted = more convenient. Choose based on your climate and timing!
