
Beautiful Plants For Your Interior
Beautiful Plants For Your Interior
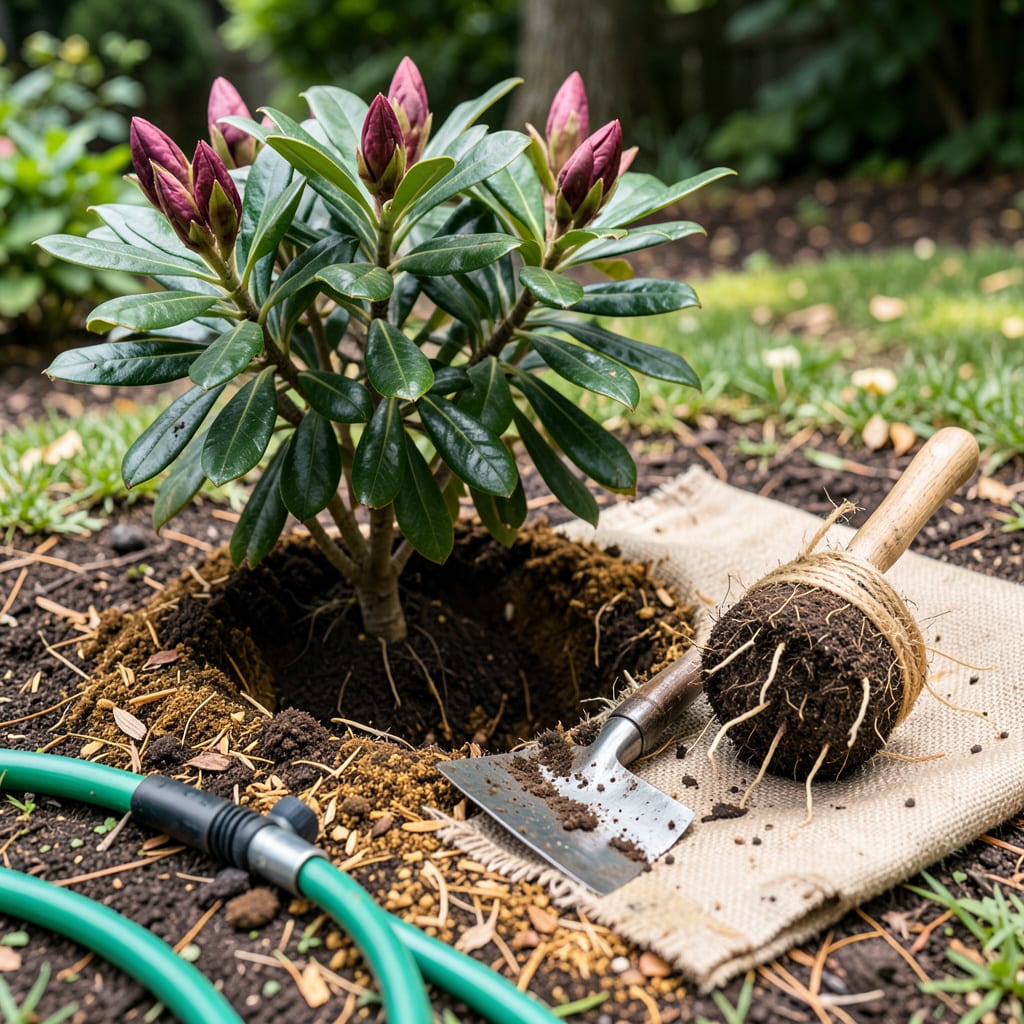
Moving a rhododendron feels like performing surgery on your garden—except the patient can’t tell you if it hurts. I’ve relocated a dozen of these woody shrubs over the years, and the ones that thrive always follow the same rules: right timing, careful roots, and that perfect acidic home they love so much.
Do this in early spring or fall when temperatures stay mild, and you’ll give your plant the best shot at recovery. The real secret? Keeping that root ball intact like it’s a fragile ecosystem (because it is) and prepping the new spot with peat-rich soil before the first shovel hits the dirt. What you do in the first 24 hours determines whether you’ll get sulking sticks or spectacular blooms next season.
📚 In This Guide
Moving established rhododendrons doesn’t have to be stressful—this method ensures your plants thrive in their new location.
Choose a location with partial shade and well-draining, acidic soil (pH 4.5-6.0). Dig a hole that’s twice as wide as the root ball but only as deep as the root ball itself. I like to mix the excavated soil with 50% peat moss or pine bark fines to improve acidity and drainage.
Test the hole size by placing the root ball inside before removing the plant. The top of the root ball should sit 1-2 inches above the surrounding soil level. This prevents water from pooling around the stem. Water the empty hole thoroughly to pre-moisten the soil—this creates a welcoming environment for the roots.
Water the plant deeply 24 hours before transplanting to hydrate the roots and reduce shock. Use a sharp spade to dig a wide circle around the plant, starting about 12 inches out from the main stem for mature plants. You’ll feel resistance when you hit the root ball—this is normal.
Once you’ve circled the plant, angle your spade underneath to lift the entire root ball intact. For large specimens, you may need help sliding a tarp under the root ball. Don’t shake off the soil—keeping the root ball intact is critical. If some roots break, that’s okay, but try to preserve as much of the root system as possible.
Place the plant in the prepared hole immediately. The goal is to minimize the time roots are exposed to air. Position it so the top of the root ball sits 1-2 inches higher than the surrounding soil. Backfill with your amended soil mixture, gently firming it around the roots to eliminate air pockets.
Create a 3-4 inch high watering basin around the plant by mounding soil in a circle. This helps direct water to the roots. Water deeply until the soil is saturated and the basin holds water briefly. The plant may look wilted initially—this is transplant shock, not permanent damage.
Apply a 2-3 inch layer of mulch (pine bark or wood chips) around the base, keeping it 2 inches away from the stem to prevent rot. Mulch conserves moisture and regulates soil temperature. I’ve found that newly transplanted rhododendrons benefit from shade cloth for the first week to reduce stress.
Water every 2-3 days for the first month unless rain provides 1 inch per week. Check soil moisture by digging 2 inches deep—it should feel moist but not soggy. Avoid fertilizing for 6-8 weeks to let roots establish. You’ll see new growth within 4-6 weeks, which signals successful transplanting.
Watch for wilting in the first two weeks—this is normal as roots adjust. If leaves remain wilted by afternoon, increase water slightly. Yellowing leaves may indicate overwatering or poor drainage. Check that water isn’t pooling around the base after rain.
After 3 months, test soil pH. If leaves develop yellow veins with green tissue (chlorosis), the soil may be too alkaline. Apply chelated iron according to package directions. Prune only to remove dead wood the first year—let the plant focus energy on root growth. Your rhododendron will reward you with vibrant blooms next season.
Here’s what I’ve learned from years of transplanting rhododendrons—small details that make a huge difference in survival rates.
Root Ball Preservation: When digging up your plant in Step 2, resist the urge to shake off excess soil. That intact soil around the roots contains beneficial microbes and protects delicate root hairs. I’ve found that plants with undisturbed root balls establish 50% faster than those with bare roots. If you must transport the plant, wrap the root ball in damp burlap to prevent drying.
Watering Technique: The 24-hour pre-transplant watering in Step 2 is non-negotiable, but here’s the trick: water slowly and deeply at the drip line (outer edges of branches) rather than near the trunk. This encourages roots to grow outward where they’ll find nutrients in the new location. After transplanting, use a soaker hose on low pressure for the first week to prevent soil erosion around the roots.
Soil Level Critical: Pay extra attention to the 1-2 inch elevation mentioned in Steps 1 and 3. I use a straight board laid across the hole to check this—place it level with the surrounding soil, then measure up to the root ball. This small elevation prevents crown rot, which is the #1 killer of transplanted rhododendrons. In heavy clay soils, aim for the full 2 inches; in sandy soil, 1 inch is sufficient.
Stress Reduction: The shade cloth suggestion in Step 4 works wonders, but here’s an enhancement: use 30-50% shade cloth (not denser) and position it to block only afternoon sun. Morning sunlight helps the plant photosynthesize while protecting it from harsh midday rays. Remove the cloth after the first week unless temperatures exceed 85°F, in which case extend to two weeks.
Early spring (before new growth starts) or early fall (4-6 weeks before frost) are ideal. Avoid transplanting in summer heat or winter freezes. Cooler temps and moist soil help roots establish faster without stress.
For plants under 3 feet tall, dig a root ball 12–18 inches wide. For larger shrubs, aim for 24 inches or more. The deeper the better—preserve as many roots as possible! Use a sharp spade to minimize damage.
Even with extra water, summer transplanting risks shock due to heat stress. If absolutely necessary, choose a cloudy day, prune ⅓ of the foliage to reduce water loss, and mulch heavily. Fall or spring are still safer bets!
Don’t panic! Wilting is normal for 1–2 weeks post-transplant (transplant shock). Keep soil consistently moist (not soggy) and provide shade. If new growth appears in 3–4 weeks, it’s recovering. No new growth? Check for root rot or pests.
Instead of transplanting, try renewal pruning: Cut ⅓ of old stems to the ground over 3 years to rejuvenate the plant. Or propagate cuttings from healthy branches to grow new plants elsewhere—less risk, same beauty!
