
Beautiful Plants For Your Interior
Beautiful Plants For Your Interior
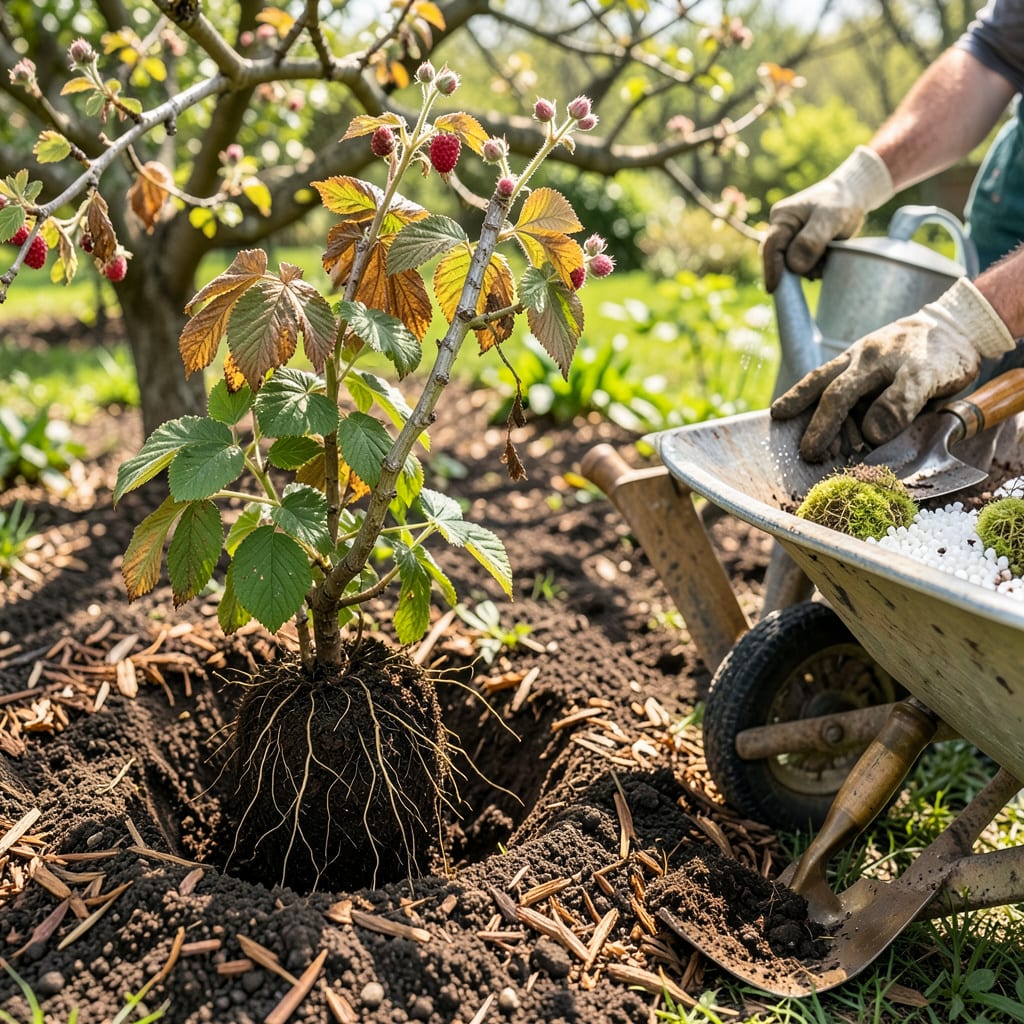
Moving raspberry bushes feels like performing surgery on your garden—until you realize how forgiving these plants actually are. I’ve relocated dozens over the years, and the ones that struggled were always my fault, not theirs. The secret? Timing and root respect. Do it right, and you’ll get bigger harvests the very next season because the bushes establish stronger in fresh soil.
Early spring or late fall—when the canes are dormant—is your window. Skip the summer moves; that’s when raspberries throw tantrums. What you’re really doing here is giving them a fresh start: better drainage, more sun, or just room to spread. The payoff comes when those first plump berries appear on the new growth, sweeter than the old patch ever produced.
📚 In This Guide
Timing and technique make all the difference—here’s how to move your canes without stressing them.
Transplant raspberry bushes during late winter dormancy (February to early March) or early fall (September to October) when the canes are inactive. I’ve found that spring transplanting works best in colder zones, while fall gives roots extra establishment time in milder climates. Avoid moving plants during active growth or extreme temperatures.
Check the 5-day forecast before digging—you want cool, overcast conditions with no frost predicted. The ideal soil temperature for transplanting is between 40-50°F. If you must transplant in summer, sever half the canes to reduce water stress and provide temporary shade for the first week.
Select a location with full sun exposure (6+ hours daily) and well-draining soil with a pH between 5.5-6.5. Raspberry roots despise soggy conditions, so avoid low spots where water pools. I recommend working 2-3 inches of compost into the top 12 inches of soil to improve both drainage and nutrient availability.
Dig a hole twice as wide as the root ball but no deeper than it currently grows. The depth is critical—planting too deep suffocates the crown, while too shallow exposes roots. Create a small mound at the hole’s center to drape roots over naturally. Space multiple plants 2-3 feet apart for floricanes or 3-4 feet for primocanes to allow proper air circulation.
Using a sharp spade, dig a 12-inch diameter circle around the plant’s base to sever roots cleanly. Start digging 8-10 inches out from the main cane cluster to preserve the feeder roots. I always water the plant thoroughly 24 hours before transplanting—this hydrates the roots and makes the soil easier to work with.
Lift the entire root ball gently, shaking off excess soil to inspect for damage. For overgrown plants, divide the clump by cutting between canes with clean pruners, ensuring each division has 3-5 healthy canes and a substantial root system. Discard any blackened or mushy roots immediately—they’ll only spread disease to the new location.
Place the plant in the prepared hole, spreading roots evenly over the mound. The crown (where canes meet roots) should sit 1-2 inches above soil level—this prevents rot while allowing for natural settling. Backfill with native soil, gently firming as you go to eliminate air pockets. I create a 3-inch-high watering basin around the plant’s perimeter to direct moisture to the roots.
Water immediately with 1-2 gallons per plant, allowing the water to soak in completely before adding more. Apply 2-3 inches of organic mulch (straw or wood chips) around the base, keeping it 2 inches away from the canes to prevent stem rot. The mulch conserves moisture and suppresses weeds that compete with your establishing raspberries.
Check soil moisture daily for the first week—raspberries need consistently moist (but not waterlogged) soil during establishment. I reduce watering to every 2-3 days after the first week, unless temperatures exceed 85°F. New growth typically appears within 2-3 weeks if the transplant was successful.
Remove any fruit that forms the first season—this redirects energy to root development. Watch for wilting or yellowing leaves, which indicate either under-watering or poor root-soil contact. If canes die back, cut them to the ground; new shoots will emerge from the roots if the transplant took. Full production resumes the second season after transplanting.
Moving raspberry bushes successfully comes down to understanding their growth patterns and minimizing transplant shock. Here’s what I’ve learned from years of trial and error.
Timing Precision: The late winter dormancy window (February to early March) mentioned in Step 1 is absolutely critical for cold climate gardeners. I’ve found that transplanting during this period—when soil temperatures are consistently between 40-50°F—gives roots the best chance to establish before spring growth begins. If you miss this window, early fall (September to October) becomes your next best opportunity, though you’ll need to be more vigilant about watering as temperatures can still fluctuate.
Root Preservation Technique: When executing Step 3’s digging process, the instruction to start 8-10 inches out from the cane cluster isn’t arbitrary. This distance protects the delicate feeder roots that absorb most of the plant’s water and nutrients. I use a sharp spade and make clean, vertical cuts rather than prying the plant out—this preserves more of the root system. After lifting, immediately wrap the root ball in damp burlap if you’re not replanting immediately to prevent drying.
Watering Strategy: The 1-2 gallons per plant immediately after transplanting in Step 4 isn’t just about hydration—it’s about eliminating air pockets around the roots. I water in stages: first gallon to settle the soil, wait 10 minutes for it to absorb, then the second gallon. This gradual approach ensures moisture reaches the deepest roots without creating runoff. The 3-inch watering basin mentioned is particularly effective in sandy soils where water tends to drain quickly.
Post-Transplant Monitoring: During that critical first week when you’re checking soil moisture daily, pay special attention to the 2-3 week window mentioned for new growth. If you don’t see new shoots by day 21, gently excavate around one cane to check root condition. Healthy roots should be firm and white—if they’re brown and mushy, you’re likely dealing with either overwatering or poor drainage at the new site.
Summer’s heat stresses plants, making it the worst time to transplant. Aim for early spring (before buds swell) or fall (4–6 weeks before frost). If you must move them in summer, water deeply 2–3 days prior, transplant on a cloudy day, and shade them for a week.
Plant at the same depth as their original spot—look for the soil line on the cane. Too deep? Roots suffocate. Too shallow? Roots dry out. For bare-root plants, ensure the crown (where roots meet stems) sits 1–2 inches below the soil surface.
First, prune canes by ⅓ to reduce stress. Water daily (1–2 inches/week) for 2 weeks—morning only to prevent fungal issues. Mulch with straw to retain moisture. If wilting persists after 3 days, check for root damage or overwatering.
Yes! Use a 5-gallon pot (minimum) with drainage holes and well-draining soil (mix 60% potting soil + 40% compost). Dwarf varieties like ‘Raspberry Shortcake’ thrive best. Warning: Potted raspberries need daily watering in summer and winter protection in cold climates.
Common culprits:
