
Beautiful Plants For Your Interior
Beautiful Plants For Your Interior
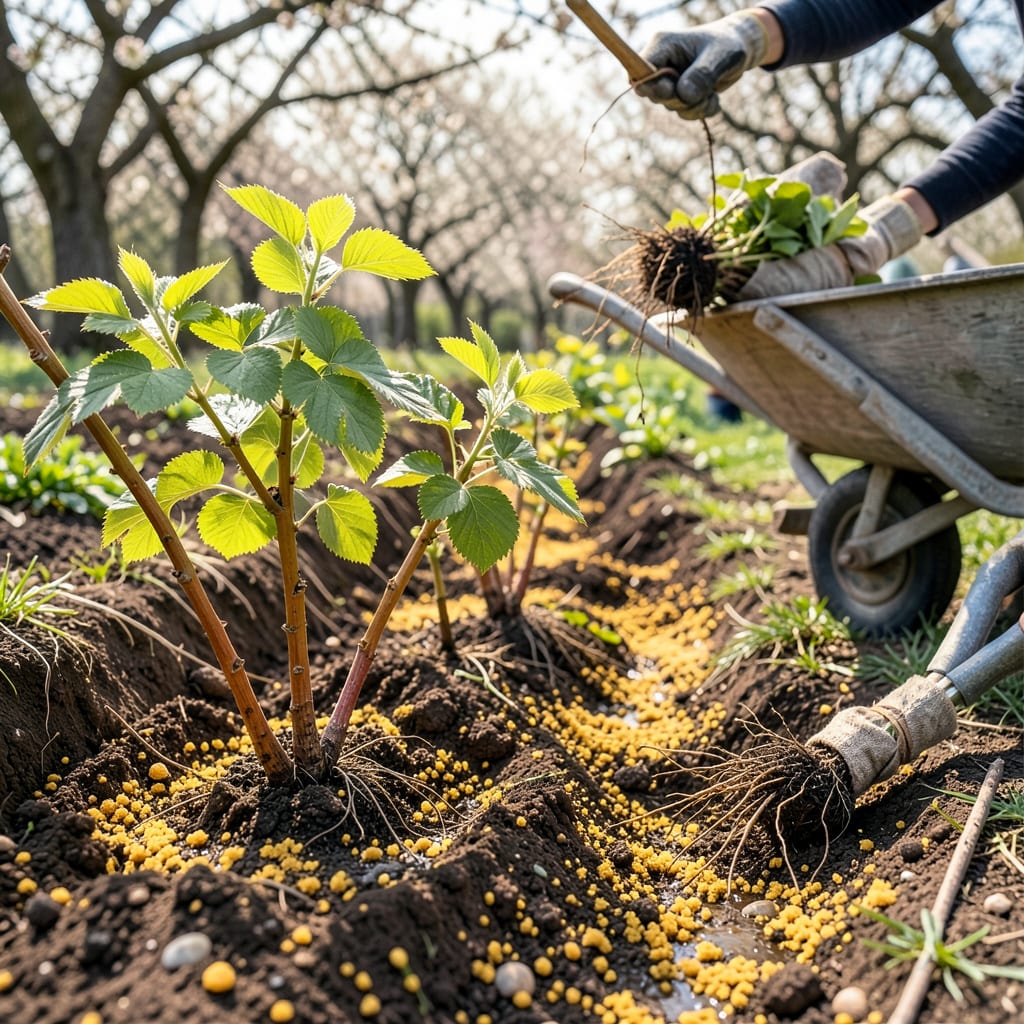
Moving raspberries feels risky—like you might lose the whole plant. But after relocating my patch three times (thanks, landscape redesigns), I’ve landed on a method that gives plants zero transplant shock. The secret? Timing and root care. Do it in early spring before new growth starts, or in fall after fruiting, and your canes will establish faster than you’d expect.
You don’t need fancy tools—just a sharp spade, some compost, and a sunny new spot with well-draining soil. I’ve seen transplanted raspberries outperform original plants by their second season, with thicker canes and heavier fruit. The key is keeping the roots moist and undisturbed during the move, then giving them a deep drink after replanting. They’ll reward you with growth you can measure in inches per week.
📚 In This Guide
Moving established raspberry plants doesn’t have to be stressful—follow this method for minimal shock and maximum success.
Early spring, just as new growth begins (when soil temperatures reach 45°F), is ideal for transplanting raspberries. I’ve found this timing allows roots to establish before summer heat stresses the plants. Late fall, after leaf drop but before ground freezes, works too—dormant plants transplant with less shock.
Avoid transplanting during active fruiting or extreme heat. You’ll see the canes’ buds swelling slightly in early spring—that’s your visual cue the plant is breaking dormancy and ready for the move. Check your local frost dates; aim for 4-6 weeks before your last expected frost for spring transplants.
Select a location with full sun (6+ hours daily) and well-draining soil. Raspberries despise wet feet, so avoid low spots where water pools. I test drainage by digging a 12-inch deep hole, filling it with water, and checking if it drains within 30 minutes.
Amend the soil with 2-3 inches of compost worked into the top 8-10 inches. Raspberries thrive in slightly acidic soil (pH 5.5-6.5), so I add a handful of sulfur if my test kit shows alkalinity. Space planting holes 2-3 feet apart for floricanes or 3-4 feet apart for primocanes—they’ll fill in quickly.
Using a sharp spade, dig a 12-15 inch diameter root ball around each plant you’re moving. Go deep—raspberry roots extend 8-12 inches down. I always water the plants 24 hours before digging; hydrated roots suffer less transplant shock.
For overgrown clumps, divide them into smaller sections with 3-5 healthy canes each. Use pruners to cleanly cut through thick roots. You’ll see white, fibrous roots in the soil—these are the active ones to preserve. Discard any sections with mushy or blackened roots, as these indicate rot.
Place each division in its new hole at the same depth it grew previously—the soil line on the cane should match the surrounding ground level. Backfill with native soil, gently firming to eliminate air pockets. I create a 3-inch high soil berm around each plant to form a water basin.
Water immediately with 1-2 gallons per plant, allowing it to soak in slowly. The soil should feel moist to 6 inches deep when you check with your finger. Mulch with 2-3 inches of straw to retain moisture and suppress weeds, but keep it 2 inches away from canes to prevent rot.
Prune the canes back to 6-8 inches tall immediately after transplanting. This seems drastic, but it reduces water loss and directs energy to root establishment. You’ll see new growth emerging from the base within 2-3 weeks if the transplant succeeded.
Maintain consistent moisture for 3-4 weeks—daily watering may be needed if rainfall is under 1 inch per week. Watch for wilting in late afternoon; this is normal initially but should diminish after 5-7 days. If wilting persists beyond 10 days, the roots may need deeper watering or the plant is struggling to establish.
After years of trial and error with raspberry transplants, I’ve learned these key insights that make all the difference between struggling plants and thriving ones.
Timing Precision: The 4-6 week window before last frost mentioned in Step 1 isn’t arbitrary—it’s critical. I’ve found that transplanting when soil is exactly 45°F (use a soil thermometer) gives roots the perfect balance of warmth for growth and coolness to prevent stress. If you transplant too early in cold soil, roots won’t establish; too late and new growth will suffer from heat shock. Check your local agricultural extension for precise frost dates rather than relying on general estimates.
Root Ball Technique: When digging that 12-15 inch diameter root ball in Step 3, here’s what changed my success rate: Use a sharp spade to cut cleanly around the plant in a circle first, then angle the spade underneath to sever roots at the 8-12 inch depth. This preserves the maximum root structure. I learned the hard way that yanking plants out by the canes tears the delicate feeder roots you can’t see—those are the ones that actually absorb water and nutrients during the critical first weeks.
Watering Strategy: The 1-2 gallons per plant immediately after transplanting in Step 4 isn’t just about hydration—it’s about eliminating air pockets. Here’s my method: Water in stages. First gallon goes in as you backfill the hole to settle soil around roots. Second gallon (if needed) should be poured slowly into that 3-inch berm you created, allowing it to soak down to the 6-inch depth over 10-15 minutes. This gradual approach prevents water from running off while ensuring deep penetration where new roots will grow.
Post-Transplant Monitoring: During those critical 3-4 weeks of consistent moisture mentioned in Step 5, don’t just watch the soil surface. Insert your finger to that 6-inch depth daily—if it feels dry at 4 inches down, you’re not watering deeply enough. I use a chopstick to create small holes around the berm (about 6 inches from the cane) for deeper water delivery. Also, that afternoon wilting is normal for 5-7 days, but if you see it at 8 days, that’s your warning sign to increase water volume by 25% the next day.
Early spring (before new growth starts) or late fall (after dormancy begins) are ideal. Avoid transplanting during summer heat or while plants are fruiting—this stresses them. In mild climates, late winter also works if the ground isn’t frozen.
It’s risky! Summer heat shocks roots, even with extra water. If you must, choose a cloudy day, trim canes to 12 inches, and shade plants for a week. Expect slower recovery and possible fruit loss that season.
Space plants 18–24 inches apart in rows 6–8 feet apart for easy access. Erect varieties need more room (3 feet between plants). Overcrowding reduces airflow, inviting disease. Use a tape measure for precision!
Don’t panic! Wilting is normal for 1–2 weeks as roots adjust. Check soil moisture (keep it damp but not soggy) and trim damaged canes. If new growth appears in 3–4 weeks, they’re recovering. No sprouts? Replace the plant.
Yes! Choose a 5-gallon (or larger) pot with drainage, use well-draining soil, and pick compact varieties like ‘Raspberry Shortcake.’ Containers dry faster—water daily in summer and fertilize monthly. Move pots to shelter in winter.
