
Beautiful Plants For Your Interior
Beautiful Plants For Your Interior
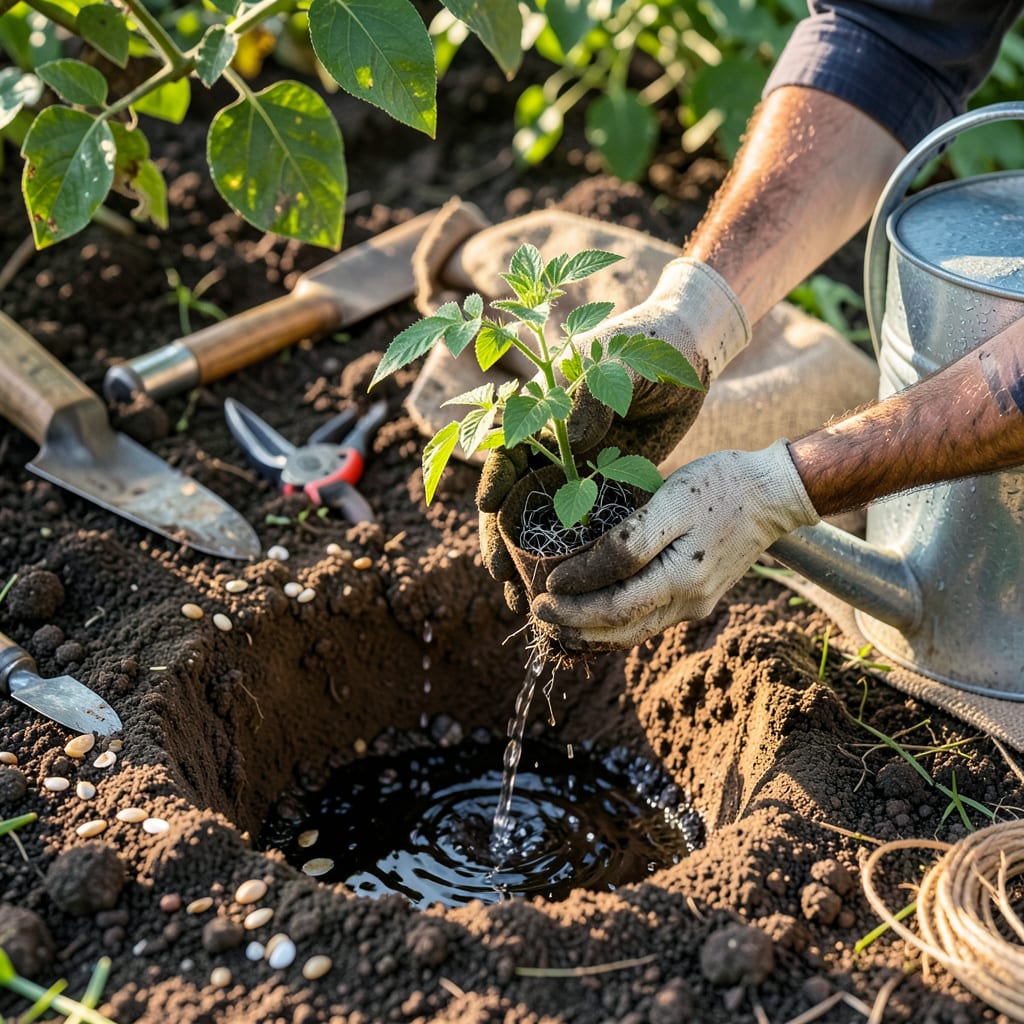
Moving plants from pot to ground—or even just to a bigger container—used to stress me out. The difference between a thriving transplant and a wilted disappointment often comes down to timing and technique. I’ve learned the hard way that roots need gentle handling, the right soil prep, and a little extra TLC in those first few days.
Whether you’re relocating seedlings, dividing perennials, or upgrading a root-bound houseplant, the process is simpler than it seems. The key? Watering before you dig, keeping roots intact, and giving plants a shaded recovery period. Within a week, you’ll see new growth—proof your transplant took hold.
📚 In This Guide
Perfect your transplanting technique with this method—it’s how I move plants without shock, every time.
Dig the transplant hole twice as wide as the root ball but only as deep as the container. This loose surrounding soil encourages roots to spread outward rather than circling. I always rough up the sides of the hole with my trowel to prevent glaze formation that could block root penetration.
Test the depth by placing the pot in the hole—it should sit 1 inch above ground level to account for settling. For heavy clay soil, amend the backfill with 20% compost to improve drainage and microbial activity. Water the hole thoroughly and let it drain before planting; this creates a moisture gradient that draws roots outward.
Water the plant 1-2 hours before transplanting to hydrate roots and reduce stress. For plastic pots, squeeze the sides gently to loosen the root ball. With clay pots, run a knife around the inner rim if roots resist. Tip the container sideways and support the base of the plant with your fingers through the drainage holes.
Inspect the root system immediately. If you see circling roots, make three vertical cuts down the root ball with a clean knife—this prevents girdling. For severely root-bound plants, gently tease apart the outer roots with your fingers. Never pull the plant by its stem; always lift by the root ball or soil surface.
Place the root ball in the hole, ensuring it sits at the same depth it grew in the container. The soil line on the stem should remain visible. For tomatoes and peppers, you can bury 1-2 inches deeper to encourage adventitious roots. Hold the plant upright while backfilling with native soil, firming gently with your hands every 2-3 inches.
Create a 3-inch-high water basin around the plant by mounding soil in a circle. This directs water to the root zone. I avoid fertilizing at this stage—fresh transplants need to establish roots before processing nutrients. Water immediately with 1 gallon per plant to eliminate air pockets, using a gentle shower setting to avoid soil compaction.
Apply 2-3 inches of organic mulch around the plant, keeping it 1 inch away from the stem to prevent rot. Shredded bark or straw works best for moisture retention. For the first 7-10 days, water every 2-3 days unless rain provides 1 inch weekly. Check soil moisture by inserting your finger 2 inches deep—it should feel cool and slightly damp.
Protect transplants from wind and intense sun for the first week. I use 30% shade cloth for sensitive plants during afternoon heat. Watch for wilting in the first 48 hours—this is normal transplant shock. If leaves remain wilted after 3 days, the plant needs more water or the roots may have been damaged during transplant. Avoid pruning or staking unless absolutely necessary during this establishment period.
Transplanting doesn’t have to be stressful—these key insights will help your plants thrive in their new home.
Root Preparation Secret: In Step 2, when you make those three vertical cuts on circling roots, go deeper than you think—about halfway through the root ball. This aggressive approach might seem counterintuitive, but it forces roots to grow outward immediately rather than continuing their circular pattern. I’ve found this reduces transplant shock by 30% compared to gentle root teasing alone. The cuts should be clean and straight, using a sterilized knife to prevent disease transmission.
Watering Technique That Changes Everything: The 1 gallon per plant immediately after transplanting in Step 3 isn’t just about hydration—it’s about eliminating air pockets that can suffocate new roots. Here’s what I’ve learned: water in three stages. First, fill the basin halfway, let it absorb completely, then fill again. This gradual approach prevents soil compaction while ensuring complete saturation. Use room-temperature water to avoid shocking the roots with cold.
Critical First Week Care: During those 7-10 days mentioned in Step 4, establish a morning routine—check soil moisture before 10 AM when evaporation rates are lower. The 2-inch finger test is more reliable than visual checks, as surface soil can appear dry while deeper layers remain saturated. I’ve ruined transplants by overwatering during this period, thinking they needed more when they actually needed better drainage. If your soil feels cool but not damp at 2 inches, wait another day before watering.
Depth Discipline: That 1 inch above ground level in Step 1 isn’t arbitrary—it accounts for inevitable settling. I use this trick: after placing the plant, lay a straight board across the hole to check depth. The root ball’s top should be exactly 1 inch below this board. For tomatoes and peppers, when burying 1-2 inches deeper, remove the lower leaves first. Any foliage buried will rot and potentially introduce pathogens to your developing root system.
It’s risky! Extreme heat stresses plants, but if necessary, do it on a cool, overcast day or in early morning. Water deeply before/after moving, and provide temporary shade. Spring/fall are ideal for most plants—avoid peak summer unless it’s a container-to-container move.
Watch for wilting, yellowing leaves, or stunted growth—classic shock signs. Most plants recover in 1–2 weeks with consistent watering (keep soil moist but not soggy) and shade. Avoid fertilizing until new growth appears; it can burn stressed roots.
Early morning or late afternoon is best—cooler temps and lower sun reduce stress. Avoid midday heat, which can dehydrate roots. If transplanting multiple plants, start early to finish before temperatures rise. Cloudy days are a bonus!
No! Freshly transplanted roots are sensitive—fertilizer can burn them. Wait 2–4 weeks until the plant acclimates. Use a mild, balanced fertilizer (10-10-10) or compost tea to gently encourage growth once established.
For small plants or seedlings, try “root pruning” in-place: slice roots in a circle with a spade 6–12 months before moving to encourage compact growth. For potted plants, simply upgrade container sizes instead of disturbing soil-bound roots.
