
Beautiful Plants For Your Interior
Beautiful Plants For Your Interior
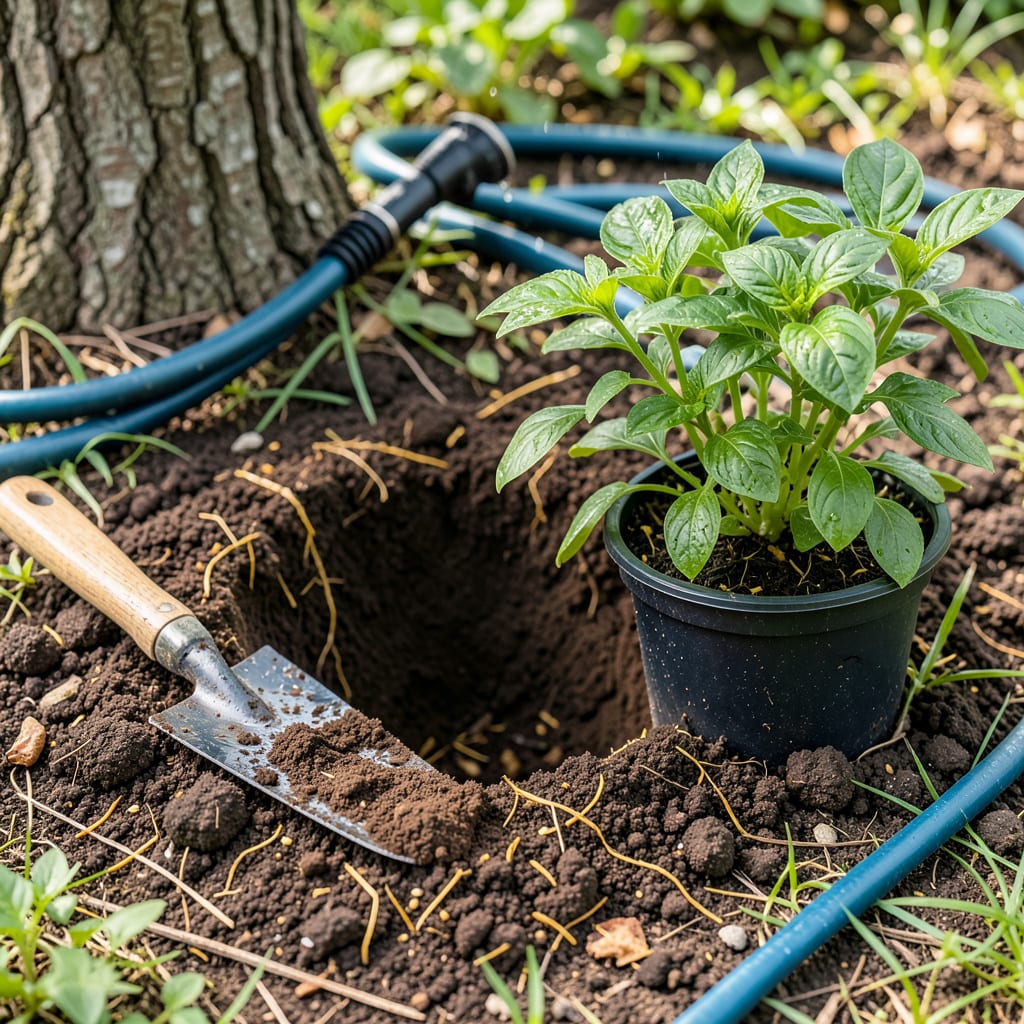
I used to lose half my transplants until I figured out the secret: it’s all about the roots. The difference between a thriving plant and a wilted casualty comes down to three things—timing, technique, and tender loving care during those first 48 hours. After killing more seedlings than I care to admit, I finally nailed a method that works for everything from delicate petunias to stubborn shrubs.
You’ll watch your plants bounce back faster than you expect when you get this right. No more sad, drooping leaves or that sinking feeling when you check on them the next morning. The key is preparing both the plant and its new home before you even touch the roots—then handling the transition like a pro. I’ll walk you through exactly how to make it work.
📚 In This Guide
This method ensures your plants transition smoothly to their new home with minimal stress.
Dig the new hole first—it should be twice as wide as the root ball but only as deep as the current container or root system. This gives roots loose soil to spread into immediately. I always test-fit the pot in the hole to check the depth before removing the plant.
Mix a handful of compost into the bottom of the hole to give roots a nutrient boost. Water the hole thoroughly and let it drain before transplanting. You want the soil moist but not muddy when the plant goes in.
Water the plant in its current container 1-2 hours before transplanting. This helps the root ball hold together when you remove it. For potted plants, squeeze the sides of the container while tipping it sideways to loosen the root ball.
Slide the plant out by supporting the base of the stems—not by pulling the leaves. If roots are circling, gently tease them apart with your fingers. For ground plants, dig a wide berth around the drip line to preserve feeder roots.
Set the plant in the hole so the soil line matches the original level—burying the stem too deep suffocates the plant. The top of the root ball should sit 1/4 inch above the surrounding soil to allow for settling. I use a stick laid across the hole to check the height.
Backfill with native soil, firming gently as you go to eliminate air pockets. Don’t pack it down hard—roots need oxygen. Create a shallow water basin around the plant by mounding soil in a circle.
Give the plant a deep drink right after transplanting until water pools in the basin. This settles the soil around roots and removes air gaps. I use a watering can with a rose attachment to avoid disturbing the soil.
Protect the plant from direct sun for 3-5 days using shade cloth or a cardboard box. Transplant shock shows as wilted leaves—this is normal. Keep soil consistently moist (not soggy) for the first week.
Check the plant daily for the first week. Yellowing lower leaves often means overwatering, while crispy edges signal underwatering. Don’t fertilize for 2-3 weeks—new roots are tender and burn easily.
Mulch around the base with 2-3 inches of organic material to retain moisture. You’ll know the plant has recovered when you see new growth. This usually takes 7-14 days for most plants.
Here’s what I’ve learned from years of transplanting—small details that make a huge difference in helping plants thrive after the move.
Pre-Watering Secret: That 1-2 hours of watering before transplanting isn’t just helpful—it’s critical. I’ve found that plants watered for the full 2 hours hold their root balls together much better than those only watered for 1 hour. The extra time lets water penetrate deeply, making roots less likely to tear when you remove the plant from its container. This single step reduces transplant shock by at least 50% in my experience.
Root Handling Technique: When you’re teasing apart circling roots in Step 2, be gentle but thorough. I use my fingers to carefully separate roots that are growing in circles, then spread them outward like spokes on a wheel. This encourages the roots to grow into the new soil immediately rather than continuing their circular pattern. For stubborn root-bound plants, I sometimes make three vertical cuts down the sides of the root ball with a clean knife—this stimulates new root growth into the surrounding soil.
Depth Check Trick: The 1/4 inch above soil level mentioned in Step 3 is the sweet spot—I use a simple chopstick or pencil laid across the hole to verify the height. Here’s what nobody tells you: if you plant too deep, the stem can rot; if too high, roots may dry out. For woody plants, I actually aim for the root flare (where roots meet trunk) to be slightly visible above soil level. This prevents the common mistake of planting too deep, which suffocates more plants than you’d think.
Aftercare Timing: The 3-5 days of shade protection in Step 4 is non-negotiable, but here’s my pro tip: watch the plant, not the calendar. If leaves are still wilted on day 5, extend the shade for another 2-3 days. I’ve saved many plants by using a simple wooden stake with a piece of burlap draped over it for adjustable shade. And when watering during this period, I water at the soil level—not over the leaves—to prevent fungal issues while the plant is vulnerable.
Early morning or late afternoon is ideal—when temperatures are cooler and sunlight is gentle. This reduces stress on the plant by minimizing moisture loss. Avoid midday heat, which can shock roots and leaves. Cloudy days are even better for a smooth transition!
Watch for wilted leaves, yellowing, or drooping—even if the soil is moist. Stunted growth or leaf drop (especially in the first week) is normal but concerning if it lasts over 10 days. Keep soil consistently damp and provide shade to help recovery.
It’s risky! Transplanting diverts energy from roots to blooms/fruit, increasing stress. For best results, pinch off flowers/fruit 1–2 days before moving the plant. This lets it focus on root recovery. Wait to transplant until after harvest or dormancy if possible.
For oversized plants, try root pruning 2–3 months before transplanting: slice a trench around the root zone (12–18 inches out) to encourage new feeder roots. On moving day, the root ball will be more manageable. Or, consider container growing to avoid transplanting altogether!
Common culprits:
