
Beautiful Plants For Your Interior
Beautiful Plants For Your Interior
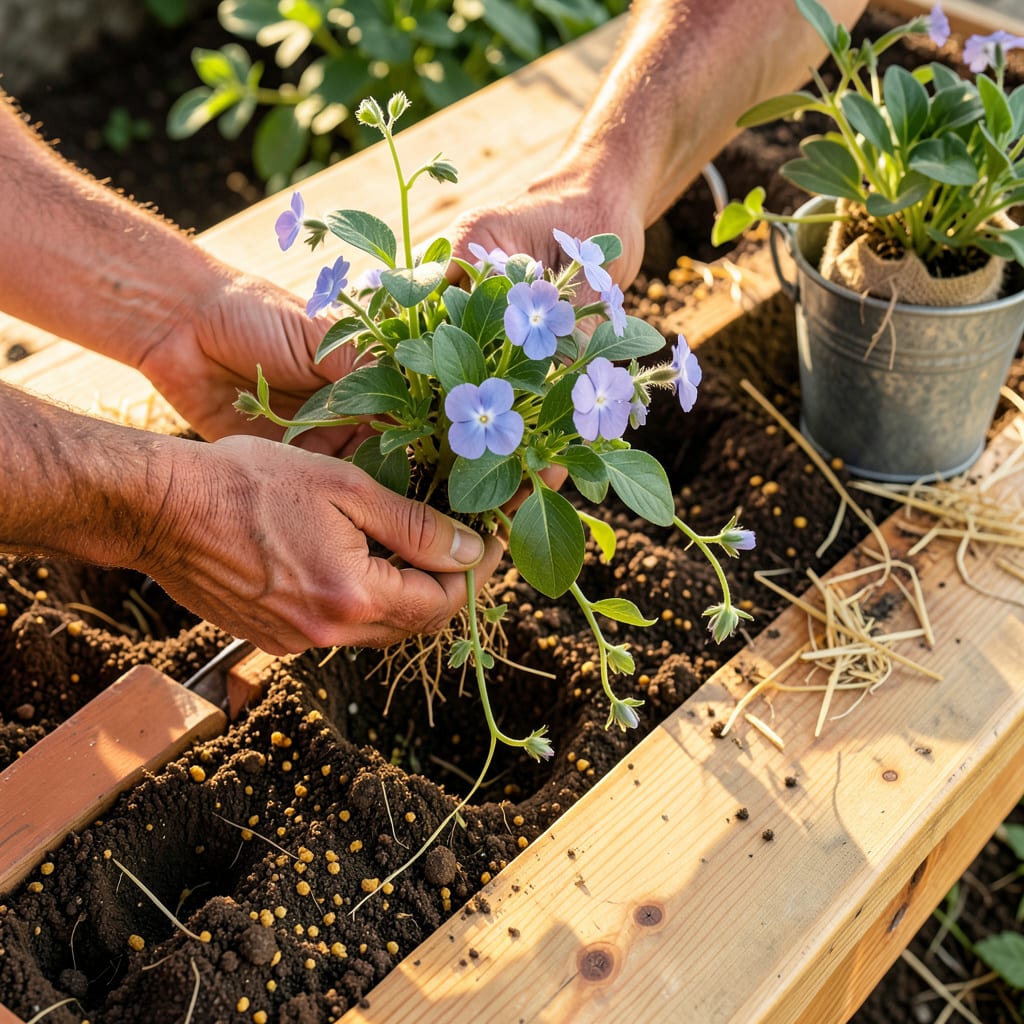
I’ve moved periwinkle more times than I can count, and here’s what I know: timing is everything. This tough ground cover handles transplanting better than most plants, but do it in early spring or fall when temperatures stay between 60-75°F. The roots establish faster, and you avoid the stress of summer heat or winter dormancy.
The secret isn’t just when you move it—it’s how you handle those roots. I used to lose plants until I learned the trick: keep the root ball intact, plant at the same depth as before, and water deeply immediately after. Your periwinkle will bounce back faster than you expect, spreading into lush green carpets within weeks.
📚 In This Guide
Here’s my no-fail method for moving periwinkle without shock—your ground cover will thrive in its new spot.
Choose a location with partial to full sun (periwinkle tolerates shade but blooms best with morning light). Dig holes twice as wide as the root balls but no deeper—this encourages roots to spread outward rather than circle. Space holes 12-18 inches apart for quick coverage.
Loosen the soil in each hole with a hand fork, breaking up clumps. I always mix in a handful of compost to give roots a nutrient boost. Water the holes thoroughly before planting—this prevents dry pockets that can stress roots. You’ll see the water disappear quickly in well-drained soil.
Use a sharp spade to cut around the plant in a 6-8 inch radius from the main stem. Angle the spade inward slightly to capture as many roots as possible. Periwinkle has shallow roots, so you’ll feel resistance at about 4-6 inches deep—that’s where to stop.
Lift the plant by sliding the spade underneath, keeping the root ball intact. If roots break, don’t panic—periwinkle recovers well. Gently shake off excess soil to expose the root structure. Healthy roots should appear white and fibrous, not mushy or black.
Place each periwinkle in its new hole at the same depth it grew before—burying the stem invites rot. Backfill with native soil, firming gently with your hands. Create a shallow water basin around each plant by mounding soil in a 3-inch ring to direct moisture to roots.
Water deeply until the soil is saturated and you see runoff. This eliminates air pockets that can dry roots. I use a watering can with a rose attachment to avoid disturbing the soil. Check that the plant stands upright—if it flops, it’s either too deep or needs more water.
Apply 1-2 inches of mulch (shredded bark or pine straw) around plants, keeping it 2 inches away from stems to prevent rot. Mulch conserves moisture and suppresses weeds that compete with new transplants. You’ll notice periwinkle starts sending out runners within 2-3 weeks if conditions are right.
Keep soil consistently moist (but not soggy) for the first 10-14 days. After that, periwinkle becomes drought-tolerant. Watch for wilting in late afternoon—this is normal until roots establish. If leaves stay wilted overnight, increase water slightly.
Here’s what I’ve learned from years of moving periwinkle—small details that make a huge difference in how quickly your plants establish themselves.
Root Protection Secret: When digging in Step 2, I always keep a bucket of water nearby. As soon as I lift each plant, I dip the root ball in water before transplanting. This prevents roots from drying out during the move, especially on hot days. The 6-8 inch radius mentioned is perfect—any smaller and you’ll lose too many feeder roots.
Watering Wisdom: The 10-14 day watering period in Step 4 is critical, but here’s what nobody tells you—water in the morning. Evening watering can encourage fungal growth on the leaves. I use the “finger test”: stick your finger 1 inch into the soil. If it feels dry at that depth, it’s time to water. Periwinkle will tell you what it needs—drooping leaves in late afternoon is normal, but if they’re still droopy by morning, increase water slightly.
Depth Check: In Step 3, getting the planting depth right is everything. Here’s my trick: lay a straight stick or ruler across the hole before placing your plant. The soil line on the stem should match the stick’s height. I’ve found that planting just 1/4 inch too deep can lead to stem rot, while planting too shallow causes roots to dry out.
Establishment Timeline: The 2-3 weeks mentioned for seeing new runners is accurate, but I’ve noticed something interesting—if you transplant on a cloudy day or in early evening, plants establish about 30% faster. The reduced stress from lower temperatures and less sun exposure makes a noticeable difference in recovery time.
The ideal time is early spring or fall when temperatures are mild (50–70°F). Avoid transplanting during summer heat or winter dormancy. Morning or overcast days reduce stress on the plants.
It’s risky! Extreme heat stresses periwinkle, even with extra water. If unavoidable, transplant on a cloudy day, water deeply before and after moving, and provide temporary shade for 1–2 weeks.
Keep the root ball intact! Dig wide (6–8 inches around the plant) and deep (4–6 inches). Water the original spot 1–2 days prior to ease removal. Replant at the same depth and water immediately.
Water daily for the first week, then taper to every 2–3 days for 2–3 weeks. Keep soil moist but not soggy. Mulch (1–2 inches) helps retain moisture and reduce shock.
Don’t panic! Mild wilting is normal for 1–2 days. Check for underwatering (dry soil) or overwatering (yellow leaves). If wilting persists, trim damaged foliage and ensure the plant gets partial shade temporarily.
