
Beautiful Plants For Your Interior
Beautiful Plants For Your Interior
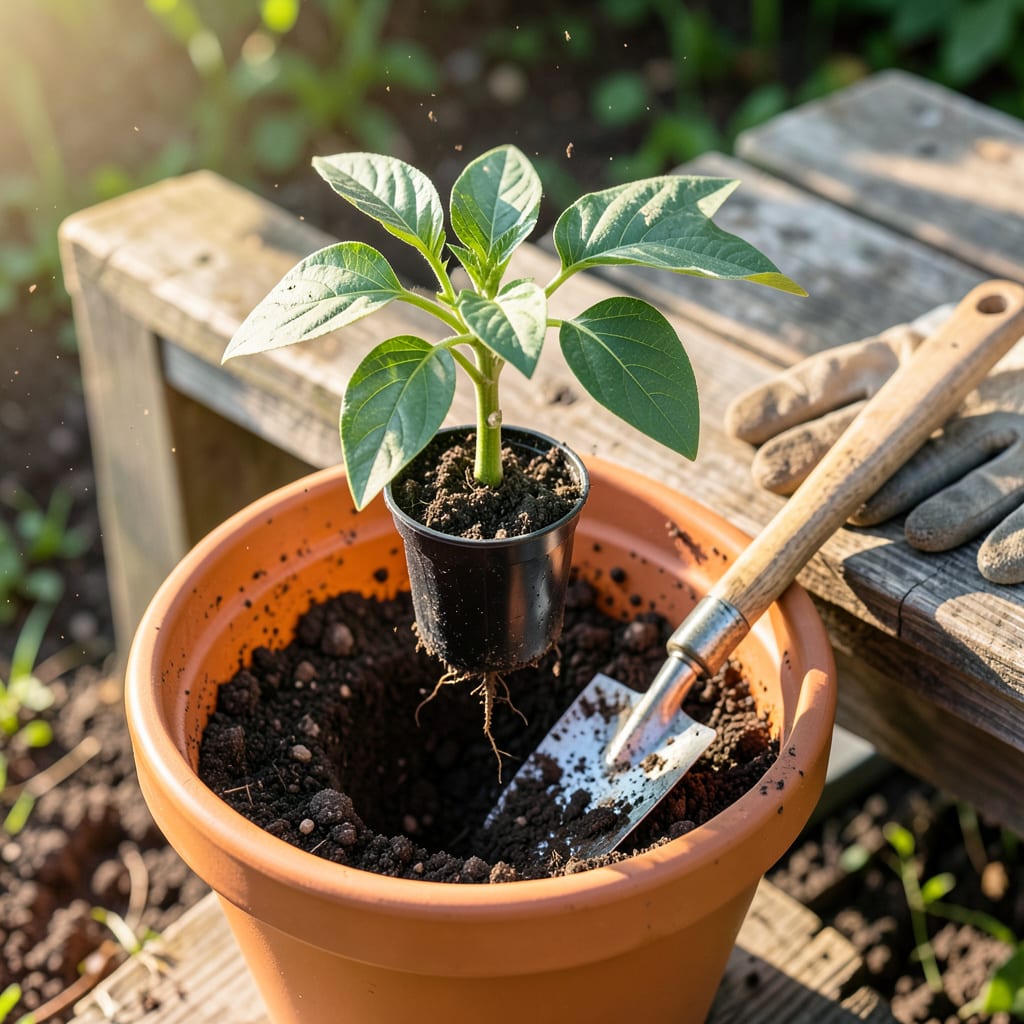
Moving pepper seedlings from their cozy starter pots to the big outdoors feels like sending kids off to college. I’ve learned the hard way that timing and technique make all the difference—transplant too soon or too roughly, and you’ll set them back for weeks. The sweet spot is when they’ve got 4-6 true leaves and nighttime temps stay above 50°F, but before roots start circling their containers.
What changed everything for me was the pre-transplant routine: hardening off for 7-10 days, watering deeply an hour before moving, and choosing a cloudy afternoon to minimize shock. You’ll see the difference immediately—plants that wilt for a day instead of a week, and roots that take off instead of stalling. The first harvest comes faster when you get this right.
📚 In This Guide
Moving your pepper seedlings doesn’t have to be stressful—here’s how I do it without shocking the plants.
Choose a location with full sun (at least 6-8 hours daily) and well-draining soil. For containers, use pots at least 12 inches deep with drainage holes. I always test drainage by filling the pot with water first—if it doesn’t drain within 30 seconds, the holes aren’t sufficient.
Loosen the soil in the planting area to about 12 inches deep, removing any weeds or debris. For containers, fill with a quality potting mix that contains perlite or vermiculite for drainage. Don’t use garden soil in pots—it compacts too easily and suffocates roots.
Give your pepper seedlings a deep watering 1-2 hours before transplanting. The root ball should hold together when gently lifted from its current container. I check by tipping the pot sideways—if the soil stays intact, it’s ready; if it crumbles, water more.
This step prevents transplant shock by keeping the roots hydrated during the move. Never transplant wilted seedlings—they’re already stressed and may not recover. The leaves should look turgid (firm) and bright green before you begin.
Gently squeeze the sides of the seedling’s current container to loosen the root ball. Turn it upside down with your hand supporting the stem between your fingers. If it resists, run a knife around the inside edge of the pot to free it.
Dig a hole in the new location just deep enough to accommodate the root ball. Place the seedling in so the soil line matches its previous depth—burying the stem too deep can cause rot. Fill around the roots with soil and press lightly to eliminate air pockets. Water immediately with 1 pint per plant to settle the soil.
After transplanting, protect seedlings from direct sun for 2-3 days using shade cloth or a lightweight row cover. I use old window screens propped on stakes—they filter about 30% of the light while allowing airflow. This prevents wilting while roots establish.
Check plants twice daily during this period. Wilting in the afternoon is normal, but if leaves stay droopy overnight, the roots need more moisture. Keep the soil consistently moist (not soggy) for the first week—this is when most transplant failures occur.
After 3 days of filtered light, begin exposing plants to morning sun only for 2-3 hours daily. Increase sun exposure by 1 hour per day until they’re in full sun. This hardening-off period prevents sunburn on tender leaves.
Resume normal watering once you see new growth—typically 7-10 days after transplanting. I look for fresh leaves or noticeable stem thickening as signs the plant has recovered. At this point, you can begin fertilizing with a balanced, water-soluble fertilizer at half strength.
Transplanting pepper plants successfully comes down to a few key details that make all the difference between thriving plants and struggling seedlings.
Root Ball Preservation: In Step 3, when removing seedlings from their containers, the goal is to keep the root ball completely intact. I learned this the hard way after losing several plants to root damage. Gently squeeze the container sides first, then tip it sideways while supporting the stem between your fingers. If the root ball doesn’t slide out easily, run a clean knife around the inside edge rather than pulling—this prevents the tearing that leads to transplant shock.
Watering Timing: The 1-2 hours of pre-transplant watering in Step 2 isn’t just about hydration—it’s about soil cohesion. When you water thoroughly, the soil particles bind together, creating a stable root ball that won’t crumble during the move. I check readiness by tipping the pot: if the soil holds its shape like a firm cake, it’s perfect; if it slumps or cracks, give it another 30 minutes of water absorption time.
Shade Transition: Those 2-3 days of shade protection in Step 4 are critical for root establishment. I’ve found that afternoon wilting is normal, but overnight droopiness means the roots aren’t keeping up with moisture demands. During this period, water when the top inch of soil feels dry to the touch—usually twice daily in warm weather. The shade cloth should filter about 30% of light; old window screens work perfectly for this purpose.
Sun Acclimation: When gradually increasing sun exposure in Step 5, the 1 hour per day increment prevents sunburn while allowing the plant to build tolerance. Start with morning sun only, as it’s less intense than afternoon rays. Watch for pale or crispy leaf edges—these are signs you’re moving too quickly. The 7-10 day recovery period isn’t arbitrary; that’s how long it typically takes for new root growth to establish sufficient water uptake.
Got questions about transplanting your pepper plants? You’re not alone! Here are the most common concerns—and quick answers—to help your peppers thrive.
Transplant peppers after the last frost when soil temps hit 60–70°F (15–21°C) at night. Seedlings should have 2–4 true leaves and be 6–8 weeks old. Rush it, and cold shock stunts growth!
Always harden off! Move seedlings outdoors for 1–2 hours daily, gradually increasing exposure over 7–10 days. Skipping this causes sunburn or wilting—like sending a couch potato to a marathon!
Don’t panic! Mild wilting is normal for 24–48 hours (transplant shock). Keep soil moist (not soggy) and provide shade. If wilting lasts over 3 days, check for root damage or overwatering. Pro tip: A diluted seaweed solution can help recovery.
Get creative! Use egg cartons, toilet paper rolls, or newspaper pots (biodegradable!). Even plastic cups work—just poke drainage holes. Avoid clay pots (they dry out fast) or anything non-porous.
Bury the stem ½ inch deeper than its original pot—this encourages stronger roots. But don’t cover the leaves! For leggy seedlings, plant deeper (up to the first true leaves) to stabilize them. Exception: Avoid deep planting for grafted peppers.
