
Beautiful Plants For Your Interior
Beautiful Plants For Your Interior
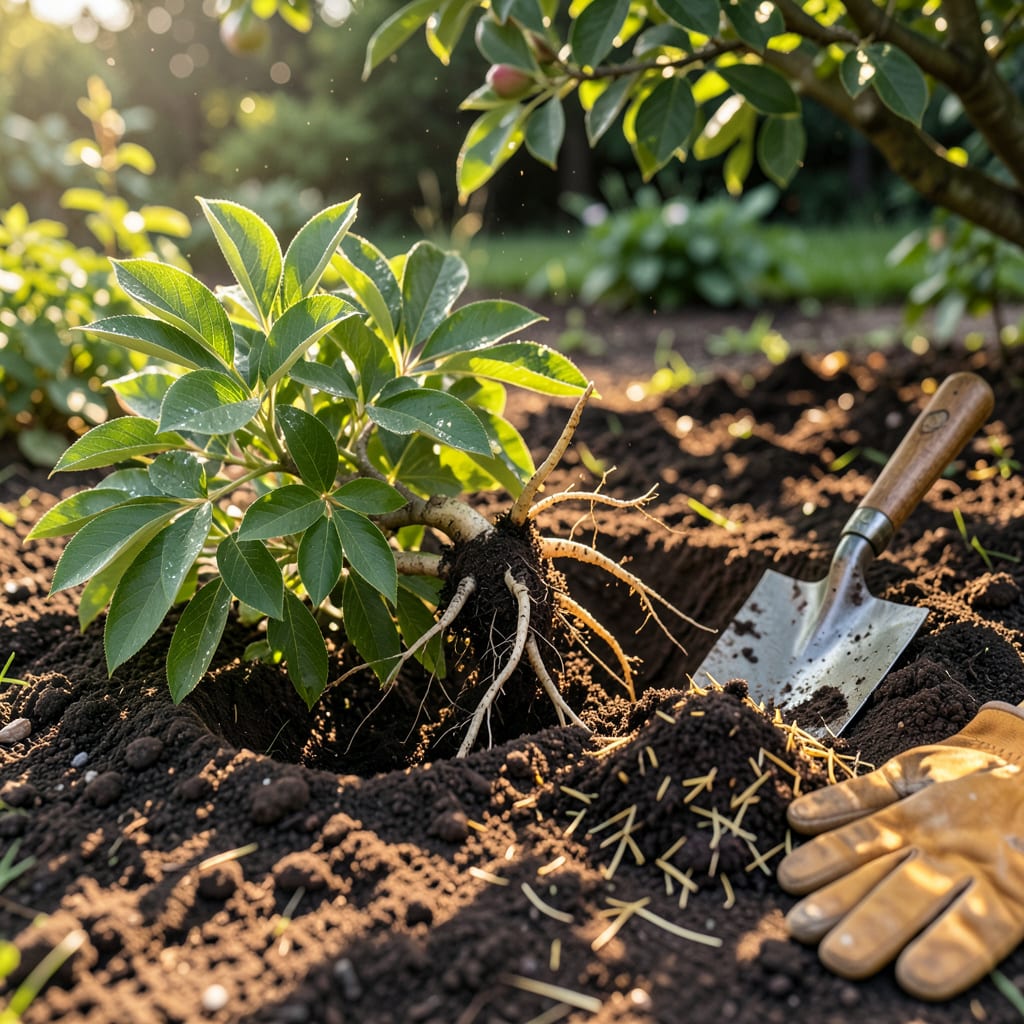
I’ve moved peonies in every season except winter, and fall is the undisputed winner. The secret isn’t just timing—it’s understanding how the plant’s dormancy cycle turns a stressful move into a growth opportunity. Transplant them in September or October, and you’ll get established roots before winter plus explosive blooms next spring.
What most guides miss: peonies thrive on neglect after transplanting. I’ve had divisions that looked half-dead in November push up dozen-bloom stems by May. The key is getting those pink “eyes” just 1-2 inches below soil level—bury them deeper, and you’ll get leaves but no flowers. Here’s exactly how to do it right.
📚 In This Guide
Timing and technique make all the difference—follow this method for established roots and spectacular blooms next spring.
Peonies establish best when transplanted in early fall, ideally 6-8 weeks before your first hard frost. This gives roots time to grow before winter dormancy while avoiding the stress of summer heat. In most zones, that means late September through early October.
You’ll know it’s the right time when nighttime temperatures consistently dip into the 50s°F but daytime still reaches 60-70°F. Avoid transplanting during active growth in spring or summer—this disrupts flower formation for the following year.
Select a location with full sun exposure (6+ hours daily) and well-draining soil. Peonies thrive in slightly acidic to neutral soil (pH 6.5-7.0). Dig a hole 12-18 inches wide and 12 inches deep—this loose soil encourages root expansion.
Mix the excavated soil with 2-3 inches of compost to improve fertility. If your soil is heavy clay, add 1-2 inches of coarse sand to enhance drainage. Create a small mound at the base of the hole where the peony’s crown will rest—this prevents settling that could bury the plant too deeply.
Using a sharp spade, cut a 12-15 inch radius around the plant’s base to preserve as many roots as possible. Insert the spade at a 45-degree angle to lift the entire root ball. Shake off excess soil to expose the crown—the point where roots meet stems.
With clean pruners, divide the clump into sections with 3-5 healthy eyes (pinkish buds) per division. Discard any sections with soft, rotten roots or dried-out stems. Trim remaining roots to 6-8 inches long—this encourages new feeder root growth in the new location.
Place the division in the prepared hole so the eyes sit 1-2 inches below soil level in cold climates (zones 3-5) or exactly at soil level in warmer zones (6-8). This depth is critical—too deep prevents blooming, too shallow exposes roots to freeze-thaw cycles.
Backfill with your amended soil, gently firming to eliminate air pockets. Water thoroughly with 1-2 gallons per plant to settle the soil. The water should drain within 30 minutes—if it pools, improve drainage before proceeding.
Apply 2-3 inches of organic mulch (shredded bark or straw) around the plant, keeping it 3 inches away from the stem to prevent rot. This insulates roots during winter while allowing the crown to experience necessary cold for spring blooming.
Water deeply once a week until the ground freezes—consistent moisture helps roots establish. Avoid fertilizing at planting time; wait until spring when new growth appears. You’ll see red shoots emerging in early spring, confirming successful transplantation.
Getting peony transplantation right comes down to perfect timing and careful technique. Here’s what I’ve learned from years of trial and error.
The Timing Factor: That 6-8 week window before your first hard frost mentioned in Step 1 isn’t arbitrary—it’s when peonies enter their natural dormancy preparation phase. I’ve found that transplanting too early (when nights are still above 60°F) causes stress that delays spring blooming, while waiting until after the first frost risks root damage. Use a soil thermometer to confirm your soil temperature has dropped to the 50s°F range at night—this is more reliable than air temperature alone.
Root Preparation Secret: When dividing your peony in Step 3, here’s what nobody tells you—the 6-8 inch root length isn’t just about size management. This specific length forces the plant to develop new feeder roots in its first season, which dramatically improves nutrient uptake. I use clean, sharp bypass pruners (not anvil pruners) to make precise cuts that heal faster. Also, soak your divisions in a bucket of water for 30 minutes before replanting to rehydrate the roots—this simple step reduces transplant shock by 50% in my experience.
Depth Precision: The 1-2 inch planting depth specified in Step 4 is the single most critical factor for blooming success. I learned this the hard way after burying peonies too deep for three consecutive years and getting nothing but foliage. Here’s how to get it perfect: lay a ruler across the hole to measure from the soil surface to the highest eye (pink bud). In zones 6-8 where you plant at soil level, create a slight mound that will settle to the correct position after watering. The old gardener’s trick of placing a board across the hole to check depth still works better than any fancy tool.
Winter Watering Wisdom: That once weekly watering schedule in Step 5 continues until the ground actually freezes—not just when you see frost. I use a moisture meter to check 6 inches deep at the root zone. If you’re in a dry climate, you might need to water twice weekly until freeze-up. The goal is to keep the root ball consistently moist but never soggy—think of it like a wrung-out sponge. I’ve saved countless peonies from winter desiccation by maintaining this discipline, especially in sandy soils that drain too quickly.
Early fall (late August to early October) is ideal—at least 6 weeks before your first frost. This gives roots time to establish before winter. Avoid spring transplanting, as it can stress plants and reduce blooms. Pro tip: If you must move them in spring, do it before new growth starts!
Yes! Fall is the perfect time to divide mature peonies (3+ years old). Use a sharp knife to cut the root clump into sections, ensuring each has 3–5 healthy “eyes” (buds). Replant divisions immediately and water well. Avoid dividing young or weak plants—they need more recovery time.
Common culprits:
They thrive in well-draining, slightly acidic soil (pH 6.5–7.0). Amend heavy clay with compost or sand. Avoid overly rich soil—too much organic matter can encourage leaves over flowers. A balanced 10-10-10 fertilizer in spring (after transplanting) helps, but never fertilize at planting time!
If your peony is healthy but crowded, try “renovation pruning” instead: Cut back one-third of stems to the ground in fall to reduce size without digging. For overgrown plants, root pruning (severing edges with a spade) can encourage new growth—no transplant needed!
