
Beautiful Plants For Your Interior
Beautiful Plants For Your Interior
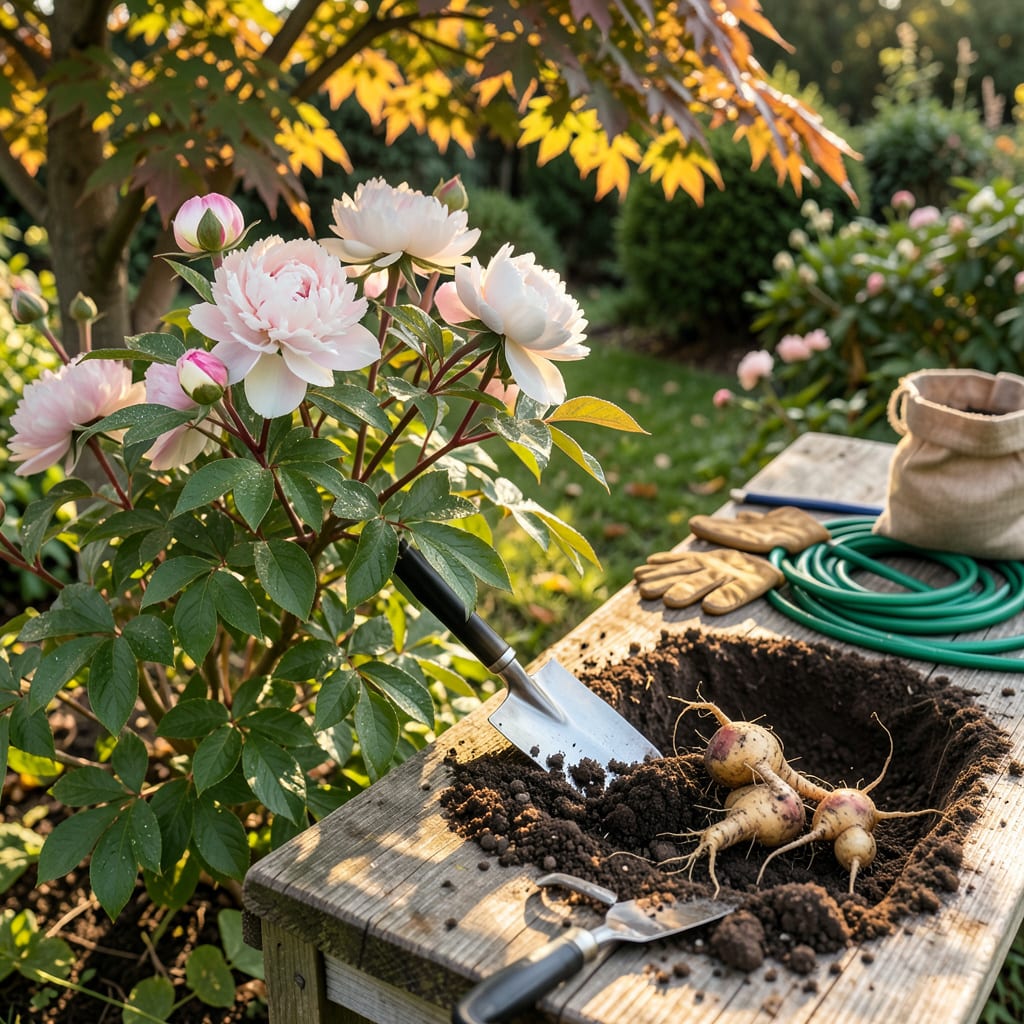
There’s something deeply satisfying about moving a peony bush and watching it thrive in its new home. I’ve relocated dozens over the years, and the secret isn’t luck—it’s timing and technique. Early fall is your golden window, when roots establish before winter but the plant isn’t actively blooming. Get this right, and you’ll have bigger blooms next season than ever before.
What most gardeners don’t realize is that peonies bounce back better than you’d expect—if you handle the roots properly. We’re talking wide, deep digging to preserve that root ball, not just hacking at the base. I’ll show you exactly how to prep the new spot, when to prune (and when not to), and the one watering trick that cuts transplant shock in half. Your peonies won’t just survive the move; they’ll reward you for it.
📚 In This Guide
Moving established peonies doesn’t have to be stressful—this method ensures your plants thrive in their new location.
Early fall (about 6 weeks before your first frost) is ideal for transplanting peonies. This gives roots time to establish before winter dormancy. I’ve found September works perfectly in most zones. Start by selecting a sunny spot with well-draining soil—peonies hate wet feet.
Dig the new hole 12-18 inches wide and deep before removing the plant. You want loose, workable soil ready when you move the bush. Mix in a shovelful of compost to enrich the site. The hole should be wide enough to accommodate the entire root ball with room to spread.
Use a sharp spade to cut a 12-18 inch diameter circle around the plant’s base. Go deep—peonies have long, fleshy roots. I always start about 18 inches from the stems to avoid severing important roots. Work the spade underneath gently to lift the entire root ball intact.
Once lifted, shake off excess soil to inspect the roots. Healthy roots should be firm and white. If you notice any rot (soft, brown areas), trim those sections with clean pruners. Don’t worry about losing some roots—peonies are surprisingly resilient when handled properly.
Place the peony in the new hole so the “eyes” (pink buds on the crown) sit 1-2 inches below soil level. This is critical—planting too deep prevents blooming, while too shallow exposes roots. Backfill with native soil, firming gently as you go to eliminate air pockets.
Create a slight mound around the base to help with water drainage. Water deeply immediately after planting—you want to see moisture reach 8-10 inches down. The soil should settle naturally, so don’t tamp it down too firmly.
Water thoroughly once a week for the first month unless rain provides 1 inch of moisture. I check soil moisture by sticking my finger 2 inches deep—if it feels dry, it’s time to water. Mulch with 2-3 inches of bark chips to retain moisture and protect roots.
Resist the urge to fertilize immediately—wait until spring to apply a balanced fertilizer. You’ll likely see reduced blooming the first year after transplanting, but don’t worry. By the second season, your peonies should reward you with their usual spectacular display.
Watch for signs of stress like wilting or yellowing leaves in the first few weeks. If you notice these, increase water slightly but ensure good drainage. Peonies are drought-tolerant once established, but newly transplanted bushes need consistent moisture.
Mark the location with a stake if you’re planting bare-root divisions—it’s easy to forget where you planted them before spring growth appears. Come spring, you’ll see red shoots emerging, which means your transplant was successful. The first blooms after transplanting are always the most rewarding!
After years of moving peonies around my garden, I’ve learned these key lessons that make all the difference between a struggling plant and one that thrives.
Timing is Everything: That 6-week window before your first frost mentioned in Step 1 isn’t just a suggestion—it’s critical. I’ve tried transplanting in spring and summer, and the plants always sulk for a full year. Early fall gives roots time to establish without the stress of heat or immediate flowering. If you’re in a warmer climate where frost comes late, aim for late September to early October regardless of the calendar.
Root Ball Protection: When you’re digging that 12-18 inch diameter circle in Step 2, resist the urge to rush. I learned the hard way that peony roots extend much farther than you’d expect—start your circle at least 18 inches from the stems as mentioned, even for smaller plants. Keep the root ball intact by sliding your spade under at a 45-degree angle, almost like you’re cradling it. A broken root ball means a full year of recovery time.
Depth Precision: The 1-2 inch planting depth for the eyes in Step 3 is non-negotiable. I use this trick: lay a ruler across the hole to check depth as I backfill. Too deep and you’ll get leaves but no flowers; too shallow and the roots dry out. When in doubt, err on the shallower side—you can always add more soil later if needed. That slight mound you create helps prevent water from pooling around the crown.
Watering Wisdom: The once-weekly watering in Step 4 assumes average conditions. Here’s what I do: after the initial deep watering, I check moisture by digging down 3 inches (not just the 2 inches mentioned) because peony roots go deep. If the soil feels cool and slightly damp at that depth, you’re good. In sandy soil, you might need to water twice weekly. The 2-3 inches of mulch isn’t just for moisture—it also protects roots from temperature fluctuations that can shock newly transplanted bushes.
The ideal time is early fall (September to early October), 6+ weeks before the first frost. This gives roots time to establish before winter. Spring transplanting is possible only if absolutely necessary—do it before new growth starts, but expect fewer blooms that year.
Most peonies skip blooming the first year after transplanting as they focus on root growth. Herbaceous peonies typically rebound in year 2, while tree peonies may take 2–3 years. Keep them well-watered and avoid fertilizing heavily the first season.
Yes! Fall is the perfect time to divide mature peonies (3–5 years old). Use a clean knife to split the root clump into sections with 3–5 eyes (growth buds) each. Replant divisions immediately at the same depth they grew before.
Wilting often means transplant shock—water deeply (1–2 inches/week) and mulch to retain moisture. Yellow leaves may signal overwatering or poor drainage. Check soil moisture 2 inches down; it should feel like a damp sponge, not soggy.
While possible, peonies thrive best in-ground due to their deep root systems. If potting, choose a 5+ gallon container with drainage holes, use well-draining soil, and overwinter pots in the ground or a protected area to prevent root freeze.
