
Beautiful Plants For Your Interior
Beautiful Plants For Your Interior
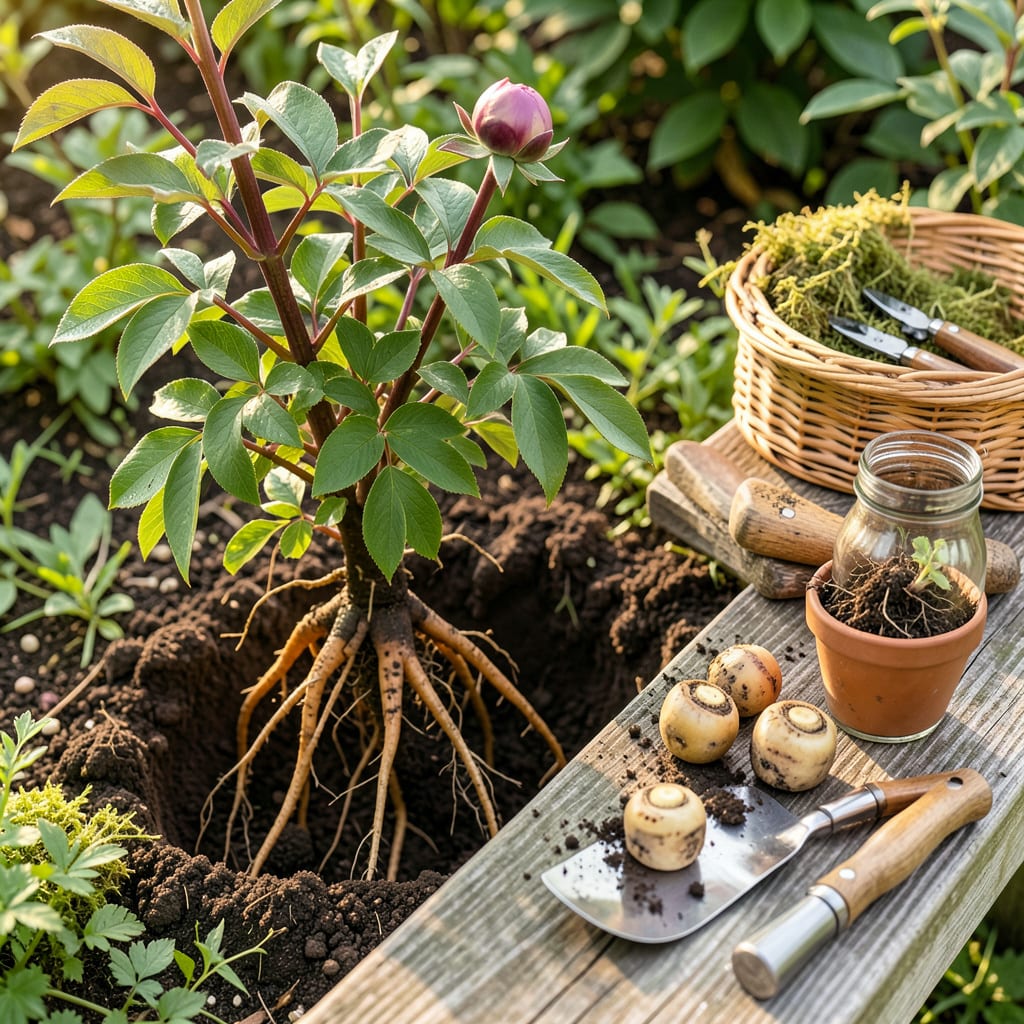
Moving peonies feels like a gamble—until you know the secret timing. I’ve relocated dozens over the years, and the plants that thrive always share one thing: they were transplanted in early fall, when roots grow aggressively but tops stay dormant. Get this right, and you’ll have bigger blooms next season than ever before.
The process itself is simpler than it seems: dig wide to preserve roots, replant at the exact same depth (those pink “eyes” can’t hide more than 2 inches deep), and water deeply once. No fancy tools, no green thumb required—just follow the rhythm of the plant’s natural cycle. The payoff comes in spring, when stems shoot up thicker and flowers open fuller than they did in their old spot.
📚 In This Guide
Timing and technique make all the difference—here’s how to move your peonies without sacrificing next year’s blooms.
Early fall (about 6 weeks before your first frost) is ideal for transplanting peonies. The soil is still warm enough to encourage root growth, but the plant is entering dormancy. I’ve found that late August through mid-September works best in most climates. Avoid transplanting in spring—you’ll sacrifice that year’s blooms and stress the plant.
Look for visual cues: the foliage should still be green but starting to fade slightly. If leaves have already turned brown and died back completely, you’ve waited too long. Mark your calendar for next year—this timing is critical for success.
Select a location with full sun (at least 6-8 hours daily) and well-draining soil. Peonies will thrive in the same spot for decades, so choose carefully. Dig a hole that’s 2 feet wide and 18 inches deep—much larger than the root ball. This loose soil will encourage roots to spread quickly.
Mix the excavated soil with 2-3 inches of compost or well-rotted manure. I avoid heavy fertilizers at planting time—they can burn tender new roots. The goal is rich but not overly nutrient-dense soil. Create a small mound in the center of the hole where the peony’s eyes (buds) will rest.
Using a sharp spade, dig a wide circle around the plant, starting about 12 inches from the stems. Peony roots grow deep and wide, so expect to dig down 12-18 inches. Work the spade underneath to lift the entire root ball intact. This is heavy work—I often use a garden fork to help loosen the soil first.
Once lifted, gently shake off excess soil to expose the root structure. You’ll see thick, fleshy roots and pinkish “eyes” (next year’s stems). Use a clean knife to divide the clump if needed, ensuring each division has 3-5 eyes and a good portion of roots. Smaller divisions may take a year longer to bloom.
Place the peony in the prepared hole so the eyes sit 1-2 inches below the soil surface in cold climates, or exactly at soil level in warmer zones. This depth is crucial—too deep and they won’t bloom; too shallow and the buds may freeze. Spread the roots outward in the hole like spokes on a wheel.
Backfill with your soil-compost mix, firming gently as you go to eliminate air pockets. Water thoroughly to settle the soil, then add more mix if needed. I create a slight mound to help with winter drainage. Don’t fertilize now—wait until spring when new growth appears.
Water deeply once a week until the ground freezes, unless you receive 1 inch of rain. The goal is moist but not soggy soil. Mulch with 2-3 inches of straw or shredded leaves after the first hard frost to protect the shallow roots from freeze-thaw cycles.
Resist the urge to cut back the foliage—let it die back naturally to feed the roots. Next spring, you may see red shoots emerging. Don’t be alarmed if there are no flowers the first year; the plant is focusing energy on root establishment. By year two, you’ll be rewarded with those legendary peony blooms.
Here’s what I’ve learned through years of trial and error—these details make all the difference between a peony that struggles and one that thrives.
Timing Precision: That 6 weeks before first frost window in Step 1 isn’t arbitrary. I’ve found that transplanting too early (when soil is still very warm) can shock the plant, while waiting until after frost means roots won’t establish properly. In my zone 5 garden, I mark my calendar for September 1st and watch the 10-day forecast to pick the perfect week. The visual cue about foliage still being green but fading is spot-on—this is when the plant is naturally preparing for dormancy and will handle the move best.
Hole Preparation Secret: When digging that 2 feet wide by 18 inches deep hole in Step 2, here’s what changed my success rate: I rough up the sides of the hole with my spade to prevent “glazing” (where smooth sides can redirect roots in circles). The 2-3 inches of compost mix should be thoroughly incorporated—not just dumped at the bottom. I’ve had best results using well-aged compost rather than fresh manure, which can be too hot for new roots.
Division Technique: In Step 3, when dividing the root ball, I use a sharp, clean knife that I dip in rubbing alcohol between cuts to prevent disease transmission. Those 3-5 eyes per division are non-negotiable—I learned the hard way that divisions with only 1-2 eyes often fail to establish. For very large clumps, I’ll sometimes create one “mother” division with 5-7 eyes that I replant immediately, and several smaller divisions with exactly 3 eyes each for sharing.
Depth Verification: The 1-2 inches below soil surface planting depth in Step 4 is where most people go wrong. Here’s my foolproof method: I lay a ruler across the hole and measure from the soil line to the highest eye. In cold climates, I aim for exactly 1.5 inches below—this gives a buffer against winter heaving while ensuring blooms. After backfilling, I gently tug on the stems; if the plant moves, I know I need to firm the soil more.
The ideal window is early fall (September to early October in most zones), 6+ weeks before the first frost. This gives roots time to establish before winter. Avoid transplanting in spring—it can delay blooming for a year or two. If you must move them in spring, do it immediately after new shoots emerge.
Plant the “eyes” (pink buds on the roots) no deeper than 1–2 inches below soil level. Too deep = fewer (or zero!) blooms. In cold climates (Zones 3–4), aim for 1 inch; in warmer zones (7–8), 2 inches max. Use a ruler to check—guessing often leads to buried buds!
You can divide mature peonies (3+ years old) during transplanting! Use a clean knife to split the root clump into sections with 3–5 eyes each. Smaller divisions may take 2–3 years to bloom. Whole clumps transplant faster but may need dividing later if overcrowded.
Don’t panic—it’s normal! Peonies often skip blooming after transplanting as they focus on root growth. Other causes: planting too deep, late-season transplanting, or dividing into tiny sections. Give them one full growing season to recover. Fertilize lightly in spring (5-10-5) to encourage blooms.
Trim stems to 3–4 inches to reduce stress, then water deeply (1–2 gallons per plant) every 3–4 days for 2 weeks. Avoid overhead watering—keep foliage dry to prevent fungus. Mulch with 2 inches of straw to retain moisture. If wilting persists, check for root damage or pests like grubs.
