
Beautiful Plants For Your Interior
Beautiful Plants For Your Interior
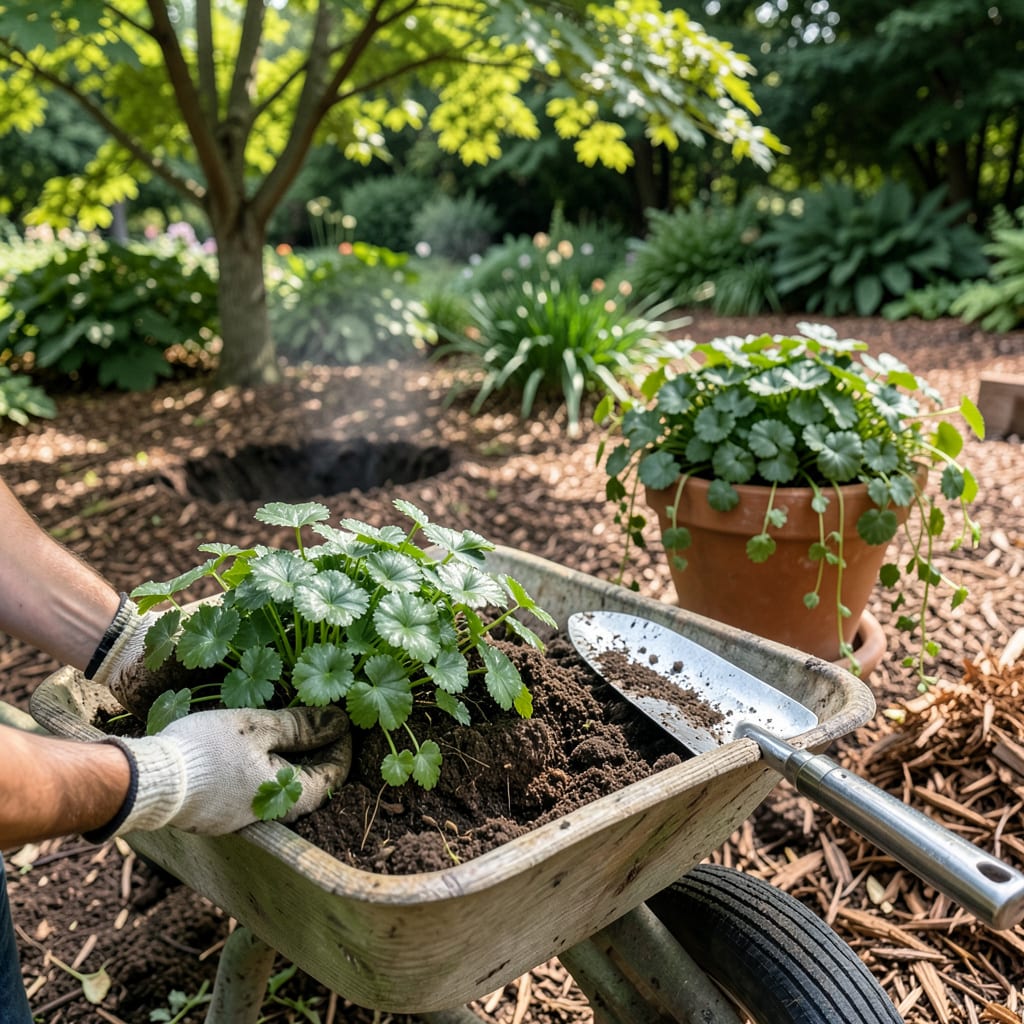
I used to think transplanting pachysandra was risky—until I realized this tough ground cover practically begs to be moved. The secret is timing: early spring or fall, when the soil is workable and temperatures stay mild. I’ve relocated entire patches in under an hour, and they bounce back faster than you’d expect.
What makes this project foolproof is pachysandra’s forgiving nature. You don’t need perfect soil or expert skills—just a sharp trowel, some compost, and the confidence to dig in. The plants establish quickly, spreading into that lush green carpet we all want. Even my first attempt (which involved some questionable root handling) filled in beautifully within a season.
📚 In This Guide
This method ensures your ground cover establishes quickly with minimal transplant shock—perfect for beginners and experts alike.
Begin by clearing the new area of all weeds, rocks, and debris. Pachysandra thrives in partial to full shade with well-draining, slightly acidic soil (pH 5.5-6.5). Test drainage by digging a 12-inch deep hole and filling it with water—if it drains within 1-2 hours, you’re set.
Amend the soil with 2-3 inches of organic compost worked into the top 6-8 inches. This improves both drainage and moisture retention. Avoid heavy clay or overly sandy soils unless you amend them significantly. The goal is loose, crumbly soil that roots can penetrate easily.
Water the established pachysandra patch thoroughly 24 hours before transplanting—this reduces root damage and helps plants recover faster. Use a sharp spade to cut 4-6 inch wide sections of the plant, ensuring each division has both roots and foliage.
Dig 6-8 inches deep around each section to preserve the root ball. Gently lift the divisions, shaking off excess soil to inspect roots. Healthy roots appear white and fibrous; trim any dark or mushy roots with clean pruners. Keep divisions shaded and moist until planting.
Dig holes in the prepared site that are twice as wide as the root ball but no deeper. Plant each division at the same depth it grew originally—the crown (where stems meet roots) should sit level with the soil surface. Burying it too deep causes rot.
Space plants 6-12 inches apart for quick coverage or 12-18 inches apart for slower, more economical filling. Water immediately after planting until the soil is saturated but not puddled. The water should drain within 10-15 minutes—if it pools longer, improve drainage.
Apply a 1-2 inch layer of shredded bark mulch around the plants, keeping it 2 inches away from stems to prevent rot. Mulch conserves moisture and suppresses weeds while allowing air circulation. Water deeply 2-3 times per week for the first 4-6 weeks, unless rainfall exceeds 1 inch weekly.
Monitor for wilting or yellowing leaves, which indicate stress. Avoid fertilizing until new growth appears (typically 3-4 weeks after transplanting). Once established, pachysandra requires minimal care—just occasional watering during drought and annual mulch renewal.
These practical insights will help you avoid common pitfalls and ensure your pachysandra thrives in its new location.
Soil Preparation Secret: When testing drainage in Step 1 with the 12-inch hole, don’t just time how fast it drains—also observe if water leaves behind a muddy residue. If you see thick sediment after the 1-2 hour test, your soil needs more compost than the recommended 2-3 inches. I’ve found working in 4 inches of compost with some coarse sand creates ideal conditions for pachysandra’s shallow root system.
Division Technique That Changed Everything: In Step 2, when cutting those 4-6 inch sections, use a serrated knife instead of a spade for cleaner cuts that heal faster. I learned this after noticing how jagged spade edges seemed to stress the plants more. Also, keep a spray bottle handy to mist the divisions while working—they should never dry out during those critical 24 hours between watering and transplanting.
Planting Depth Precision: The instruction in Step 3 about keeping the crown level with soil surface cannot be overstated. I use this trick: lay a straight board across the planting hole to check depth before placing the division. Even being ½ inch too deep can lead to crown rot. For the 6-12 inch spacing, use a yardstick to maintain consistency—eyeballing often leads to uneven coverage.
Establishment Phase Wisdom: During the 4-6 week establishment period mentioned in Step 4, create a simple shade structure with burlap if transplanting in hot weather. The 2-3 weekly waterings should penetrate 4-6 inches deep—use a soil probe or long screwdriver to check. If it doesn’t push in easily after watering, you need to water more deeply. Also, that 2-inch mulch clearance around stems prevents stem rot better than you might think.
The ideal time is early spring (March–April) or early fall (September–October) when temperatures are mild and soil is moist. Avoid extreme heat or frost—this reduces transplant shock and helps roots establish faster.
It’s risky! Summer heat stresses plants, but if necessary, choose a cool, overcast day and water deeply before/after moving. Provide temporary shade (like burlap) for 1–2 weeks to ease the transition.
Plant cuttings 1–2 inches deep with at least 6–12 inches between plants for spreading room. Ensure the top of the root ball is level with the soil surface—burying too deep can cause rot.
Yellowing or wilting often signals transplant shock or overwatering. Check soil moisture (should be damp, not soggy) and trim damaged leaves. Mulch lightly to retain moisture, and avoid fertilizing until plants recover.
Yes! Try creeping thyme (sun-loving, fragrant), sweet woodruff (shade-tolerant), or ajuga (colorful foliage). Each has unique textures and care needs—research to match your garden’s conditions.
