
Beautiful Plants For Your Interior
Beautiful Plants For Your Interior
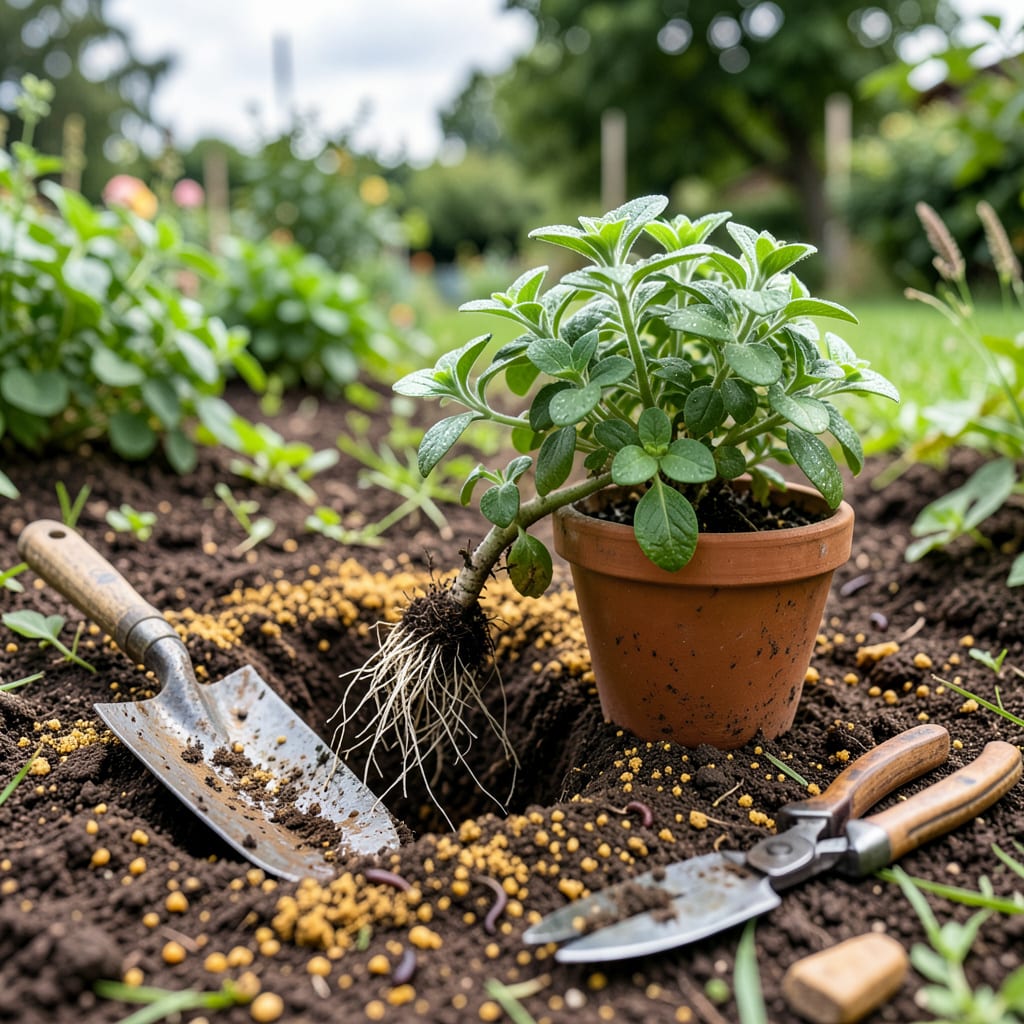
That overgrown oregano patch staring at you isn’t just surviving—it’s begging for more room to thrive. I’ve moved dozens of oregano plants over the years, and the right transplant turns a scraggly herb into a bushy, fragrant powerhouse. The key is timing it right (spring or early fall) and treating those roots like they’re made of gold.
You’ll need about 20 minutes, a sharp trowel, and the confidence that comes from knowing oregano is tougher than it looks. Whether you’re upgrading pots or dividing an established plant, the process is simpler than you’d expect. By next season, you’ll have twice the harvest with half the effort—because happy roots mean explosive growth.
📚 In This Guide
Transplanting oregano is simpler than you think—follow these steps and your plants will thrive in their new home.
Pick a mild, overcast day for transplanting—ideally in early morning or late afternoon when temperatures are cooler. Oregano handles stress better when it’s not fighting midday heat. I always check the forecast first to avoid transplanting right before heavy rain or extreme heat.
Select a spot with full sun (6+ hours daily) and well-draining soil. If transplanting into a container, ensure it’s at least 8-10 inches deep with drainage holes. Oregano despises soggy roots, so avoid low-lying areas where water pools.
Water the oregano plant thoroughly the day before transplanting. This keeps the root ball intact and reduces shock. Use a trowel to dig a wide circle around the plant, about 6 inches from the base, to capture as many roots as possible.
Slide the trowel under the root ball and lift gently. If roots resist, don’t tug—dig deeper instead. I like to keep the soil around the roots intact; this protects the fine feeder roots that oregano relies on for quick recovery.
Dig a hole in the new spot that’s twice as wide as the root ball but no deeper. Oregano prefers being planted at the same depth it was growing before. Place the plant in the hole and backfill with soil, pressing lightly to eliminate air pockets.
Water immediately after planting until the soil is evenly moist but not soggy. I use a gentle stream to avoid washing away soil. If transplanting into a container, leave 1 inch of space at the top for watering.
Keep the soil consistently moist (but not waterlogged) for the first 7-10 days. After that, oregano is drought-tolerant, so you can cut back on watering. Watch for wilting—this is normal for the first few days, but if it persists beyond a week, the plant may need more water or shade.
Avoid fertilizing immediately after transplanting. Wait 2-3 weeks before applying a balanced fertilizer, if at all. Oregano thrives in lean soil, and too much nitrogen reduces its flavor. I skip fertilizer entirely and let the plant focus on establishing roots.
After 2-3 weeks, once the plant shows new growth, trim back the top third of the stems. This encourages bushier growth and helps the plant direct energy toward root development. Use clean scissors or pruners to make sharp cuts just above a leaf node.
If any stems look damaged or wilted after transplanting, remove them entirely. Oregano recovers quickly, and pruning stimulates fresh, healthy growth. Within a month, your plant will look fuller and more vibrant than before.
Transplanting oregano successfully comes down to timing and technique—here’s what I’ve learned from years of trial and error.
Timing Secret: The advice in Step 1 about choosing an overcast day isn’t just preference—it’s critical. I once transplanted oregano during a sunny afternoon and lost half the plants to shock. Early morning transplanting gives roots the entire cooler day to adjust before facing afternoon heat. Even better, transplant after a light rain when soil is naturally moist.
Root Protection Technique: When digging in Step 2, don’t underestimate the 6-inch radius recommendation. I used to dig closer to the stem and always had stunted growth afterward. That extra space captures the peripheral roots that absorb most water and nutrients. If your plant is large, expand that radius to 8 inches for better results.
Watering Wisdom: The 7-10 day moist soil period in Step 4 is non-negotiable, but here’s what nobody tells you—use room temperature water. Cold water shocks roots just as much as dry soil does. I fill my watering can the night before and let it sit in the shade to match soil temperature. Your oregano will recover noticeably faster.
Pruning Strategy: When trimming in Step 5 after 2-3 weeks, don’t just eyeball “the top third.” Measure from the soil line up—this ensures you’re removing the oldest growth while preserving the most vigorous stems. I use my fingers to mark the cutting point before using shears, which prevents over-pruning that can set back recovery.
Spring or early fall (4-6 weeks before frost) is ideal for transplanting oregano. The mild weather helps roots establish without stress. Avoid extreme summer heat or winter cold, as both can shock the plant. If you’re in a warm climate, late winter may also work!
Watch for wilting, yellowing leaves, or stunted growth—these signal transplant shock. Check soil moisture (not soggy or bone-dry) and ensure it gets 6+ hours of sunlight. If drooping persists after a week, trim damaged leaves and provide shade for a few days.
Lightly prune leggy stems before transplanting to reduce stress and encourage bushier growth. After moving, wait 2-3 weeks before heavy pruning to let roots recover. Never remove more than ⅓ of the plant at once—oregano bounces back best with gentle care!
For pot-to-ground, harden off the plant for a week by gradually increasing outdoor exposure. For ground-to-pot, dig wide to preserve roots and use well-draining soil. Potted oregano may need more frequent watering but thrives with good drainage.
Skip transplanting entirely by taking 4–6-inch stem cuttings! Strip lower leaves, dip in rooting hormone (optional), and place in water or moist soil. Roots form in 2–4 weeks. This method is great for sharing plants or filling gaps in your garden—plus, it’s nearly foolproof!
