
Beautiful Plants For Your Interior
Beautiful Plants For Your Interior
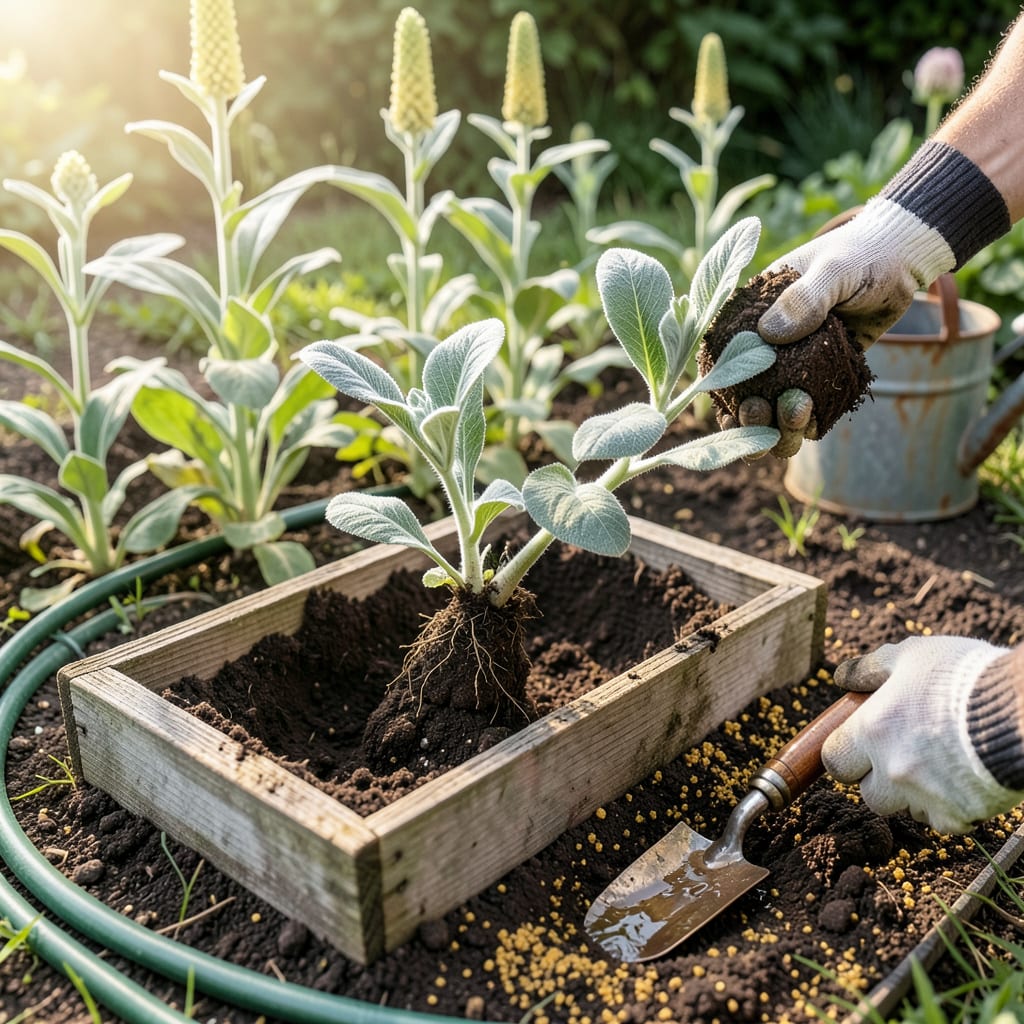
That first time I moved a mullein plant, I nearly killed it with kindness—too much water, too much fuss. Now I know better: these tough biennials thrive on a little neglect and the right timing. Transplanting mullein isn’t about coddling; it’s about giving roots room to stretch in well-draining soil before they tap into their second-year growth spurt.
Get the timing right (early spring or fall), handle those long roots gently, and you’ll watch fuzzy silver rosettes double in size within weeks. The real payoff? Next summer’s towering flower spikes that bees fight over—and you’ll never buy cough syrup again once you’ve harvested your own leaves. Here’s how to do it without the rookie mistakes.
📚 In This Guide
This straightforward process ensures your mullein plants establish quickly with minimal stress—perfect for beginners and experts alike.
Transplant mullein in early spring or fall when temperatures stay between 60-75°F. Avoid summer heat or winter cold, as extreme temperatures shock the roots. I always check the forecast for a stretch of mild weather—at least 5 days without frost or heatwaves.
The new location needs full sun to partial shade and well-draining soil. Mullein thrives in poor soil but hates soggy roots, so avoid low spots where water pools. Test drainage by digging a 1-foot hole and filling it with water—if it drains within 30 minutes, you’re good.
Water your mullein deeply 24 hours before transplanting to hydrate the roots. This makes the root ball easier to handle and reduces transplant shock. Use a trowel to dig around the plant, starting 6 inches from the stem to preserve as many roots as possible.
Dig the new hole twice as wide as the root ball but no deeper. Loosen the soil at the bottom with your trowel to encourage root growth. If your soil is heavy clay, mix in a handful of compost to improve drainage—mullein prefers lean soil but benefits from this small boost.
Gently lift the mullein by the root ball, not the stem, which can snap easily. Place it in the new hole so the top of the root ball sits 1 inch above ground level. This accounts for settling—mullein stems rot if buried too deep.
Backfill with native soil, pressing lightly to remove air pockets. Don’t pack it tightly—roots need oxygen to recover. Water immediately with 1 gallon of water to settle the soil around roots. You’ll see the plant wilt slightly at first, but it should perk up within 24 hours.
Keep the soil consistently moist (but not soggy) for the first 2 weeks. Check moisture by sticking your finger 1 inch deep—water when it feels dry. Mulch with 2 inches of straw to retain moisture and suppress weeds, but keep mulch 3 inches away from the stem to prevent rot.
Watch for wilting beyond the first day or yellowing leaves—both signal stress. If this happens, provide temporary shade with a lightweight cloth for 3-5 days. Avoid fertilizing for 4 weeks; mullein establishes better in lean conditions. You’ll know it’s thriving when new growth appears at the top.
Transplanting mullein successfully comes down to timing and technique—here’s what I’ve learned from years of trial and error.
Timing Secret: The 24-hour pre-transplant watering in Step 2 isn’t just helpful—it’s essential. I’ve found that plants watered for less than 24 hours show significantly more transplant shock. Set a reminder so you don’t forget this critical preparation step. The roots need this full day to fully hydrate and become pliable for the move.
Depth Matters: When placing your mullein in Step 3, that 1-inch elevation above ground level makes all the difference. I learned this the hard way after losing several plants to stem rot. Use a ruler if needed to measure—it’s better to be precise than sorry. The plant will settle naturally over time, bringing it to the perfect level.
The Technique That Changed Everything: In Step 4, when checking soil moisture with your finger, don’t just test the surface. Push your finger down the full 1 inch as directed—the top layer dries much faster than the root zone. I use this simple test daily during the first 2 weeks, and it’s saved me from both under- and over-watering countless times.
What to Watch For: During the first 24 hours after transplanting, some wilting is normal, but watch for leaves that remain limp after that initial period. This often indicates the plant isn’t getting enough water at the roots. When this happens, I water deeply again with another gallon, making sure it penetrates to the root ball rather than just wetting the surface.
The ideal time is early spring or fall, when temperatures are mild (50–70°F). Avoid extreme heat or frost, as stressed plants struggle to establish roots. If transplanting in summer, water deeply and provide temporary shade to reduce shock.
Yes! Wild mullein often adapts well, but dig deeply to preserve the long taproot. Choose healthy, pest-free plants and check local regulations—some areas restrict removing native plants. Acclimate wild transplants gradually to garden conditions.
Biggest pitfalls:
Do I need to fertilize after transplanting?
Not immediately! Wait 2–3 weeks to let roots settle. Then, use a low-nitrogen fertilizer (like 5-10-10) or compost tea. Mullein thrives in poor soil, so over-fertilizing can cause leggy growth or reduce medicinal potency.
Use a deep pot (12″+) to accommodate the taproot and well-draining soil (add sand or perlite). Container-grown mullein needs more frequent watering but avoids transplant shock. Great for renters or small spaces!
