
Beautiful Plants For Your Interior
Beautiful Plants For Your Interior
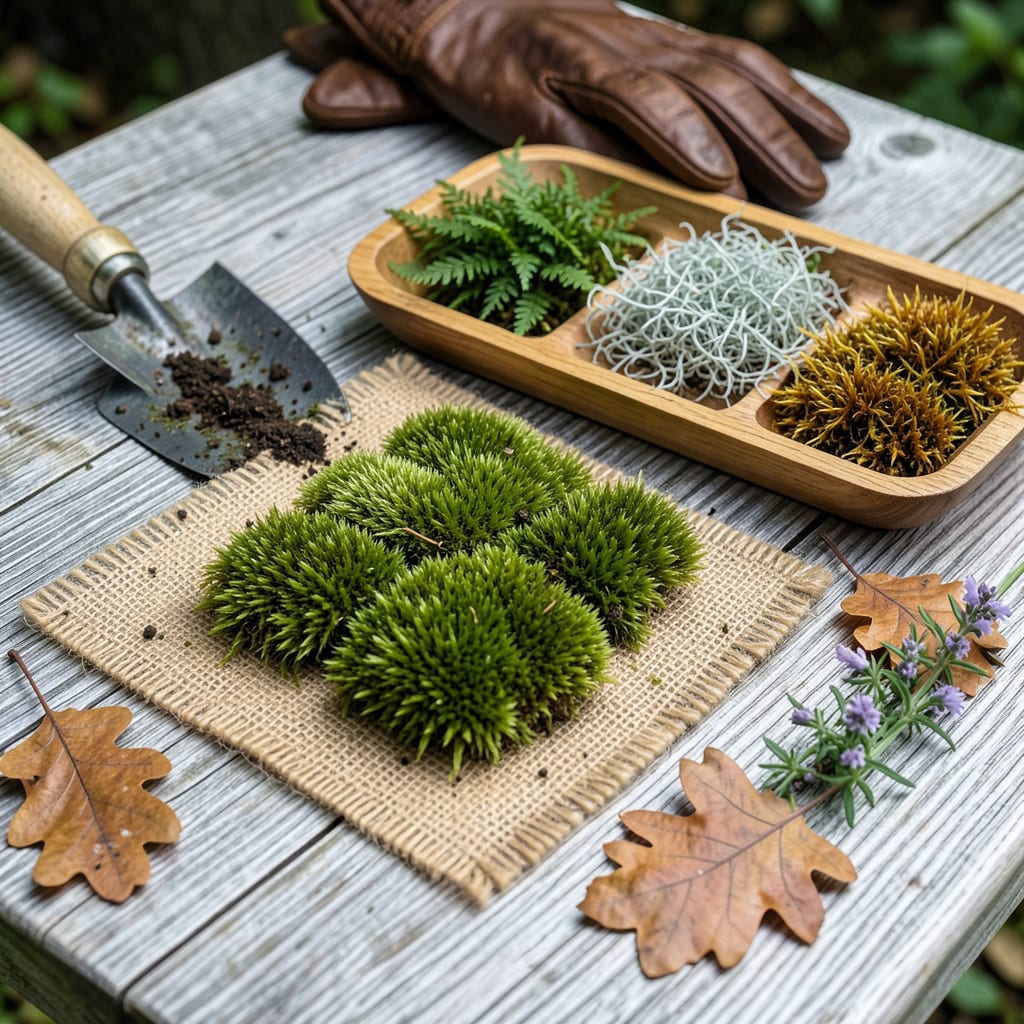
That first time I pressed wild moss into my garden rocks, I expected failure. Three years later, those same patches spread into a velvety green carpet that outlasts droughts and ignores my occasional neglect. Transplanting moss isn’t magic—it’s about matching the right pieces to the right spot with minimal fuss.
You’ll need just three things: healthy moss clumps (wild or purchased), a shady surface, and patience for the first 4-6 weeks of establishment. The trick isn’t forcing growth but creating conditions where moss wants to spread naturally. No fancy tools, no daily babysitting—just smart prep and letting nature do the heavy lifting.
📚 In This Guide
This simple process transforms bare patches into velvety green carpets—no special tools required.
Look for vibrant, springy moss patches that are actively growing. Avoid dry, brown, or brittle sections, as these won’t establish well. The best time to harvest is after a rain when the moss is plump and easy to lift. I use my hands to gently peel back sections about 1 inch thick—this preserves the root-like rhizoids underneath.
At your transplant site, clear all debris and weeds first. Rough up the soil surface lightly with your fingers or a small rake. Moss thrives on compacted, acidic soil, so don’t loosen it too much. If your soil is heavy clay or sandy, I’ve found that lightly sprinkling a handful of peat moss over the area helps create that ideal spongy texture moss loves.
Lay the moss sections immediately onto the prepared soil, pressing down firmly with your palms. You want good contact between the moss and soil—this ensures the rhizoids can grab hold. Work in small sections (about 1 square foot at a time) so the moss doesn’t dry out before you finish.
Arrange pieces like a jigsaw puzzle, with edges touching but not overlapping. Gaps wider than ½ inch may allow weeds to creep in. For slopes or vertical surfaces, I secure the moss with biodegradable twine or small wooden stakes until it establishes (usually 4-6 weeks). You’ll know it’s taking hold when new green shoots appear at the edges.
Water immediately after transplanting until the soil beneath feels saturated and the moss looks glossy. I use a gentle mist setting on my hose to avoid dislodging pieces. For the first 2-3 weeks, keep the moss consistently damp—this is critical. Check moisture daily by pressing a corner: if it doesn’t spring back, it needs water.
After the initial period, you can reduce watering but never let the moss dry completely. Morning watering works best, as it gives the moss time to absorb moisture before the heat of the day. You’ll see the color deepen from dull to vibrant green when hydration is right. If edges brown slightly, don’t panic—just increase water temporarily and trim the crispy bits later.
Keep foot traffic off the area for at least 6-8 weeks while the moss establishes. I like to mark the perimeter with small sticks or flags as a visual reminder. If you notice birds scratching at the moss (they sometimes mistake it for nesting material), lay a piece of breathable landscape fabric over it temporarily.
Moss grows slowly but steadily. You’ll see the most expansion in spring and fall when conditions are naturally damp and cool. If weeds appear, pull them immediately—they compete for moisture and space. After about 3 months, your transplanted sections will blend seamlessly with any surrounding moss, creating that continuous green carpet effect you’re after.
Here’s what I’ve learned from years of transplanting moss—small details that make a big difference in success.
Selection Secret: In Step 1, when harvesting your 1-inch thick sections, look for moss that’s already growing in similar conditions to your transplant site. I’ve found that moss from shady, damp areas establishes much faster in similar environments than sun-loving varieties moved to shade. The rhizoids (those root-like structures) will be better adapted to your specific conditions from the start.
Contact is Critical: When pressing the moss into place in Step 2, don’t just press once—go over each section three times with firm, even pressure. I use the palm of my hand in small circular motions, which helps eliminate air pockets that could dry out the rhizoids. Remember to work in those 1-square-foot sections to prevent any pieces from drying out before you finish.
Watering Wisdom: During the crucial 2-3 week period mentioned in Step 3, I’ve developed a simple test: if the moss doesn’t feel cool to the touch when you place your hand on it, it needs water. Morning watering is ideal, but if you’re in a particularly hot climate, a second light misting in the late afternoon can prevent stress. Just be sure to use that gentle mist setting to avoid disturbing the newly transplanted sections.
Patience Pays Off: Those 6-8 weeks of protection in Step 4 aren’t just suggestions—they’re critical. I once made the mistake of walking on newly transplanted moss after just 4 weeks, and it set back the establishment by nearly a month. The rhizoids need this undisturbed time to fully anchor into the soil. If you must access the area, lay down temporary boards to distribute your weight.
Spring and early fall are ideal—mild temps and moisture help moss establish. Avoid extreme heat (summer) or frost (winter), as stress can kill delicate transplants. If you must move moss in summer, keep it shaded and misted daily for 2–3 weeks.
With proper care, moss roots into its new home in 3–6 weeks. Stay patient! Keep the area consistently damp (not soggy) and avoid foot traffic. If edges curl or brown, it’s thirsty—mist more frequently until it revives.
Try a moss slurry (blend moss + water into a paste, paint it onto surfaces). It’s less instant but great for rocks or large areas. For shady spots, scatter moss fragments over soil and mist daily—nature will do the rest!
Brown patches usually mean too much sun, dryness, or poor contact with soil. Check that moss is pressed firmly into damp, acidic soil (pH 5.0–6.0). If crispy, soak it in water for 10 minutes to revive, then replant.
Legally, check local rules—some parks protect moss. Ethically, take small patches (no larger than your hand) from abundant areas, leaving most intact. Better yet, buy from nurseries or propagate moss you already have!
