
Beautiful Plants For Your Interior
Beautiful Plants For Your Interior
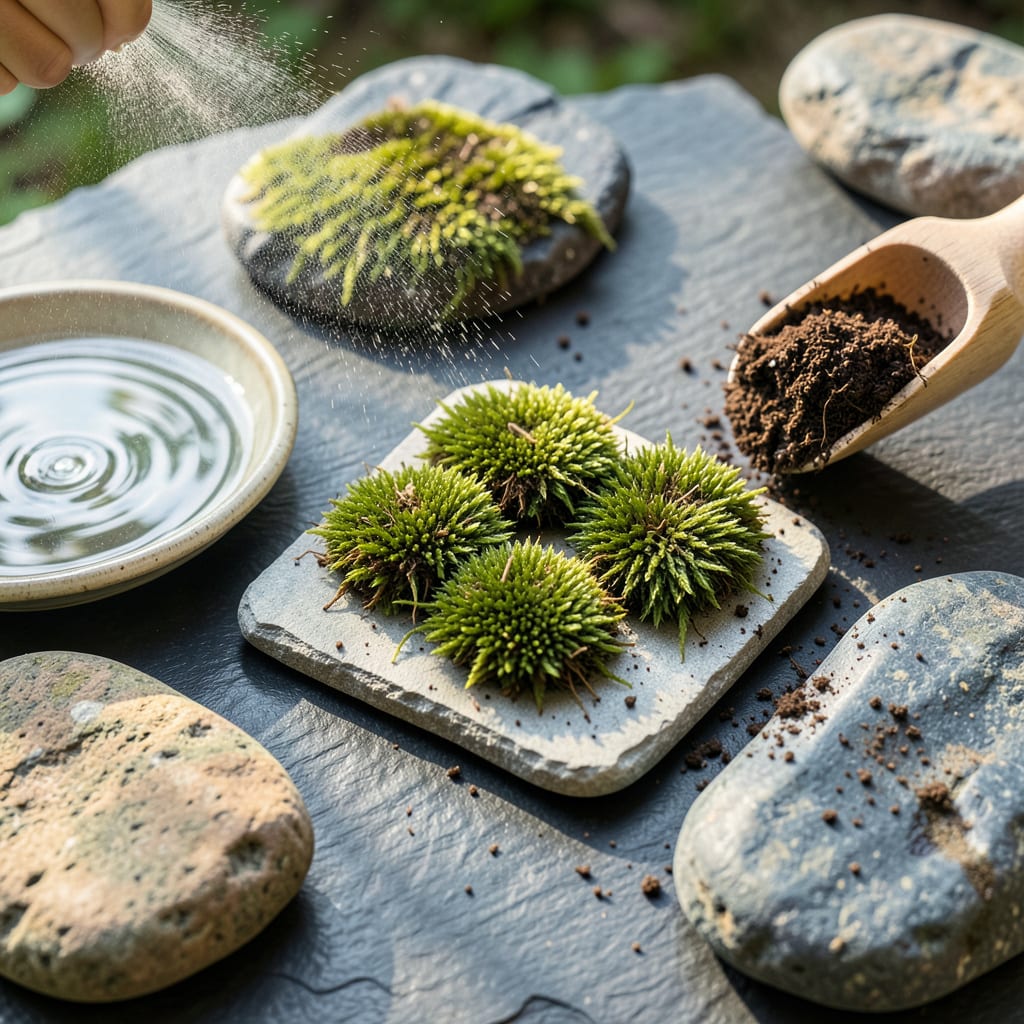
Transforming plain rocks into velvety green sculptures is simpler than it appears. I’ve tested multiple methods for transplanting moss onto stones, and the slurry technique delivers the most reliable results—even for beginners. The key lies in choosing healthy moss patches and preparing the rock surface properly before application.
Within 4-6 weeks, the moss will anchor itself, creating a natural, low-maintenance feature that thrives in shade. This method works equally well for garden accents, terrariums, or Japanese-inspired landscapes. Patience pays off: once established, moss requires almost no upkeep beyond occasional misting.
📚 In This Guide
This method ensures maximum adhesion and long-term viability for your transplanted moss.
Begin by harvesting healthy moss patches from their natural environment or purchased sources. Choose specimens with vibrant green coloration and dense growth patterns, avoiding any with brown edges or sparse coverage. The ideal pieces should be at least 4-6 inches in diameter to ensure sufficient surface area for adhesion.
Gently remove any debris, pine needles, or soil from the underside of the moss using a soft-bristled brush. Avoid pulling or tearing the rhizoids (root-like structures) as these are critical for attachment. If the moss appears dry, mist it lightly with room-temperature water until it becomes pliable but not saturated.
Real talk: Transplanting works best in cool, overcast conditions (below 75°F) when moss is naturally more hydrated and less stressed. Morning hours provide ideal moisture levels and reduce transplant shock.
Clean the target rock surface thoroughly with a stiff brush to remove dust, lichen, or loose particles. The surface must be rough enough to provide grip but free of contaminants that could inhibit adhesion. For particularly smooth rocks, use 80-grit sandpaper to create microscopic texture without altering the rock’s natural appearance.
Rinse the rock with clean water and allow it to air-dry completely. Any residual moisture between the rock and moss will create a slippery barrier. Test the surface by pressing a small moss fragment against it—if it holds without sliding, the texture is adequate.
Here’s the thing—moss adheres best to porous, mineral-rich surfaces like sandstone or limestone. Granite and other non-porous rocks require more frequent misting during the establishment phase.
Position the moss piece against the rock and press firmly with your palms, working from the center outward. Apply consistent pressure for 30-45 seconds to ensure the rhizoids make full contact. For vertical surfaces, start at the bottom and work upward to prevent sagging.
Use cotton string or fishing line to secure the moss temporarily if working on steep inclines or overhead surfaces. Create a loose grid pattern with 2-3 inch spacing between ties—tight constriction will damage the moss. The support can be removed after 4-6 weeks once adhesion is confirmed.
Don’t skip this (I learned the hard way): Overlapping moss edges by ½ inch creates seamless coverage as the colonies expand. Gaps wider than ¼ inch may allow weeds to establish or create uneven growth patterns.
Mist the transplanted moss immediately with fine spray until water beads on the surface but doesn’t run off. Maintain consistent moisture by misting 2-3 times daily for the first 2 weeks, then gradually reduce to once daily as adhesion strengthens.
Monitor the moss color as your moisture gauge—dark green indicates proper hydration, while grayish tones signal dehydration. In hot climates (above 80°F), increase misting frequency to 4 times daily and provide temporary shade cloth during peak afternoon sun.
The reason we focus on misting rather than soaking is that moss absorbs water through its entire surface, not just the base. Overwatering creates pooling that can dislodge newly transplanted pieces before rhizoids anchor.
After 6-8 weeks, test adhesion by gently tugging the moss edges—properly established moss will resist removal. Begin reducing misting to every other day, allowing natural rainfall to become the primary water source where possible.
Apply a diluted fish emulsion fertilizer (1:10 ratio with water) monthly during the growing season to provide nutrients without burning the moss. Avoid high-nitrogen fertilizers, which promote algae growth and can outcompete your moss colony.
You’ll know the transplant is fully successful when new growth appears at the edges of the original pieces, typically within 3-4 months. This horizontal expansion indicates the moss has fully integrated with the rock surface and established its own microclimate.
Mastering moss transplantation requires attention to environmental factors and precise technique. These professional insights will maximize your success rate.
Environmental Timing: The 75°F threshold mentioned in Step 1 isn’t arbitrary—it represents the temperature at which moss cellular activity slows enough to prevent transplant shock while remaining metabolically active. Schedule your transplantation for early morning when humidity is naturally higher and temperatures are still rising. Avoid midday when surface temperatures can exceed air temperature by 10-15°F, even in cool climates.
Surface Preparation Technique: When using 80-grit sandpaper in Step 2, employ a circular motion rather than linear strokes to create a more natural micro-texture that mimics weathered rock surfaces. Test your preparation by pressing a damp paper towel against the surface—properly textured rock will hold the towel in place briefly before it slides off. This indicates the ideal balance between grip and drainage.
Pressure Application Method: During the 30-45 second pressure application in Step 3, focus on maintaining even distribution rather than maximum force. Use the heel of your hand for broad surfaces and fingertips for contours, adjusting pressure to match the rock’s topography. The goal is to create uniform contact across all rhizoids without compressing the moss structure, which would impede its natural growth pattern.
Moisture Management Strategy: The 2-3 times daily misting schedule in Step 4 should follow a specific pattern: first application at dawn to replenish overnight moisture loss, midday to counteract evaporation, and evening to prepare for nighttime recovery. Use a pressure-regulated spray bottle (1-2 bar pressure) to create droplets between 100-200 microns—large enough to penetrate the moss structure but small enough to avoid runoff that could dislodge newly attached rhizoids.
Moss typically takes 4–8 weeks to firmly attach, depending on humidity, moisture, and species. Keep it consistently damp (not soggy) during this time. Speed up the process by misting daily and placing rocks in a shaded, humid spot—like under a tree or in a terrarium.
It’s not ideal—moss grows best in mild temps (50–75°F). Winter dormancy slows attachment, and frost can kill tender transplants. If you must, choose hardy species (like sheet moss) and protect rocks with burlap or move them indoors near a cool, bright window.
If moss peels off, try these fixes:
Nope! Moss absorbs nutrients from air and water—fertilizer can harm it. Instead, use rainwater or distilled water (tap water’s chlorine/chloramine may bleach moss). For a boost, place rocks near decaying leaves or compost for natural nutrient runoff.
Brown = drying out; black = rotting. Fix it fast:
If it’s crispy, it may be dead—scrape off and restart with fresh moss.
