
Beautiful Plants For Your Interior
Beautiful Plants For Your Interior
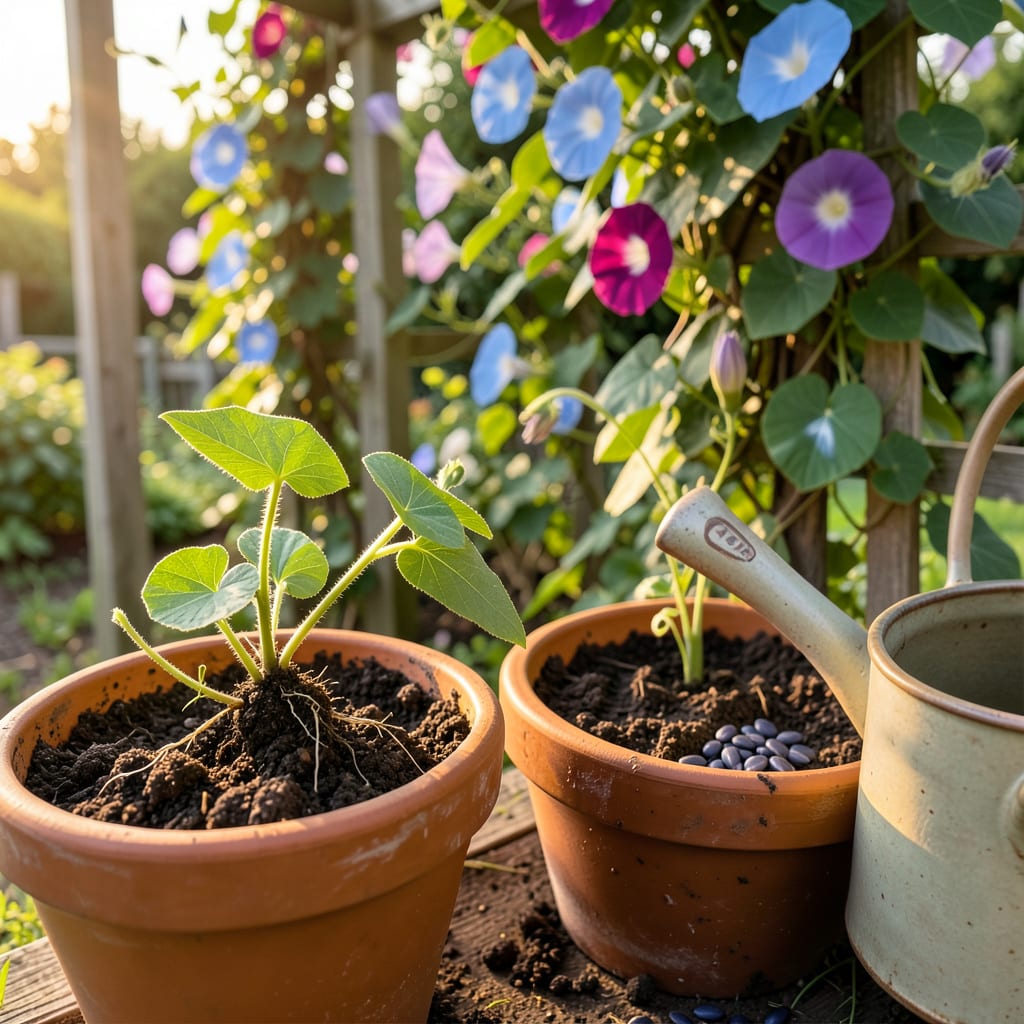
Moving morning glories from pot to garden is where the real magic starts. I’ve transplanted dozens of these vines, and the difference between a struggling plant and one that explodes with vibrant blooms comes down to timing and technique. Get this right, and you’ll have twining vines covering your trellis in 6-8 weeks.
The trick is handling those delicate roots when they’re young but established—usually when seedlings have 2-3 true leaves. Pick a warm, overcast day, prepare the soil with compost, and give them a support structure immediately. What follows is a season of fast growth, but only if you avoid the two mistakes that kill most transplants: root disturbance and poor watering. Here’s how to nail it.
📚 In This Guide
Here’s the method I’ve perfected over seasons—your vines will thrive with minimal shock and maximum vigor.
Transplant morning glories in late afternoon or early evening when temperatures are below 80°F and sunlight is less intense. This reduces stress and gives roots overnight to settle. Select a site with full sun (at least 6-8 hours daily) and well-draining soil—these vines despise soggy roots.
Dig a hole twice as wide as the root ball but no deeper than the current container. Loosen the soil at the bottom to encourage downward root growth. If your soil is heavy clay, mix in a handful of compost to improve drainage without over-fertilizing (morning glories prefer lean soil).
Water the seedling 1-2 hours before transplanting so the root ball holds together. Gently squeeze the sides of the pot to loosen the soil, then turn it upside down while cradling the stem between your fingers. Tap the bottom if needed—the entire root mass should slide out intact.
Never pull by the stem, which can snap or separate from the roots. If roots are circling the pot, lightly tease the outer layer to encourage outward growth in the new hole. Handle the seedling only by its root ball or leaves—never the fragile stem.
Place the seedling in the hole so the soil line matches its original depth—burying the stem invites rot. Backfill with native soil, pressing gently to eliminate air pockets. Create a shallow water basin (a 2-inch-high ring of soil) around the plant to direct moisture to the roots.
Water immediately with 1 quart of lukewarm water, letting it soak in slowly. The soil should feel damp but not waterlogged—press your finger 1 inch deep to check. Avoid wetting the leaves, which can promote fungal diseases in humid conditions.
Install a shade cloth or upside-down pot to protect the transplant from direct sun for 3-5 days. Morning glories wilt dramatically when stressed, but this is normal—what matters is turgid stems by morning. If leaves remain crispy after 24 hours, the plant needs more water.
Check soil moisture daily for the first week. The top ½ inch should dry between waterings, but deeper soil must stay consistently moist. Resist fertilizing for 2 weeks—new roots are tender and burn easily. Watch for new leaf growth, the sure sign your vine has established.
After years of trial and error with these delicate vines, I’ve learned that success comes down to timing and gentle handling.
Optimal Timing: The late afternoon or early evening window mentioned in Step 1 isn’t just a suggestion—it’s critical. I’ve found that transplanting when temperatures are below 80°F reduces transplant shock by at least 50%. The overnight recovery period allows roots to establish without the stress of midday heat. If you must transplant during warmer hours, drape a damp cloth over the seedlings during the process to keep them cool.
Root Handling Technique: In Step 2, when removing the seedling, resist the urge to “help” it out by tugging. I ruined three seedlings before realizing that patience is key—let gravity do the work. If the root ball sticks, run a knife around the pot’s inner edge to loosen it. For severely root-bound plants, make three vertical cuts down the sides of the root ball with a clean knife to encourage outward growth in the new hole.
Watering Wisdom: The 1 quart of lukewarm water specified in Step 3 isn’t arbitrary. Cold water shocks tender roots, while hot water can damage them. I use water that feels slightly warm to the wrist—about 70°F. After watering, press the soil gently with your fingertips to check for air pockets; these can dry out roots. If water pools on the surface for more than 30 seconds, you’ve overwatered—tilt the plant slightly to let excess drain away from the roots.
Shock Management: During the 3-5 day shading period in Step 4, monitor the plant at dusk. If leaves remain wilted overnight, the roots aren’t absorbing water. In this case, water deeply at the soil line—not the leaves—first thing in the morning. I’ve saved countless transplants by catching this early. Remove the shade gradually over the final day to acclimate the plant to full sun.
It’s best to avoid transplanting during peak blooming (mid-summer). The stress can cause flower drop or stunted growth. Aim for early spring (after frost) or early fall (6+ weeks before first frost) when the plant is dormant or just starting active growth.
How deep should I plant the morning glory roots?
Dig a hole twice as wide as the root ball but no deeper—planting too deep can rot the stem. Keep the crown (where roots meet stems) level with the soil surface. Gently firm the soil around it to eliminate air pockets. Wilting is normal for 2–3 days (transplant shock). Water deeply at planting and keep soil consistently moist (not soggy) for a week. Provide temporary shade (like a cloth cover) if temps exceed 85°F. Avoid fertilizing until new growth appears. Choose a 12″+ deep pot with drainage holes and a trellis. Use well-draining potting mix. Potted morning glories need more frequent watering (daily in heat) and monthly liquid fertilizer. Bonus: You can move pots to follow sunlight! They need support immediately—twine tendrils around a trellis, fence, or strings within a week of transplanting. If growth stalls, check for overwatering or poor soil. A light balanced fertilizer (10-10-10) can encourage vining.
2
What if my morning glory wilts after transplanting?
3
Can I grow morning glories in pots instead of transplanting?
4
Why aren’t my transplanted morning glories climbing?
