
Beautiful Plants For Your Interior
Beautiful Plants For Your Interior
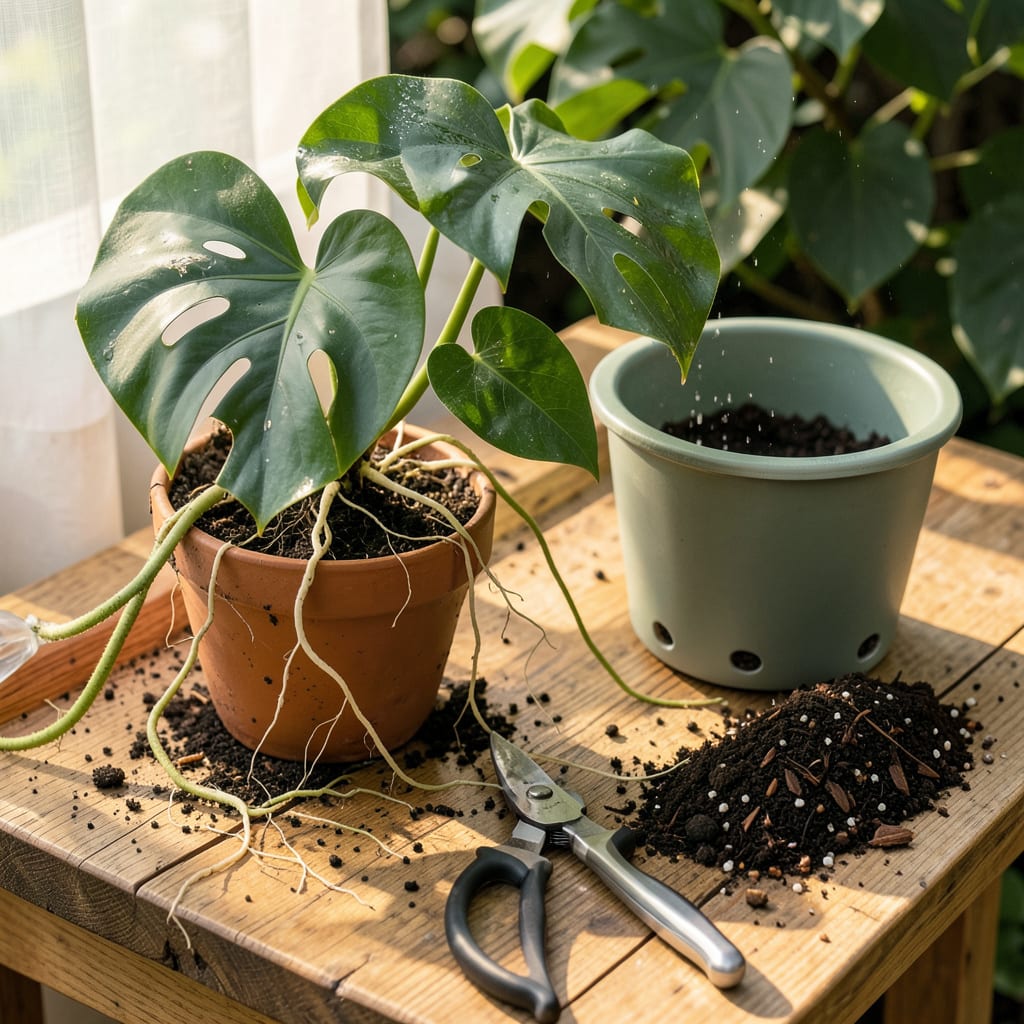
That moment when your Monstera’s roots start circling the pot like they’re plotting an escape? That’s your sign. I’ve moved dozens of these tropical beauties over the years, and the difference between a stressed plant and one that takes off is all in the timing and technique. Spring or early summer is ideal—when the plant’s naturally gearing up for growth.
What you’re aiming for is a smooth transition that doesn’t set your plant back. Choose a pot just 2-3 inches wider than the current one, use a chunky soil mix that mimics their jungle floor, and handle those roots like they’re fragile vines (because they are). Done right, you’ll see new leaves unfurling within 3-4 weeks—bigger and bolder than before.
📚 In This Guide
Transplanting your monstera doesn’t have to be intimidating—follow these simple steps for a smooth transition and healthier growth.
Spring or early summer is ideal for transplanting, when your monstera is entering its active growth phase. Select a container that’s 2-3 inches wider than the current one—too large and the soil stays wet too long, risking root rot. I prefer plastic or ceramic pots with multiple drainage holes to prevent waterlogging.
Clean the new pot with mild soap and water to remove any residue that could harbor bacteria. Rinse thoroughly and let it air dry. This small step prevents many issues down the road. Place a coffee filter or mesh screen over the drainage holes before adding soil—it keeps the mix in while letting water escape freely.
Water your monstera 24 hours before transplanting—this helps the root ball hold together and reduces transplant shock. Turn the current pot sideways and gently tap the rim against a table edge while supporting the base of the plant. If it resists, run a butter knife around the inner edge to loosen the roots.
Once removed, examine the root system. Healthy roots should be firm and white or light tan. If you see dark, mushy roots, trim them away with clean scissors. Loosen the outer roots gently with your fingers to encourage outward growth in the new container. This is where many people rush, but taking your time here prevents future problems.
Place a 2-inch layer of fresh, well-draining potting mix in the bottom of the new container. I use a blend of 60% peat-based mix and 40% perlite for optimal aeration. Position your monstera so it sits at the same depth as before—burying the stem too deep can cause rot.
Fill around the root ball with your soil mixture, pressing lightly to eliminate air pockets. Don’t compact it too firmly—monstera roots need room to breathe. Water thoroughly until it runs freely from the drainage holes, then let it drain completely. You’ll know it’s properly watered when the soil surface looks evenly moist but not soggy.
Place your newly transplanted monstera in bright, indirect light for the first week—direct sun can stress it during recovery. Maintain 65-80°F temperatures and 60-70% humidity if possible. I use a pebble tray with water beneath the pot to create a humid microclimate without overwatering.
Wait 7-10 days before fertilizing to let the roots adjust. When you do fertilize, use a balanced liquid fertilizer at half strength. Watch for new leaf growth—this is your signal the transplant was successful. If leaves yellow or droop after two weeks, check for overwatering or insufficient light.
Transplanting your monstera successfully comes down to a few key details that make all the difference between a thriving plant and one that struggles to recover.
Timing is Everything: The 24-hour pre-watering mentioned in Step 2 isn’t just helpful—it’s critical. I’ve found that plants watered for less time often experience more root damage during removal. This hydration window allows the root ball to become cohesive while still maintaining enough moisture to reduce transplant shock. Don’t rush this preparation step, as it sets the foundation for everything that follows.
Root Handling Technique: When examining the root ball in Step 2, resist the urge to be overly aggressive with trimming. I only remove roots that are clearly dark and mushy—healthy roots that look firm but have minor discoloration should be left intact. The gentle finger-loosening of outer roots is more important than you might think; it encourages the roots to spread into the new soil rather than continuing to circle in their old pattern.
Soil Composition Matters: The 60% peat-based mix and 40% perlite blend suggested in Step 3 creates the ideal balance of moisture retention and drainage. I’ve experimented with various ratios, and this combination consistently prevents both waterlogging and rapid drying. When filling around the root ball, press the soil just enough to eliminate air pockets—you should still be able to insert your finger easily. Over-compacting is a common mistake that leads to poor root development.
Recovery Environment: The 65-80°F temperature range and 60-70% humidity specified in Step 4 aren’t just suggestions—they’re optimal conditions for recovery. I’ve noticed that plants kept in these conditions show new growth about 30% faster than those in less ideal environments. If you can’t maintain this humidity naturally, the pebble tray method works remarkably well. Just be sure the pot isn’t sitting directly in water, as this can lead to root rot despite the humidity benefits.
Spring or early summer is ideal—your Monstera is in its active growth phase! Avoid winter (dormant period) or extreme heat. Look for signs like roots poking through drainage holes or slow growth as cues it’s time to upgrade its pot.
Only if absolutely necessary . Winter transplanting shocks the plant due to slower recovery. If roots are circling or pot-cracking, proceed gently: keep it warm (65–75°F), water lightly, and avoid fertilizing until spring.
Repotting = refreshing soil in the same pot (or slightly larger). Transplanting = moving to a new pot (2–3” wider) with fresh mix. Monsteras often need transplanting every 1–2 years for space. Use well-draining soil (e.g., 60% potting mix + 40% perlite/orchid bark).
Transplant shock is common! Check for:
Yes! If your plant is leggy or overgrown, propagate stem cuttings in water or soil . This reduces pot size needs and gives you free plants! Transplant the mother plant only if roots are crowded—propagation won’t fix root-bound issues.
