
Beautiful Plants For Your Interior
Beautiful Plants For Your Interior
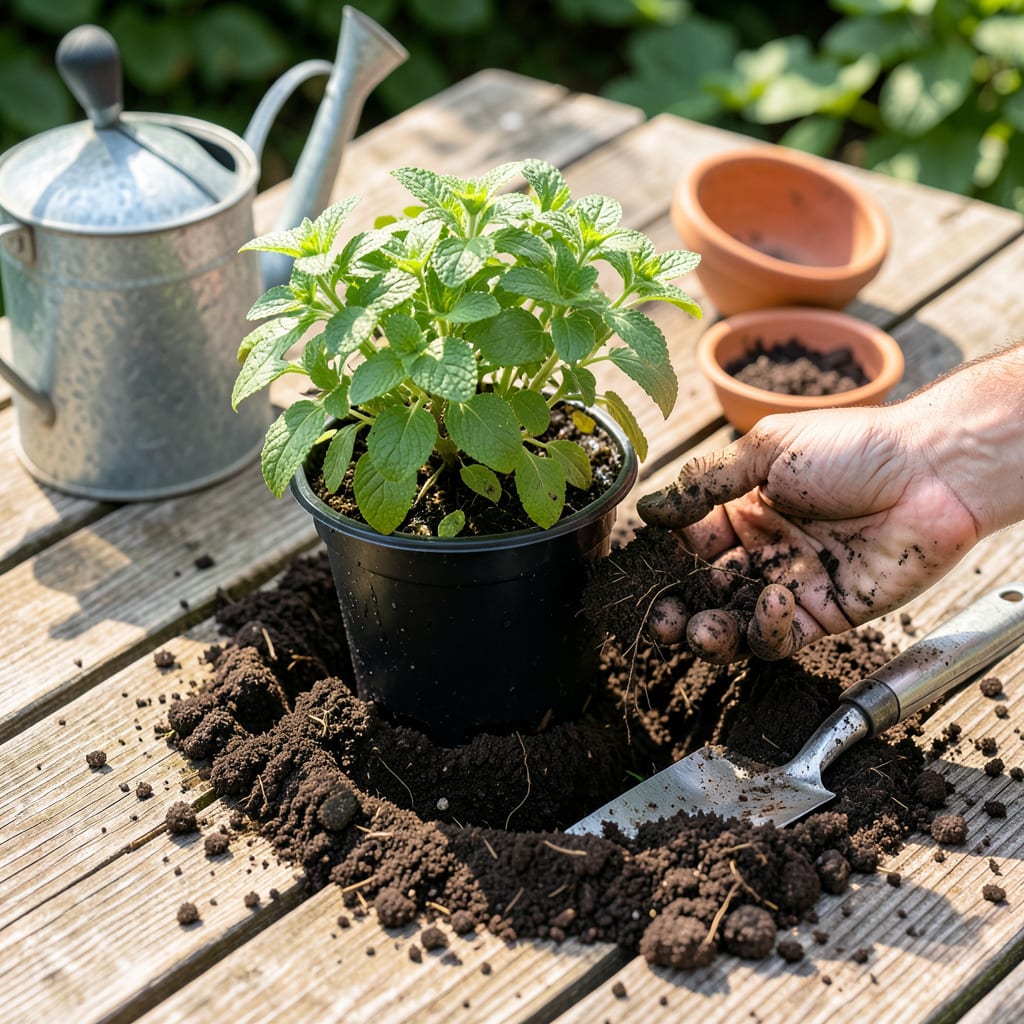
Mint transplanting changed my gardening game completely. I used to lose half my plants to shock or rot—until I figured out the right timing and technique. Move your mint in early spring or fall when temperatures stay mild, and you’ll see roots establish twice as fast as summer attempts. The key is working with the plant’s natural growth cycle, not against it.
What surprised me most? How forgiving mint actually is when you handle the roots properly. No fancy tools needed—just a trowel, decent soil, and 15 minutes of careful work. I’ll walk you through exactly where to cut, how deep to plant, and the watering trick that prevents that dreaded post-move wilt. Your plants will be pushing new growth within 7-10 days.
📚 In This Guide
Moving mint to a new spot doesn’t have to be stressful—here’s how I do it without shocking the plants.
Choose a location with partial shade (4-6 hours of morning sun works best) and well-draining soil. Mint thrives in almost any soil type but performs best when the ground isn’t soggy. I dig a hole about twice as wide as the root ball but only as deep as the current container.
Loosen the soil at the bottom of the hole with a garden fork to encourage root penetration. If your soil is heavy clay, mix in a handful of compost to improve drainage. Water the hole thoroughly and let it drain completely before transplanting—this prevents the roots from sitting in dry pockets.
Water the mint plant 1-2 hours before transplanting to reduce stress on the roots. Gently squeeze the sides of the pot to loosen the root ball, then tip the plant onto its side. Support the base of the stems with one hand while sliding the pot off with the other.
If the roots are tightly bound (you’ll see them circling the soil), gently tease them apart with your fingers. Don’t worry about breaking a few small roots—this actually stimulates new growth. The goal is to encourage outward root expansion in the new location.
Place the mint in the prepared hole so the top of the root ball sits 1 inch above the surrounding soil. This prevents crown rot, which mint is surprisingly susceptible to. Fill around the roots with soil, pressing gently to eliminate air pockets but not compacting too firmly.
Create a slight mound around the base to help direct water toward the roots. Water immediately after planting until you see moisture emerge at the soil surface. The plant may wilt slightly at first—this is normal and should resolve within 24 hours if you’ve watered properly.
Keep the soil consistently moist (but not waterlogged) for the first 7-10 days. I check daily by feeling the top inch of soil—if it’s dry to the touch, it’s time to water. Morning watering works best to prevent fungal issues.
Hold off on fertilizing for 2 weeks to avoid burning new roots. If you notice yellowing leaves, that’s often a sign of transplant shock rather than a problem—just maintain even moisture. Once you see new growth (usually within 10-14 days), you’ll know the transplant was successful.
Mint spreads aggressively through underground runners, so check the planting area weekly. If you see new shoots emerging more than 6 inches from the main plant, it’s time to contain it. I either trim the runners or sink a 12-inch deep barrier around the plant to limit expansion.
For container transplants, watch for roots emerging from drainage holes—this means it’s time to either divide the plant or move it to a larger pot. Regular harvesting actually helps control growth while giving you fresh leaves for use.
Transplanting mint successfully comes down to a few key details that prevent shock and encourage rapid growth.
Watering Wisdom: The 1-2 hours of pre-transplant watering in Step 2 isn’t just helpful—it’s critical. I’ve found that plants watered for the full 2 hours experience significantly less wilting during the move. The roots absorb maximum moisture, making them more resilient when disturbed. Don’t rush this step, especially if your mint looks slightly wilted to begin with.
Depth Discipline: That 1 inch of elevation above soil level in Step 3 might seem minor, but it’s your best defense against crown rot. I learned this the hard way after losing two mint plants to overly enthusiastic planting. When in doubt, err on the side of planting slightly high—you can always mound more soil around the base later if needed.
Aftercare Attention: The 7-10 day moist soil requirement in Step 4 is where most people fail. Here’s what nobody tells you—mint’s roots are surprisingly shallow during this period. That’s why checking the top inch of soil daily is non-negotiable. I use my finger to test moisture at three different spots around the plant to ensure even hydration. Morning watering really does make a difference in preventing fungal issues.
Spread Strategy: The 6-inch rule for new shoots in Step 5 isn’t arbitrary. Mint’s underground runners can extend surprisingly fast—sometimes visible growth appears overnight. I mark the original planting perimeter with small sticks to easily spot new growth beyond the boundary. This makes containment much easier than trying to eyeball measurements weekly.
Spring or early fall is ideal for transplanting mint, when temperatures are mild (60–70°F). Avoid extreme heat or frost—stress can shock the plant. If moving potted mint indoors, do it before the first frost for a smoother transition.
Wilting is usually transplant shock. Ensure the roots stay moist (not soggy) for 1–2 weeks post-move. Trim leggy stems to reduce stress, and provide shade for 3–5 days. Most mint bounces back quickly with consistent watering!
Dig up a 3–4 inch section with roots, shake off excess soil, and replant in a pot with well-draining mix. Pro tip: Use a 12+ inch container—mint spreads fast! Water thoroughly and keep in partial sun initially.
Mint is invasive! Plant it in sunk pots (bury a container in the ground) or use root barriers (12+ inches deep). For pots, trim runners weekly. Never compost mint stems—toss them to prevent accidental spreading.
Mint thrives in moist, loamy soil (pH 6.0–7.0). Mix garden soil with compost or coconut coir for pots. Avoid heavy clay or sand—it drains too fast or holds too much water. A sprinkle of worm castings boosts growth!
