
Beautiful Plants For Your Interior
Beautiful Plants For Your Interior
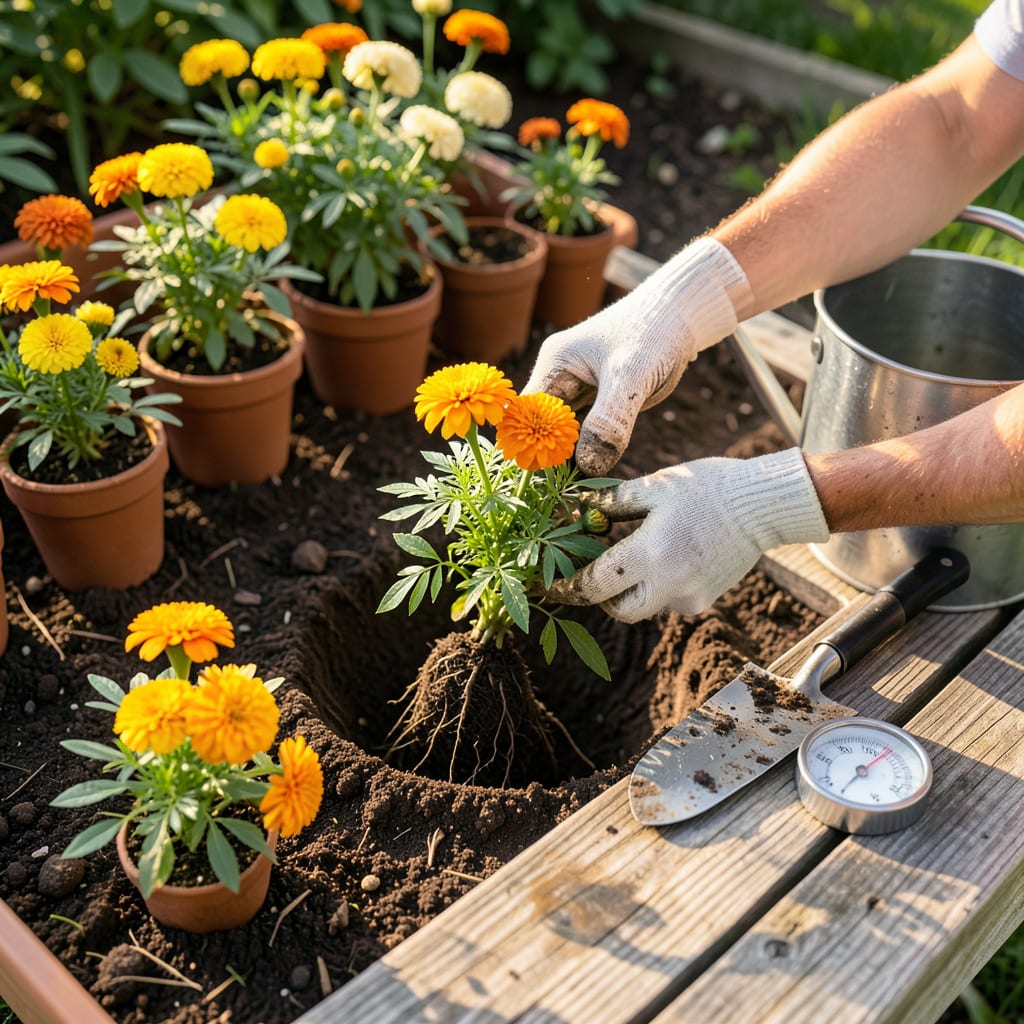
There’s something magical about watching marigolds transform from delicate seedlings to sun-drenched blooms. I’ve moved hundreds of these cheerful plants over the years, and the difference between a thriving transplant and a wilted disappointment comes down to three critical moments: when you move them, how you handle their roots, and what you do in the first 48 hours after planting.
The right timing makes all the difference—too early and frost nips them, too late and they struggle in summer heat. My foolproof method gets them established with zero transplant shock, producing those iconic orange and yellow flowers faster than store-bought plants. You’ll be cutting armfuls of blooms by midsummer if you follow these simple but precise steps.
📚 In This Guide
Here’s my tried-and-true method for moving marigolds without shock—you’ll get bushier plants and more flowers this way.
Wait until after your last frost date when soil temperatures reach at least 60°F. I check by inserting a soil thermometer 2 inches deep at 9 AM—marigolds sulk in cold earth. Evening transplants work best because roots have all night to acclimate before facing midday sun.
Look for seedlings with 4-6 true leaves and stems thicker than a pencil. Smaller plants wilt under transplant stress; larger ones suffer root disturbance. If you must transplant earlier, use row covers to trap warmth for the first 3-5 days post-move.
Dig holes 12-18 inches apart—closer for dwarf varieties, wider for African marigolds. Make each hole 1.5 times wider than the root ball but no deeper. I rough up the sides with my trowel to help roots penetrate the surrounding soil more easily.
Mix a handful of compost into the bottom of each hole, but avoid direct contact with roots. This creates a nutrient gradient that encourages downward growth. Water the holes thoroughly and let them drain before planting—you want muddy conditions, not standing water.
Gently squeeze the container to loosen the root ball, then turn it upside down with your palm supporting the soil. If roots are circling, make three vertical cuts down the sides with clean scissors. This stimulates lateral root growth into the new soil.
Place the plant so the soil line matches the surrounding grade—burying the stem causes rot. For leggy seedlings, I plant the lower stem horizontally in a shallow trench, covering it lightly. The buried portion will sprout additional roots, creating a sturdier plant.
Backfill with native soil, pressing firmly to eliminate air pockets. Create a 2-inch-high water ring around each plant to direct moisture to roots. Water immediately with a kelp-based transplant solution—the hormones reduce shock and accelerate establishment.
Apply 1-2 inches of organic mulch, keeping it 1 inch away from stems. I use straw because it decomposes slowly while allowing water penetration. The mulch maintains even soil moisture, which is critical for the first 7-10 days post-transplant.
Check plants twice daily for the first week. Wilting before 10 AM indicates root stress—provide temporary shade. Yellowing lower leaves often means overwatering; let the top inch dry between waterings. I stake taller varieties immediately to prevent wind rock that damages new roots.
Pinch off any flowers or buds for the first 10 days. This redirects energy to root development. Once you see new leaf growth, you’ll know the transplant was successful. At this point, begin your regular fertilization schedule—typically every 2-3 weeks with a balanced bloom booster.
After years of trial and error (and more than a few wilted marigolds), I’ve learned these critical details make all the difference between thriving plants and transplant shock.
Temperature Precision: The 60°F soil temperature mentioned in Step 1 isn’t arbitrary—marigold roots stall below this threshold. I’ve ruined early plantings by trusting air temperature alone. Use that soil thermometer 2 inches deep at 9 AM when soil is coolest; if it reads below 58°F, wait another day or use black plastic mulch to warm the bed faster. Evening transplants truly perform better because roots establish overnight without immediate sun stress.
Root Preparation Technique: Those three vertical cuts in Step 3 aren’t just for show—they prevent girdling roots that would eventually strangle your plant. I use sterilized scissors (wiped with rubbing alcohol) to make clean cuts about 1/4-inch deep through the root ball. For severely root-bound plants, I’ll also make an X cut on the bottom. This aggressive approach might seem counterintuitive, but you’ll see explosive new root growth within days.
Water Management Strategy: The 2-inch water ring in Step 4 is your insurance against both drought and rot. I form mine with leftover planting soil, creating a perfect basin that holds exactly 1 pint of water per plant. This ensures moisture reaches roots without pooling at the stem. During that critical 7-10 day window, I water at dawn using this ring system—it’s more efficient than overhead sprinkling and prevents fungal issues on foliage.
Post-Transplant Monitoring: That 10 AM wilt check in Step 5 catches problems early. I’ve found that temporary shade cloth (30% density) positioned on the west side prevents most afternoon stress. The 10-day flower pinching rule is non-negotiable—I once skipped it and got stunted plants with half the blooms. Watch for that first new leaf growth; it’s your green light to resume normal care.
Yes, but it’s best to avoid peak blooming. Transplant in early morning or late evening to reduce stress. Trim back a few flowers before moving to help the plant focus on root recovery. Water deeply afterward to ease the transition.
Early morning or late afternoon is ideal—cooler temps and lower sun intensity reduce shock. Avoid midday heat, which can wilt leaves and stress roots. Overcast days are perfect for minimal stress!
Most marigolds bounce back quickly! To help, water thoroughly after transplanting, add a light mulch to retain moisture, and avoid fertilizing for 1–2 weeks. If wilting occurs, shade them temporarily with a cloth or umbrella.
Skip hardening off only if your potted marigolds are already outdoors in similar conditions. Otherwise, acclimate them for 3–5 days by gradually increasing sun/wind exposure. Sudden changes can stunt growth or cause leaf burn.
Direct-sow marigold seeds in their final spot after the last frost! They germinate quickly (5–10 days) and thrive without transplanting. For instant color, buy nursery-grown plants in biodegradable pots—just plant the pot directly in the soil.
