
Beautiful Plants For Your Interior
Beautiful Plants For Your Interior
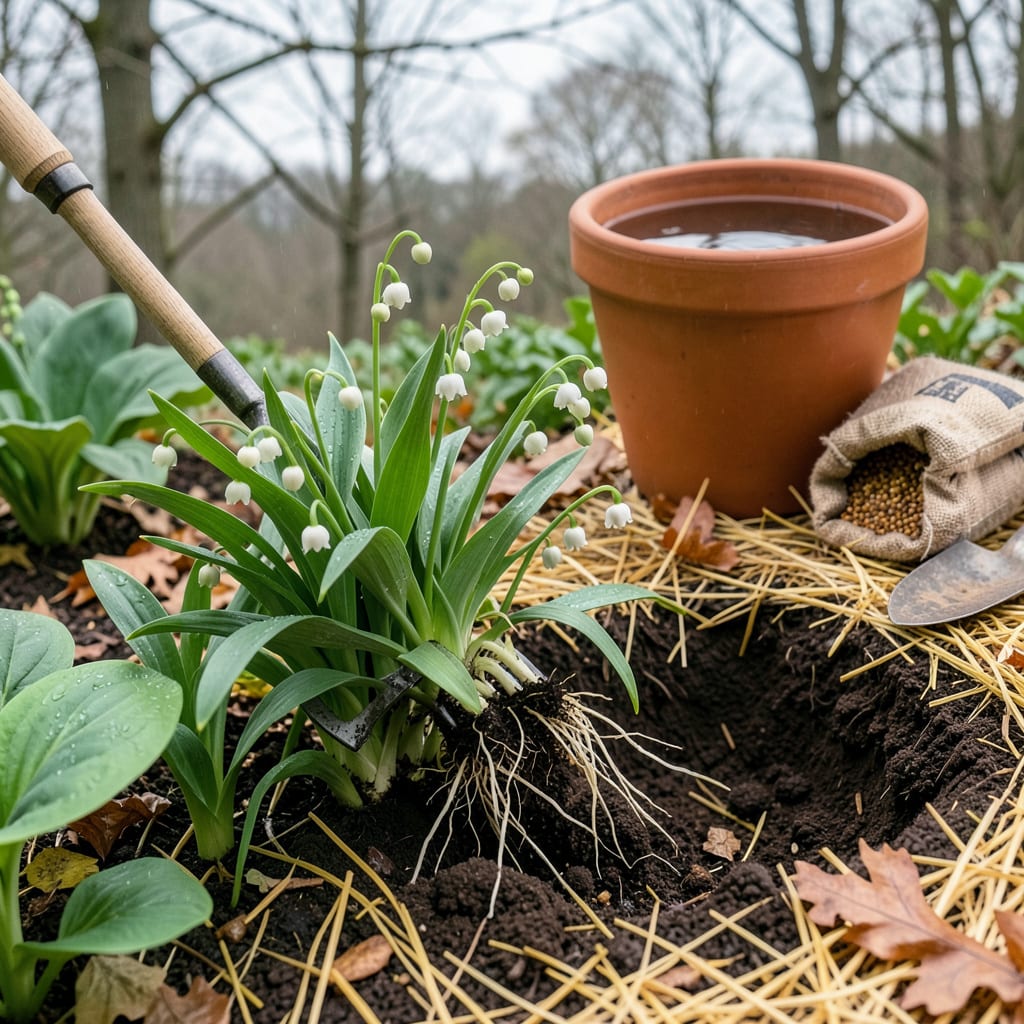
There’s something magical about moving lily of the valley—the way those delicate pips transform into a fragrant, spreading carpet. I’ve transplanted these more times than I can count, and the secret is timing: early spring or fall, when the soil is cool but workable. Get this right, and you’ll have thriving plants that reward you with those iconic bell-shaped blooms year after year.
What most gardeners don’t realize is that these plants are tougher than they look. The rhizomes handle transplanting well if you keep them moist and plant at the right depth—just 1 inch below the surface. I’ll walk you through exactly how to divide the clumps, prepare the new site, and avoid the overcrowding mistake that chokes out blooms. The payoff? A low-maintenance groundcover that smells like spring itself.
📚 In This Guide
Moving these delicate beauties doesn’t have to be stressful—here’s how I do it without losing a single plant.
Early spring or early fall works best for transplanting, when temperatures stay between 50-70°F. I always pick an overcast day or late afternoon to minimize transplant shock. The soil should be moist but not waterlogged—squeeze a handful and it should hold shape without dripping.
Select your new location carefully. Lily of the valley thrives in partial to full shade with well-draining soil. Dig holes 2 inches deeper than the root ball and space them 6-8 inches apart. I like to mix a handful of compost into each hole to give the roots a nutrient boost right away.
Use a garden fork to gently lift the plants from the ground. Start digging 6-8 inches away from the plant’s base to avoid slicing through the rhizomes. You’ll feel resistance when you hit the root mass—that’s when you should stop and switch to hand-digging.
Shake off excess soil and separate the pips (those little white nodules) by hand. Each pip should have at least 1 inch of root attached. If roots look dry or brittle, soak them in lukewarm water for 10 minutes before planting. This rehydrates them without shocking the plant.
Place each pip in its new hole so the growing tip sits just ½ inch below the soil surface. This shallow planting prevents rot while giving the new shoots room to emerge. Fill the hole with soil and press gently to eliminate air pockets—you should feel slight resistance when pressing.
Water immediately after planting until the soil feels moist 2 inches down. I use my finger to test—if it comes out with damp soil clinging to it, you’ve watered enough. The soil should never be soggy, just evenly moist like a wrung-out sponge.
Apply a 1-inch layer of organic mulch around the plants, keeping it 2 inches away from the growing tips. Shredded leaves or pine needles work perfectly—they retain moisture while allowing air circulation. This prevents both drying out and fungal issues during the critical first weeks.
Check the plants daily for the first week. You’ll know they’re establishing well when you see new green shoots emerging within 2-3 weeks. If any pips don’t show growth after 4 weeks, they likely didn’t take—dig them up and replace with fresh pips from your original patch.
Keep the soil consistently moist (but never soggy) for the first 6 weeks. After that, you can reduce watering to once weekly unless you’re in a drought. I’ve found these plants are surprisingly drought-tolerant once established, but they’ll reward you with more flowers if kept evenly moist.
Resist the urge to fertilize immediately—wait until you see new growth, then use a balanced 10-10-10 fertilizer at half strength. The plants will spread naturally over time, forming that classic lush ground cover. In about 2-3 years, you’ll have a full, fragrant carpet ready for dividing again if needed.
These practical insights will help you avoid common pitfalls and ensure your plants thrive in their new home.
Timing Secret: The 50-70°F temperature range mentioned in Step 1 isn’t just a suggestion—it’s critical for success. I’ve found that transplanting when nighttime temperatures stay consistently above 50°F gives the roots time to establish without stress. If you’re in a warmer climate, aim for the lower end of that range (closer to 50°F) to prevent heat shock during those first crucial days.
Root Handling Technique: When separating pips in Step 2, here’s what nobody tells you—those white nodules are actually next year’s growth points. Each one should have at least 1 inch of root attached, but don’t worry if some roots break during separation. The key is keeping the growing tip (the pointed end) intact. If roots look dry, that 10-minute soak in lukewarm water makes all the difference in revival rates.
Planting Depth Precision: The ½ inch depth specified in Step 3 might seem arbitrary, but it’s the sweet spot. Plant too deep and the pips rot; too shallow and they dry out. I use this trick: after placing the pip, lay a pencil across the hole—when the soil reaches the pencil’s midpoint, you’ve got perfect depth. Press the soil gently but firmly—you should feel resistance, which means air pockets are eliminated.
Establishment Monitoring: During those first 6 weeks of care in Step 5, watch for subtle signs of stress. Yellowing leaves aren’t always bad—it’s often just the plant redirecting energy to roots. But if you see mushy stems after 2-3 weeks, you’re likely overwatering. The “2 inches down” moisture test is your best guide—stick your finger in the soil daily until you develop an instinct for that perfect sponge-like consistency.
The ideal time is early spring (March–April) or early fall (September–October) when the soil is cool and moist. Avoid transplanting during summer heat or winter dormancy—this reduces stress on the plants and boosts survival rates.
It’s risky! Summer’s heat and dry soil can shock the plants. If you must move them, do it on a cloudy day, water deeply beforehand, and provide shade for 1–2 weeks afterward. Expect slower recovery.
Plant the rhizomes (underground stems) 1–2 inches deep, with the growing tips (called “pips”) just below the soil surface. Too deep = rot; too shallow = drying out. Space clumps 6–12 inches apart for healthy spread.
Common causes: overwatering (soggy roots), underwatering (dry stress), or sunburn (too much direct light). Check soil moisture (keep it damp but not soaked) and provide dappled shade until plants recover in 2–3 weeks.
Transplanting = moving whole clumps to a new spot. Dividing = splitting dense clumps into smaller sections (every 3–5 years) to rejuvenate plants. Both use the same steps, but dividing helps control spread and improves blooming!
