
Beautiful Plants For Your Interior
Beautiful Plants For Your Interior
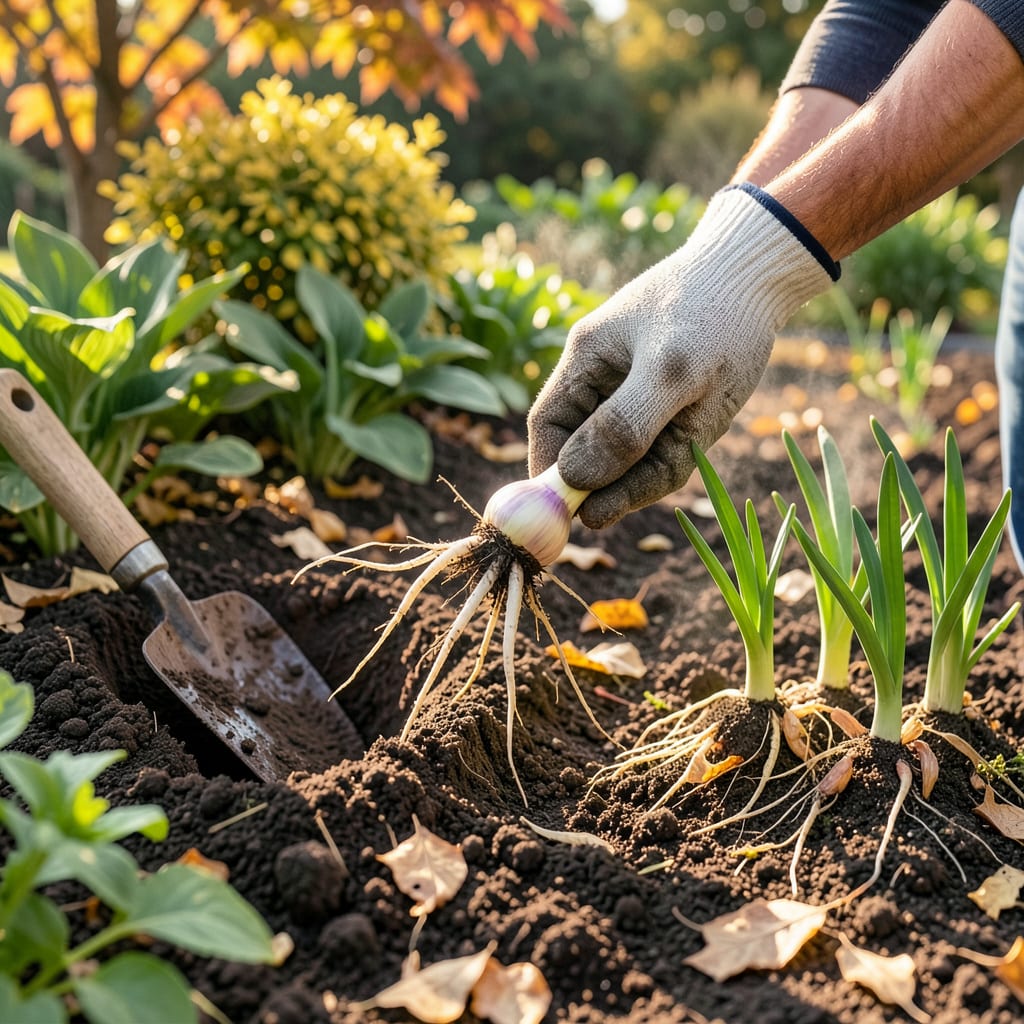
Moving lilies might seem intimidating, but I’ve found it’s the secret to bigger blooms and healthier plants season after season. The right timing and technique can turn a struggling clump into next summer’s showstopper—without the guesswork or wasted effort.
I learned the hard way that fall is ideal for transplanting, when roots establish before winter but tops die back naturally. You’ll need just a few basic tools, some well-draining soil, and about 30 minutes to set your lilies up for their best season yet. The payoff comes when those first sturdy stems push through spring soil.
📚 In This Guide
Timing and technique make all the difference—here’s how I move lilies without shocking their roots or sacrificing next year’s blooms.
Transplant lilies in early fall, about 4-6 weeks before your first hard frost. This timing allows roots to establish before winter while avoiding the stress of summer heat. I mark my calendar for late September through early October in most zones.
You can also move them in early spring as soon as soil is workable, but fall-transplanted lilies bloom better the following season. Avoid transplanting during active flowering—the energy redirect from blooms to root recovery often weakens plants.
Select a location with full sun to partial shade (at least 6 hours of direct sunlight daily) and well-draining soil. Lilies rot in soggy conditions, so I amend heavy clay with 2-3 inches of compost worked into the top 12 inches of soil.
Dig the new hole 12-15 inches deep and 18 inches wide—deeper than needed to loosen the soil below. This encourages roots to grow downward. Mix a handful of bone meal into the bottom of each hole for phosphorus, which supports root development and future blooms.
Use a garden fork to carefully lift the entire clump, starting 8-10 inches from the stem base to avoid slicing through bulbs. Lily bulbs multiply into clusters over time, so you’ll likely find several connected bulbs. Gently separate them by hand—don’t cut through the basal plate (the flat bottom where roots emerge).
Discard any bulbs that feel soft or show mold. Healthy bulbs should be firm with visible root nubs. I keep only the largest bulbs (about 1-2 inches in diameter) for transplanting, as smaller ones may not bloom for a year or two. Replant immediately to prevent drying out.
Place each bulb in its new hole with the pointed end facing upward, 6-8 inches deep (measure from the bulb’s top to the soil surface). This depth protects against freeze-thaw cycles in winter. Space bulbs 12-18 inches apart—closer for a lush look, farther for better air circulation.
Backfill with native soil, firming gently to eliminate air pockets. Water thoroughly to settle the soil, then add a 2-inch layer of mulch (straw or shredded leaves) to insulate roots. Don’t water again until the soil surface feels dry to the touch—overwatering now invites rot in disturbed roots.
Keep soil consistently moist but not soggy for the first 3-4 weeks. You’ll know roots are establishing when you see new growth emerging from the soil surface. Remove any flower buds that form this season—letting them bloom diverts energy from root development.
Apply a balanced 10-10-10 fertilizer lightly in early spring when shoots emerge, but avoid high-nitrogen mixes that promote leafy growth over flowers. Stake tall varieties immediately to prevent wind damage to the developing stems. Your transplanted lilies may take a season to reach full bloom potential, but proper technique ensures they’ll thrive for years.
Getting the details right makes all the difference between struggling lilies and thriving blooms next season. Here’s what I’ve learned from years of moving these beauties.
Timing Precision: That 4-6 week window before your first hard frost in Step 1 isn’t arbitrary—it’s the sweet spot where soil is still warm enough for root growth but cool enough to prevent stress. I’ve found that transplanting too early (more than 6 weeks before frost) risks heat stress, while waiting too late (less than 4 weeks) doesn’t give roots enough time to establish. In zones with unpredictable falls, err on the earlier side of that window.
Soil Preparation Secret: When amending soil in Step 2, don’t just add compost to the planting hole—work that 2-3 inches of compost into the entire planting area’s top 12 inches. This creates a gradual transition zone that encourages roots to spread outward rather than circling in the rich pocket you’ve created. I also recommend testing drainage by digging a 12-inch hole, filling it with water, and timing how long it takes to drain—anything over 4 hours means you need more amendment.
Bulb Selection Strategy: In Step 3, when separating bulbs, pay special attention to the basal plate (that flat bottom where roots emerge). Any damage here can prevent the bulb from establishing. I use a soft paintbrush to gently clean off soil so I can inspect each bulb thoroughly. The 1-2 inch diameter guideline is crucial—smaller bulbs will survive but may not bloom for 2-3 years, while larger ones often produce flowers the very next season.
Post-Transplant Care Nuance: During those critical 3-4 weeks of establishment care in Step 5, water deeply but infrequently rather than light daily watering. I aim for 1 inch of water per week (including rainfall), applied all at once. This encourages deep root growth. The mulch layer is your insurance policy—it keeps soil temperature stable and prevents moisture fluctuations that can stress new transplants.
Early fall (September–October) is ideal for most regions, as it gives roots time to establish before winter. Spring (March–April) works too, but avoid transplanting during summer heat or while lilies are actively blooming. Check your USDA hardiness zone for exact timing!
Avoid it if possible—transplanting during blooming stresses the plant and may cut short this year’s flowers. If you must move them, trim the flower stalks first to redirect energy to root recovery. Wait until after blooming ends for best results.
Plant bulbs 2–3 times deeper than their height (e.g., a 2-inch bulb needs a 4–6-inch hole). Deeper planting protects from frost and stabilizes stems. In hot climates, add an extra inch of depth to keep bulbs cool.
Wilting often means transplant shock—water deeply (1–2 inches weekly) and mulch to retain moisture. Yellow leaves could signal overwatering or poor drainage. Check for soggy soil or pests like lily beetles. Trim dead foliage but leave green stems to feed the bulb.
If clumps are overcrowded (3+ years old), yes! Gently separate bulbs, discard shriveled or diseased ones, and replant healthy offsets 12–18 inches apart. Smaller bulbs may take a year to bloom but will thrive long-term.
