
Beautiful Plants For Your Interior
Beautiful Plants For Your Interior
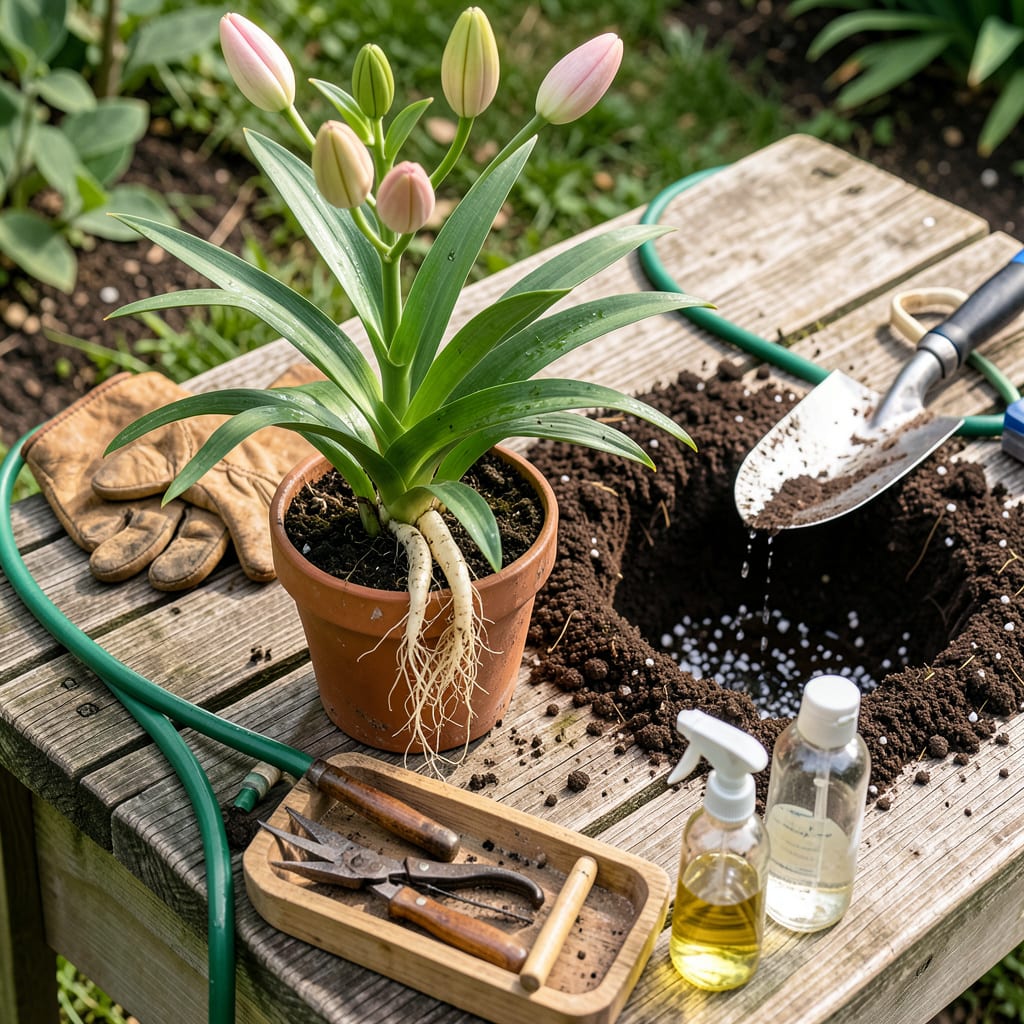
Moving lilies from pots to garden beds feels like giving them a permanent home. I’ve done this dozens of times, and the key is timing—early fall or spring, when the soil is workable but not frozen. The right moment means less shock, faster root growth, and bigger blooms next season.
You don’t need fancy tools—just a trowel, compost, and a little patience. The trick is keeping the roots intact when you lift the plant and giving it a hole twice as wide as the pot. Water deeply before and after, and you’ll see new growth within 2-3 weeks. No green thumb required.
📚 In This Guide
Moving your potted lilies to the garden is simpler than you think—just follow these key steps for healthy, blooming plants.
Transplant lilies in early spring or early fall when temperatures stay between 50-65°F. This gives roots time to establish before summer heat or winter cold. I always check the forecast to avoid transplanting right before heavy rain or extreme temperatures.
Select a sunny spot with 6+ hours of direct sunlight daily and well-draining soil. Dig a hole about 12 inches wide and 8 inches deep—twice the width of the pot. Mix a handful of compost into the removed soil to give your lilies a nutrient boost.
Water the potted lilies thoroughly the day before transplanting. This keeps the root ball intact and reduces shock. Gently squeeze the pot sides to loosen the soil, then turn it upside down while supporting the plant with your hand.
If roots are tightly bound, use your fingers to gently tease them apart. Don’t pull or tug—lily bulbs bruise easily. You’ll see healthy roots as firm, white tendrils. Trim any dark, mushy roots with clean scissors before planting.
Place the lily in the hole so the top of the bulb sits 4-6 inches below soil level. This depth protects the bulb from temperature swings. Space multiple lilies 12-18 inches apart to allow for mature growth and air circulation.
Backfill with your amended soil, gently firming it around the roots. Create a slight mound at the base to direct water toward the roots. Water deeply immediately after planting until you see moisture reach the soil surface.
Keep the soil consistently moist (but not soggy) for the first 2-3 weeks. You’ll know it’s right when the top inch of soil feels slightly dry to the touch. Apply 2-3 inches of mulch around the plants to retain moisture and suppress weeds.
Don’t fertilize immediately—wait until you see new growth (usually 3-4 weeks). When leaves emerge, use a balanced 10-10-10 fertilizer to support strong stems and vibrant blooms. Stake tall varieties if they begin to lean.
Watch for wilting or yellowing leaves in the first week—this often means the plant needs more water. If stems appear weak or flop over, they may need more sunlight or support. I check my transplanted lilies daily for the first week, then weekly thereafter.
You’ll see the first signs of successful transplanting when new shoots emerge from the soil. This typically happens within 2-3 weeks for spring transplants. Fall transplants may not show growth until the following spring—this is normal.
Transplanting lilies successfully comes down to timing and technique—here’s what I’ve learned from years of trial and error.
Timing is Everything: The 50-65°F window mentioned in Step 1 isn’t just a suggestion—it’s critical. I once transplanted during a late spring heatwave (temperatures hit 75°F) and lost half my lilies to shock. Early morning transplanting during this temperature range gives roots the best chance to establish before midday heat. Check soil temperature too—it should feel cool but not cold to your bare hand.
Root Handling Technique: When removing lilies from pots in Step 2, here’s what nobody tells you: if roots are circling the pot severely, make three vertical cuts down the root ball with a clean knife. This encourages outward growth into new soil. I learned this from a master gardener after wondering why my transplanted lilies kept growing in circles. Just be gentle—think “haircut” not “amputation.”
Depth Matters More Than You Think: That 4-6 inch planting depth in Step 3 isn’t arbitrary. Too shallow and bulbs freeze in winter or dry out in summer; too deep and they struggle to emerge. For a foolproof method, place the bulb in the hole, then measure from the soil surface to the bulb’s top with your fingers—four finger widths equals about 4 inches. This simple trick eliminates guesswork.
Watering Wisdom: During those first 2-3 weeks of care in Step 4, I use the “chopstick test” to avoid overwatering. Insert a wooden chopstick into the soil near the plant—if it comes out with soil clinging to it, wait to water. If it’s clean, water deeply. This prevents the soggy conditions that cause bulb rot, which I’ve unfortunately created more times than I’d like to admit.
The best time is early spring (before growth starts) or fall (6+ weeks before frost). Avoid summer heat or winter dormancy—stress can stunt blooms. If your lilies are root-bound, transplant ASAP but shield them from direct sun for a week.
Check for these signs:
Wait 4-6 weeks! Freshly transplanted lilies focus on root growth, not feeding. Use a balanced 10-10-10 fertilizer later—over-fertilizing early can burn tender roots. Compost mixed into the new hole at planting is enough for a gentle boost.
Don’t panic! Mild wilting is normal for 3-5 days. Overwatering (soggy soil) or underwatering (crispy edges) are usual culprits. Check drainage, water deeply 2x/week, and trim dead foliage. If bulbs rot, you transplanted too deep—aim for 4-6” underground.
Absolutely! Gently separate bulbs by hand (no tools needed). Discard mushy or shriveled ones. Replant healthy bulbs immediately, spacing them 12-18” apart. Smaller offset bulbs may take 1-2 years to bloom—patience pays off!
