
Beautiful Plants For Your Interior
Beautiful Plants For Your Interior
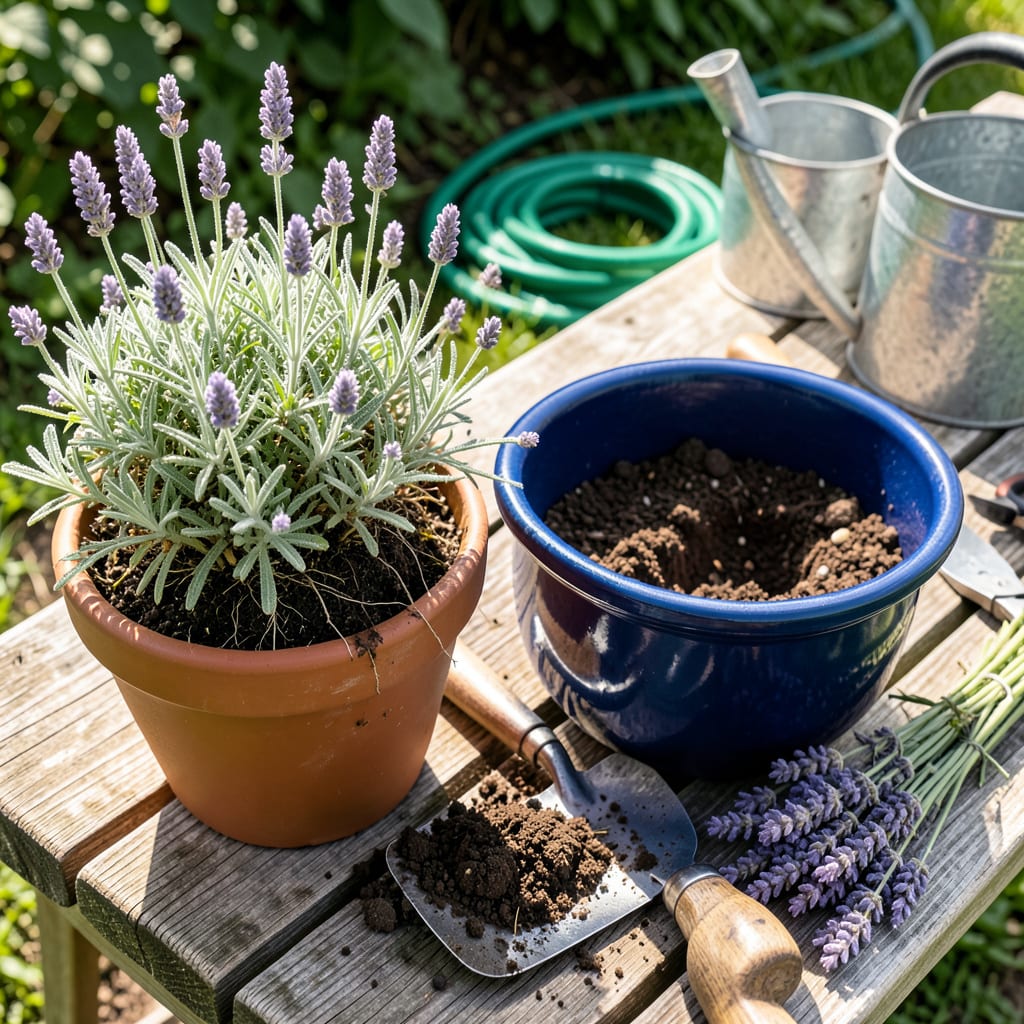
Moving lavender always felt risky to me—until I learned the timing secret. Early spring or fall, when the plant is semi-dormant but the soil is workable, gives roots the best chance to establish before summer heat or winter cold. I’ve relocated dozens of lavender plants this way, and the survival rate is nearly perfect when you follow a few key rules.
You’ll need just three things: a sharp spade, some compost for the new hole, and the courage to trim back about a third of the foliage before moving. This reduces water loss and lets the plant focus on root recovery. The real magic happens in the first week after transplanting—get this right, and you’ll have thriving, fragrant plants by next season.
📚 In This Guide
Here’s my tried-and-true method for moving lavender without stressing the plants or sacrificing blooms.
Transplant lavender in early spring as new growth begins or in early fall at least six weeks before your first frost. These windows give roots time to establish before summer heat or winter cold. I always check the forecast for 5-7 days of mild weather—no extreme temperatures or heavy rain.
The new spot must have full sun (6+ hours daily) and well-draining soil. Lavender despises wet feet, so avoid low areas where water pools. Test drainage by digging a 12-inch deep hole, filling it with water, and timing how long it takes to empty. If water remains after 2 hours, amend the soil with coarse sand or gravel.
Water the lavender deeply 24 hours before transplanting—this hydrates the roots and helps the soil hold together. Use a sharp spade to dig a 12-15 inch wide circle around the plant, going deep enough to preserve the entire root system. You’ll feel resistance when you hit the root ball’s edge.
Lift the plant gently by the root ball, not the stems. If roots are exposed, wrap them in damp burlap to prevent drying. I always trim back one-third of the foliage with clean shears to reduce water loss during the transition. This seems drastic, but lavender recovers quickly and focuses energy on root growth instead of supporting excess leaves.
Dig the new hole twice as wide as the root ball but no deeper. Lavender thrives when planted at the same depth it grew previously—burying the stem invites rot. Place the plant in the hole, backfill with native soil (no fertilizer), and firm gently to eliminate air pockets. Water immediately with 1-2 gallons to settle the soil.
Here’s the thing—lavender hates frequent watering after transplanting. I water deeply once at planting, then wait until the top 2 inches of soil feel dry before watering again. This usually means every 7-10 days unless you’re in extreme heat. Overwatering is the number one killer of transplanted lavender.
Apply a 1-2 inch layer of gravel or pea stone around the base (not touching the stems) to retain moisture and suppress weeds. Organic mulches like bark hold too much moisture for lavender. The stones also reflect heat, which this Mediterranean plant loves.
Watch for signs of transplant shock: wilting, yellowing lower leaves, or stunted growth. This is normal for 2-3 weeks. If stress persists beyond 4 weeks, check for overwatering or poor drainage. I’ve found that lavender often looks sad initially but bounces back dramatically once roots establish—just be patient and resist the urge to over-care for it.
Transplanting lavender successfully comes down to a few key details that make all the difference between thriving plants and struggling ones.
Timing is Everything: The 5-7 days of mild weather mentioned in Step 1 isn’t just a suggestion—it’s critical for reducing transplant shock. I’ve learned the hard way that moving lavender right before a cold snap or heatwave stresses the plant unnecessarily. Check your 10-day forecast and pick the most stable window within that early spring or early fall timeframe. This gives roots the best chance to establish before facing temperature extremes.
Root Ball Protection: When digging that 12-15 inch wide circle in Step 2, work slowly and methodically. Lavender roots are surprisingly delicate for such a hardy plant. If you hit resistance, don’t force it—circle around and come back from another angle. I always keep a bucket of water nearby to immediately rewet any exposed roots during the process. Remember, those roots need to stay moist until they’re safely in their new home.
Watering Wisdom: The instruction to water with 1-2 gallons immediately after planting in Step 3 might seem like a lot, but here’s why it works: this deep watering forces air out of the soil and settles everything around the roots. Then comes the hard part—resisting the urge to water again too soon. I use a chopstick to test soil moisture at that 2-inch depth. If it comes out clean, it’s time to water. If any soil sticks, wait another day or two. This simple trick has saved me from overwatering more times than I can count.
Patience During Transition: Those 2-3 weeks of potential transplant shock mentioned in Step 4 will test your gardening patience. I’ve found that talking to my plants (seriously!) while gently running my fingers over the remaining leaves helps me notice subtle improvements. The first tiny bit of new growth is your signal that the roots are establishing. Until then, resist fertilizing or fussing with the plant—lavender recovers best when left to focus on root development without extra stimuli.
Early spring (after the last frost) or early fall (4-6 weeks before the first frost) is ideal. These seasons give roots time to establish before extreme heat or cold. Avoid transplanting during summer’s peak or winter dormancy—lavender thrives with mild temperatures and moderate moisture.
Only as a last resort! If your plant is stressed, move it on a cool, overcast day and water deeply before/after. Trim back ⅓ of the foliage to reduce shock. Use shade cloth for 1-2 weeks post-transplant to ease the transition.
Watch for wilted leaves, brown edges, or drooping stems—classic signs of transplant shock. Keep soil lightly moist (not soggy) and avoid fertilizer for 4-6 weeks. Most plants recover in 2-4 weeks if given consistent care and reduced sun exposure.
For potted-to-ground moves, harden off the plant for 7-10 days first. For ground-to-pot, choose a container at least 2-3 inches wider than the root ball and use well-draining soil. Trim roots lightly if they’re circling to encourage outward growth.
Don’t blame yourself—lavender is finicky! Common culprits: overwatering, poor drainage, or root damage. If it’s beyond saving, replace it and test your soil’s pH (aim for 6.5–7.5). Next time, add sand or gravel to the hole for better drainage and skip heavy mulch.
