
Beautiful Plants For Your Interior
Beautiful Plants For Your Interior
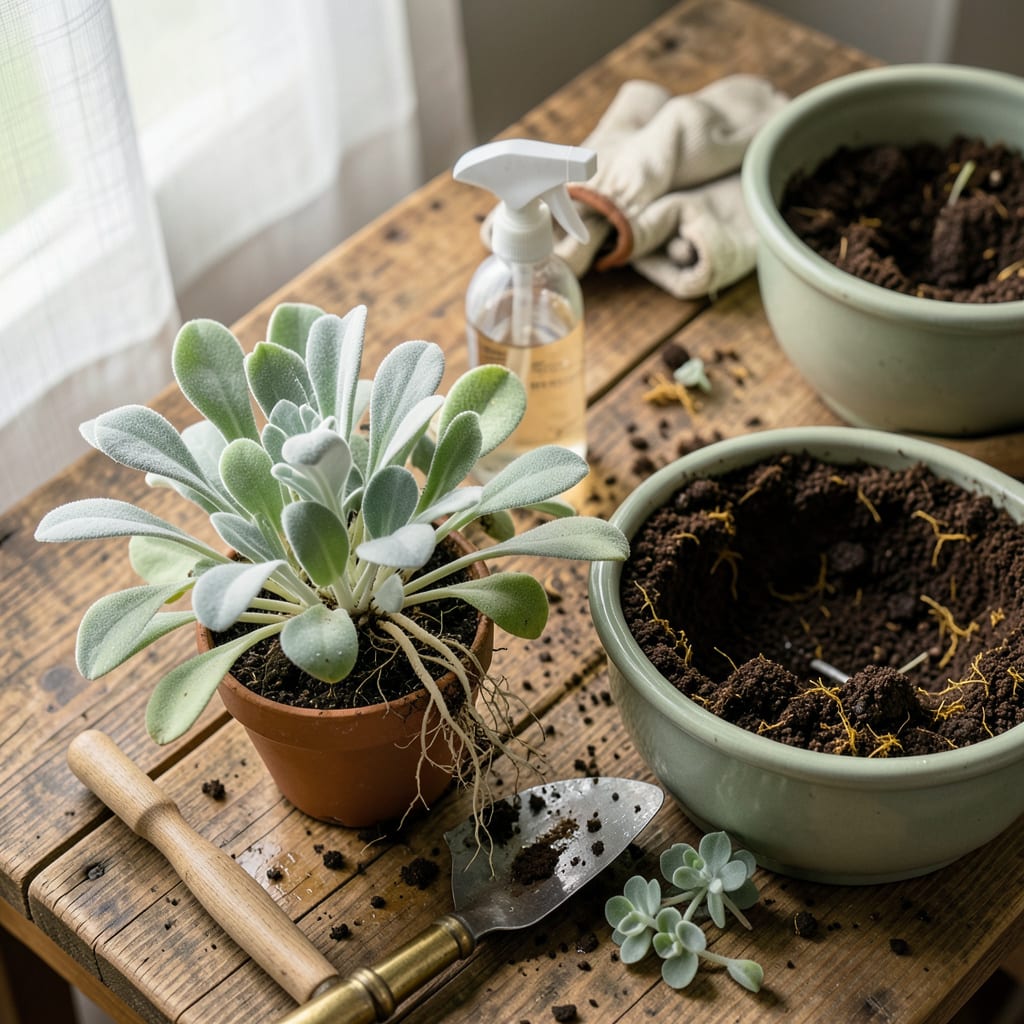
That first time I sank my fingers into lamb’s ear foliage—thick, silver-soft, and impossibly velvety—I knew this plant deserved prime real estate in my garden. Transplanting it right makes the difference between a scraggly survivor and a lush, ground-hugging beauty that begs to be touched.
Timing and technique matter more than you’d think. Move it too late in summer, and the heat fries tender roots. Do it wrong in spring, and you’ll get leggy growth instead of that perfect silver carpet. I’ve ruined my share of divisions learning the hard way—here’s how to get it spot-on every time.
📚 In This Guide
Moving these fuzzy favorites is simpler than you think—follow these steps for stress-free plants with that signature softness.
Transplant lamb’s ear in early spring or early fall when temperatures stay between 60-75°F. Avoid summer heat, which stresses the plants during recovery. I always check the forecast for a stretch of mild, overcast days—this gives roots time to establish without sunburn or drought pressure.
Select a spot with full sun to partial shade (at least 4-6 hours of direct light). Lamb’s ear thrives in well-draining soil, so amend heavy clay with compost or sand. Dig a hole twice as wide as the root ball but no deeper—burying the crown invites rot. Water the new hole thoroughly and let it drain before moving the plant.
Use a garden fork to loosen the soil in a 12-inch radius around the plant’s base. Slide the fork underneath and lift gently—lamb’s ear has shallow roots, so avoid tugging. If the clump is large, divide it by hand or with a clean knife. Each division should have 3-5 healthy shoots and a portion of the root system.
Shake off excess soil to inspect the roots. Trim any dark, mushy, or broken roots with sharp pruners. I like to soak the divisions in a bucket of lukewarm water for 10 minutes before transplanting—this rehydrates the roots and reduces shock. Keep the foliage dry to prevent fungal issues during the transition.
Place the division in the prepared hole so the crown sits level with the soil surface—burying it too deep suffocates the plant. Backfill with native soil, gently firming it around the roots to eliminate air pockets. Water immediately with 1-2 gallons per plant, letting the moisture soak in slowly rather than pooling on the surface.
Add a 2-inch layer of mulch (straw or shredded bark) around the base, keeping it 1 inch away from the stems to prevent rot. The mulch retains moisture and regulates soil temperature, which is critical for the first 2-3 weeks post-transplant. You’ll know the plant is settling in when new growth appears at the center.
Water deeply every 3-4 days for the first two weeks, then taper to once weekly unless rainfall provides an inch or more. Lamb’s ear is drought-tolerant once established, but consistent moisture now prevents wilting. Avoid overhead watering—focus on the soil to keep the fuzzy leaves dry and disease-free.
Watch for signs of stress: yellowing lower leaves means overwatering, while wilting despite moist soil suggests root damage. If the plant droops in the afternoon but recovers by morning, it’s adjusting normally. Resist the urge to fertilize—wait 4-6 weeks before applying a balanced, low-nitrogen feed to avoid burning tender new roots.
Transplanting lamb’s ear successfully comes down to timing, technique, and a few key details that make all the difference in how well your plants recover.
The Timing Factor: The ideal temperature range of 60-75°F in early spring or early fall isn’t just a suggestion—it’s critical for reducing transplant shock. I’ve found that moving plants during a stretch of overcast days (as mentioned in Step 1) gives roots extra time to establish without the stress of direct sun. If you must transplant in warmer weather, do it in the early morning when temperatures are lowest, and provide temporary shade for the first week.
Root Care Secret: In Step 2, soaking the divisions in lukewarm water for the full 10 minutes might seem like a small step, but it’s a game-changer. This rehydrates the roots and helps them recover from the stress of being lifted and divided. I use a clean bucket and make sure the water isn’t too hot—just warm to the touch. Skipping this step can lead to slower establishment or even wilting, especially in drier climates.
Watering Wisdom: The 1-2 gallons per plant immediately after transplanting (Step 3) isn’t excessive—it’s necessary to settle the soil around the roots and eliminate air pockets. After that, stick to the every 3-4 days schedule for the first two weeks, but adjust based on your soil type. Sandy soil may need more frequent watering, while clay retains moisture longer. Always check the soil moisture an inch below the surface before watering again.
Mulch Matters: The 2-inch layer of mulch mentioned in Step 3 does more than retain moisture—it also protects the shallow roots of lamb’s ear from temperature fluctuations. Straw or shredded bark works best, but avoid piling it against the stems. I’ve seen plants rot when mulch was too close, so keep that 1-inch gap to allow airflow around the base.
Early spring or fall is ideal—when temps are mild (60–75°F) and plants are dormant or semi-dormant. Avoid summer heat or winter frosts, as stress can stunt growth. If transplanting in summer, water deeply for 2+ weeks beforehand and provide temporary shade.
Yes, but it’s risky! If unavoidable, choose a cloudy day, trim foliage by ⅓ to reduce water loss, and soak the root ball before moving. Mulch heavily and water daily for 10–14 days. Avoid midday sun—transplant in early morning or evening.
Wilting is normal for 2–3 days! Keep soil evenly moist (not soggy) and avoid fertilizing. If wilting persists beyond a week, check for root damage or poor soil contact. Trim dead leaves, and consider a shade cloth to reduce stress.
Only if the clump is overcrowded (every 3–4 years). Gently separate outer rosettes with a clean knife, ensuring each division has roots. Smaller divisions establish faster than large ones. Discard woody centers—they won’t regrow well.
Propagate from stem cuttings! Snip 3–4″ non-flowering stems, remove lower leaves, and plant in moist potting mix. Keep humid (use a plastic bag) and rooted cuttings will be ready in 4–6 weeks—no digging required!
