
Beautiful Plants For Your Interior
Beautiful Plants For Your Interior
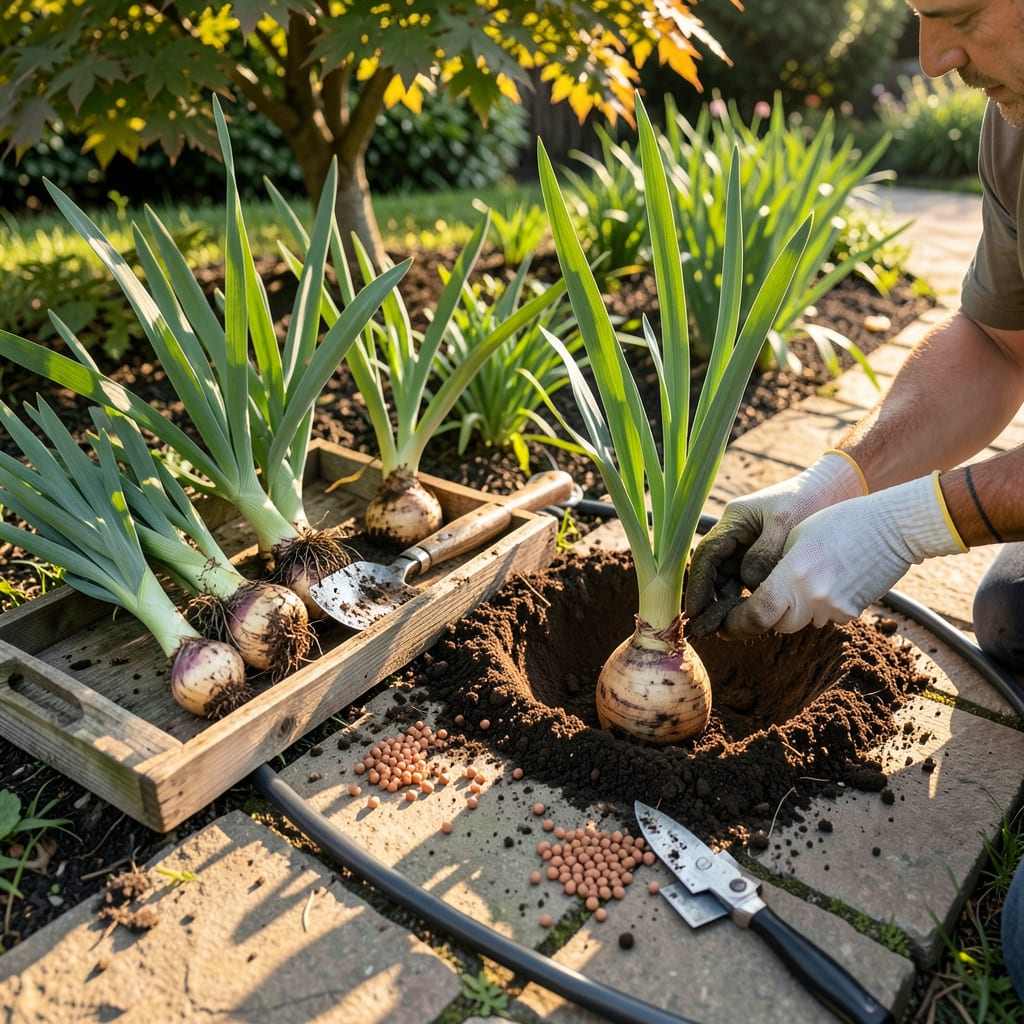
Late summer is the secret window for moving iris bulbs—miss it, and you might wait another year for blooms. I’ve transplanted dozens over the years, and the difference between a thriving clump and a sad, non-flowering one often comes down to timing and technique. The rhizomes need 4-6 weeks to establish roots before winter, but they’ll reward you with stronger growth and more flowers next season.
What surprises most gardeners is how little these plants actually need to bounce back. No fancy tools—just a sharp trowel, some compost, and a sunny spot. The real game-changer? Dividing those overcrowded clumps while you’re at it. You’ll end up with twice the plants, zero cost, and a garden that looks like it’s been professionally designed. Here’s how to do it right.
📚 In This Guide
Timing and technique make all the difference—here’s how I move my irises without a single casualty.
The ideal window is 6-8 weeks after blooming when the foliage is still green but growth has slowed. I mark my calendar the moment the last flower fades because waiting too long (until leaves yellow) stresses the rhizomes. Early fall transplanting in zones 3-8 gives roots time to establish before winter.
Avoid moving irises during active blooming or in extreme heat. The stress can prevent next year’s flowers entirely. If you must transplant in spring, do it before new growth emerges—but expect reduced blooms that first season.
Select a location with full sun (6+ hours daily) and well-draining soil. I dig the new holes 12-18 inches apart before lifting the old plants—this prevents the rhizomes from drying out while you work. Each hole should be shallow (just 4 inches deep) but wide enough to accommodate the root spread.
Mix a handful of compost into the bottom of each hole, but avoid heavy manure or nitrogen-rich fertilizers. These encourage leaf growth at the expense of flowers. The soil should feel loose and crumbly—if it forms a tight ball when squeezed, work in more organic matter.
Use a garden fork to gently lift the entire clump from the ground. I start 8-10 inches away from the base to avoid spearing the rhizomes. Shake off excess soil so you can see the individual sections—each healthy division should have one fan of leaves and a portion of rhizome.
Trim the leaves into a 6-inch fan shape to reduce water loss. Discard any soft, mushy, or hollow rhizomes—these won’t recover. I rinse the divisions with water to check for borer holes (they look like tiny BB pellets) and destroy any infested pieces immediately.
Place each division in its new hole so the top of the rhizome sits just at soil level—you should see the upper half exposed. Planting too deep causes rot, while planting too shallow leaves rhizomes vulnerable to freezing. Spread the roots outward in the hole like spider legs before backfilling.
Firm the soil gently around each plant, then water deeply to eliminate air pockets. I create a slight mound of soil around the base to help channel water toward the roots during the first few weeks. Don’t mulch immediately—wait until after the first frost to apply a 1-inch layer of straw.
Keep the soil consistently moist (but not soggy) for the first 2-3 weeks. You’ll know the plants are established when new root growth appears—gently tug on a leaf after three weeks; resistance means success. Remove any blooms that try to form this first year—they’ll weaken the plant.
In late fall after several hard frosts, cut the leaves back to 3-4 inches and apply mulch. I use clean straw rather than leaves to prevent disease. Come spring, remove the mulch gradually as new growth emerges—this prevents smothering the tender new shoots.
Getting this process right means healthier plants and more spectacular blooms next season—here’s what I’ve learned from years of trial and error.
Timing is Everything: That 6-8 week window after blooming mentioned in Step 1 isn’t just a suggestion—it’s critical. I learned this the hard way when I transplanted too late one year and lost half my irises to rot. The rhizomes need time to establish roots before winter, but they also need active foliage to support that growth. Mark your calendar the day the last flower fades, then count forward to find your ideal transplant date.
Depth Matters More Than You Think: In Step 4, when you’re replanting at soil level, here’s what nobody tells you—this exposure to air and sunlight actually helps prevent rot. I used to think burying them deeper would protect them, but that just creates a moist environment where bacteria thrive. The rhizome should look like it’s wearing a soil hat, with the top half clearly visible above ground.
Watering Wisdom: During those first 2-3 weeks after transplanting (Step 5), I’ve found that deep watering twice a week works better than daily light watering. The goal is to encourage roots to grow downward in search of moisture. Create a small basin around each plant to help direct water right to the root zone. Just be sure the soil drains well—soggy conditions are the quickest way to lose your irises.
Pest Prevention: When you’re inspecting rhizomes in Step 3, don’t just look for borer holes—check for soft spots too. These often indicate iris borer larvae inside the rhizome. I soak suspect rhizomes in water for 10 minutes; the larvae will float to the surface. It’s an extra step, but it saves your entire bed from infestation.
The ideal time is late summer to early fall (August–October), after blooming ends but before the first frost. This gives roots time to establish before winter. In warmer climates, early fall works best. Avoid transplanting during active blooming or extreme heat.
Yes, but it’s riskier. Spring-transplanted irises may not bloom that year since they focus on root growth. If necessary, do it early spring (as soon as soil is workable) and water deeply. Fall transplanting is still the safer bet for strong blooms.
Plant rhizomes (thick roots) just below the soil surface, with the top slightly exposed. Bulbous irises (like Dutch iris) need 3–4 inches deep. Proper depth prevents rot and encourages blooms. Space them 12–24 inches apart for airflow.
Common causes:
If clumps are 3+ years old, dividing them boosts blooms. Gently separate rhizomes, discard soft/rotten ones, and replant healthy sections with fans of leaves. Smaller divisions (3–5 inches long) establish faster than large clumps.
