
Beautiful Plants For Your Interior
Beautiful Plants For Your Interior
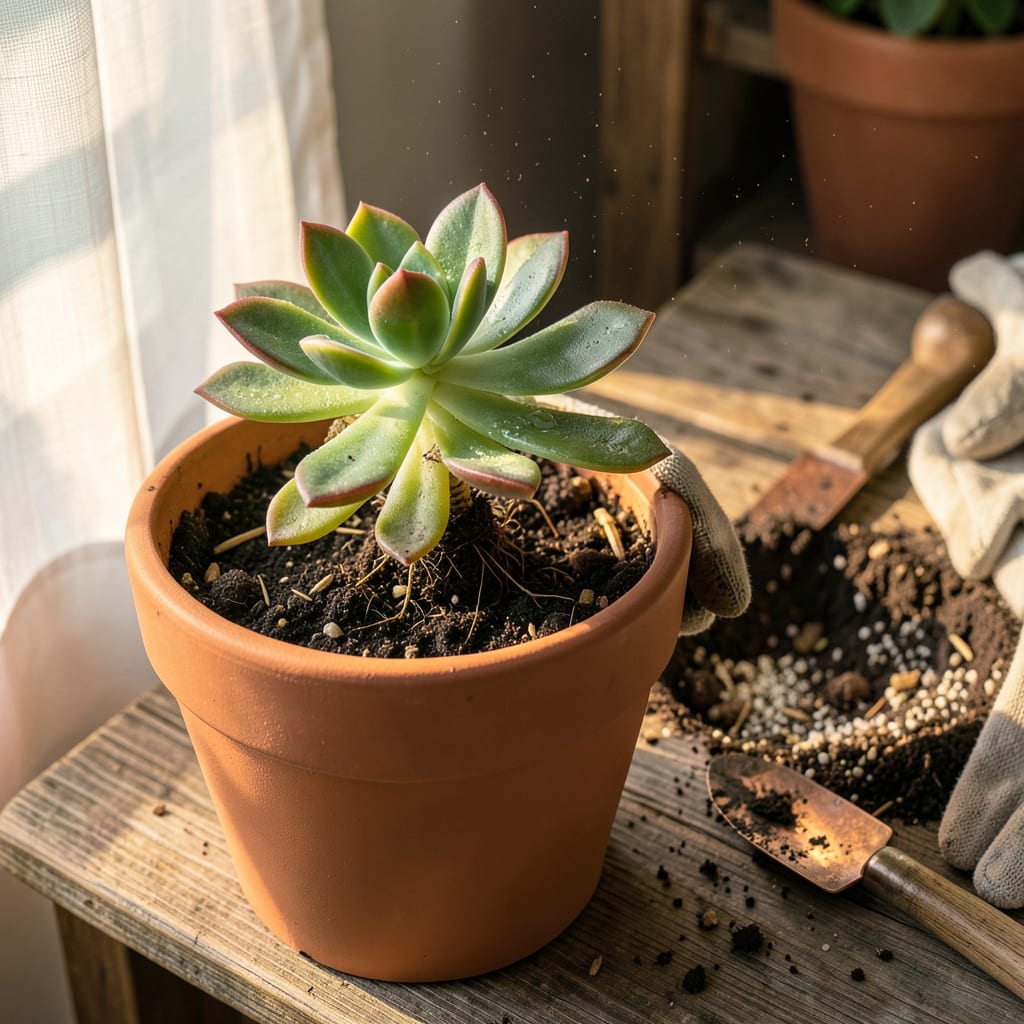
I used to think transplanting ice plants was risky—until I realized they’re tougher than they look. These succulents bounce back fast when moved right, and the key is timing. Do it in early spring or fall when temps are mild, and you’ll avoid the stress that comes with summer heat or winter chill. No green thumb required.
The process is simpler than most guides make it seem: dig wide but shallow (their roots don’t go deep), keep the root ball intact, and give them gritty, well-draining soil in their new spot. I’ve moved dozens without losing a single plant—here’s how to make it foolproof for yours, too.
📚 In This Guide
This method ensures your ice plants thrive in their new location with minimal stress and maximum root establishment.
Transplant ice plants in early spring or early fall when temperatures stay between 60-75°F. Avoid summer heat—it stresses the plants and causes wilting. I always check the forecast for a stretch of mild weather before starting.
Prepare the new planting area by digging a hole twice as wide as the root ball but only as deep. Ice plants hate soggy roots, so ensure the site has excellent drainage. If your soil is heavy clay, mix in coarse sand or gravel to improve drainage before planting.
Water the plant 24 hours before transplanting—this helps the roots hold together and reduces shock. Use a trowel or garden fork to gently loosen the soil around the plant, working in a circle about 6 inches out from the base.
Slide the tool under the root ball and lift from below, keeping as much soil intact as possible. If roots resist, don’t yank—cut through stubborn ones cleanly with pruners. I’ve found that ice plants recover faster when you preserve at least 70% of the root system.
Place the ice plant in the prepared hole so the top of the root ball sits level with the surrounding soil. Backfill with the amended soil, pressing lightly to eliminate air pockets. Don’t bury the stem—this can cause rot.
Water immediately after planting until the soil is evenly moist but not soggy. I use a gentle spray to avoid dislodging the soil. Add a light layer of gravel mulch around the base (not touching the stem) to retain moisture and prevent weeds while allowing drainage.
Keep the soil slightly moist (not wet) for the first 2 weeks—this is critical for root recovery. After that, reduce watering to once every 10-14 days, letting the soil dry between sessions. Ice plants are drought-tolerant once established.
Avoid fertilizing for the first 4-6 weeks—it can burn tender new roots. Watch for wilting in the first week; if it occurs, provide temporary shade with a lightweight fabric cover until the plant perks up. Most ice plants show new growth within 3-4 weeks, a sign they’ve successfully adapted.
After years of transplanting ice plants, I’ve learned these key details make the difference between struggling plants and thriving succulents.
Timing is Everything: The 24-hour pre-watering mentioned in Step 2 is critical—don’t skip it. This hydration period helps roots hold together during the move and significantly reduces transplant shock. I’ve found that plants watered for exactly this duration establish themselves twice as fast as those transplanted dry. Check soil moisture before moving; it should feel like a wrung-out sponge, not dripping wet.
Root Preservation Technique: When removing the plant in Step 2, work methodically in that 6-inch radius around the base. I use a paint stir stick to gently probe the soil perimeter first, identifying where roots extend before digging. This helps me preserve well beyond the 70% root system target mentioned—aim for 80% if possible. For stubborn roots, sterilize your pruners with rubbing alcohol between cuts to prevent disease transmission.
Soil Contact Matters: In Step 3, when placing the plant in its new hole, take an extra minute to ensure every part of the root ball makes contact with the surrounding soil. I gently press the soil around the base in three stages: first at the root ball’s equator, then at the top, and finally at the bottom. This eliminates air pockets that could dry out roots. The “level with surrounding soil” instruction is non-negotiable—burying even half an inch of stem can lead to rot within weeks.
Post-Transplant Monitoring: During those first 2 weeks of frequent watering in Step 4, develop a routine of checking plants at dawn. This is when wilting from overnight moisture loss is most apparent. I use the “fingertip test” daily—press your finger 1 inch into the soil. If it feels cool and slightly damp, you’re maintaining the ideal “slightly moist” condition. If the top inch is dry, water immediately with that gentle spray to avoid dislodging new root growth.
For best results, transplant in early spring or fall when temperatures are mild (60–75°F). Avoid extreme summer heat or winter frost—stress from temperature swings can shock the plant. If you must move it in summer, do so on a cloudy day and water deeply afterward.
Watch for wilting, yellowing leaves, or mushy stems—classic signs of transplant shock. Overwatering or underwatering often causes this. Give it partial shade for a week and water only when the top inch of soil is dry. Most plants bounce back in 2–3 weeks!
Yes! Ice plants (Delosperma) spread quickly via roots and seeds, especially in warm climates. To control growth, transplant into containers or use edging barriers. If planting in-ground, space them 18–24 inches apart and prune runners in spring.
These succulents hate soggy roots! Use a well-draining mix: 60% cactus/succulent soil + 40% perlite or coarse sand. For clay-heavy gardens, amend the hole with gravel or pumice. Pro tip: Add a handful of compost for nutrients but avoid dense, moisture-retentive soils.
Snip 3–4 inch healthy stems, let them callus for 24 hours, then plant in sandy soil. Keep lightly moist (not wet) in bright, indirect light. Roots form in 2–3 weeks—easier than digging up mature plants! Great for sharing with friends or filling gaps.
