
Beautiful Plants For Your Interior
Beautiful Plants For Your Interior
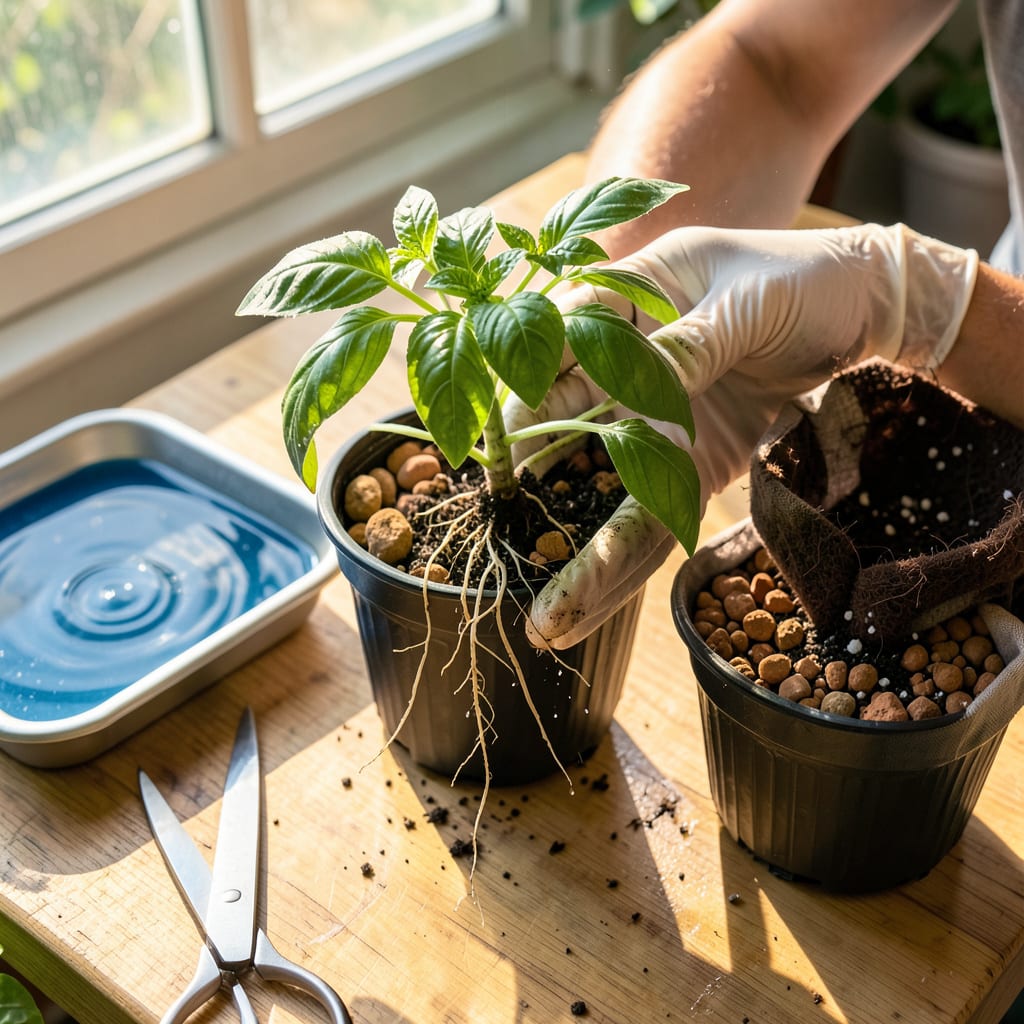
Moving hydroponic plants to soil—or even another hydroponic system—can feel like defusing a bomb. One wrong move, and you’re staring at wilted leaves by afternoon. I’ve lost count of how many seedlings I sacrificed before nailing the timing: roots should be 2-3 inches long but not tangled, and the plant must look hungry for more space, not stressed.
The real secret? It’s about the roots. Soil transplants need a gentle rinse to remove hydroponic residue, while system-to-system moves demand matching water temps and pH levels within 0.5 points. Do this right, and your plants won’t skip a beat—no shock, no setback, just steady growth like they never left home.
📚 In This Guide
Moving hydroponic plants to soil or a new system doesn’t have to be stressful—here’s my foolproof method for a smooth transition.
Start by examining your hydroponic plants for any damaged or diseased roots. Healthy roots should appear white or light tan, while brown or mushy roots indicate problems that need addressing before transplanting. Trim away any dark or slimy roots with clean scissors.
Two days before transplanting, reduce nutrient strength in your hydroponic system by half. This helps plants adjust to the lower nutrient availability they’ll experience in soil. You’ll notice the leaves may lighten slightly in color—that’s normal and shows the plant is adapting.
For soil transplants, select a lightweight, well-draining potting mix designed for container gardening. Avoid heavy garden soil that compacts and suffocates roots. Moisten the soil thoroughly until it holds together when squeezed but doesn’t drip water.
If moving to another hydroponic system, prepare fresh nutrient solution at half the normal strength. The water temperature should match your current system (typically 65-75°F) to prevent temperature shock. Test the pH and adjust to 5.5-6.5 before introducing plants.
Gently remove plants from their current system, supporting the root ball to prevent damage. For soil transplants, create a hole slightly larger than the root mass. Place the plant so the crown (where roots meet stem) sits just above the soil surface—burying it too deep can cause rot.
Fill around the roots with moistened soil, pressing lightly to eliminate air pockets. Don’t compact the soil too firmly—roots need oxygen. For hydroponic-to-hydroponic transfers, rinse roots briefly in clean water before placing in the new system to remove old nutrient residue.
After transplanting, place plants in bright but indirect light for 2-3 days. Direct sun can stress already-adjusting plants. Maintain consistent moisture—soil should feel like a wrung-out sponge, while hydroponic roots should remain submerged but not waterlogged.
Resist fertilizing for the first week. The plant needs time to establish new root connections before processing additional nutrients. You’ll see new growth within 7-10 days—that’s your sign the transplant was successful and you can resume normal care.
Watch for wilting or yellowing leaves in the first week—this is normal as plants adjust. However, if symptoms persist beyond 5-7 days, check for overwatering (soil) or nutrient imbalance (hydroponics). Mist leaves lightly once daily to maintain humidity around the plant.
After the first week, gradually reintroduce full-strength nutrients over 3-4 days. For soil plants, begin with quarter-strength fertilizer. Hydroponic plants can return to normal nutrient levels more quickly, but still benefit from a gradual increase to prevent shock.
Transplanting hydroponic plants successfully comes down to understanding what your plants experience during the transition. Here’s what I’ve learned from years of trial and error.
The Preparation Phase: Don’t skip the two-day nutrient reduction in Step 1—this is when your plants start adapting to their new environment. I’ve found that plants with lighter green leaves after this period actually transition more smoothly. If you notice roots looking particularly dense, give them an extra day at half-strength nutrients to prevent shock.
Temperature Control: When preparing your new hydroponic system in Step 2, matching the 65-75°F water temperature is absolutely critical. I use a simple aquarium thermometer to verify both systems match exactly. Even a 5-degree difference can cause enough stress to set back your plants for days. For soil transplants, keep the potting mix at room temperature—cold soil can shock roots just as badly as temperature mismatches in water.
Root Handling Technique: In Step 3, the way you handle roots makes all the difference. I always keep a spray bottle of clean water nearby to mist roots if they’re exposed to air for more than 30 seconds during transfer. For soil transplants, create that planting hole before removing the plant from its current system—every second counts when roots are exposed. When rinsing roots for hydroponic transfers, use lukewarm water that matches your system temperature.
Post-Transplant Care: The 2-3 days of indirect light in Step 4 isn’t just suggestion—it’s when your plants are most vulnerable. I’ve ruined more transplants by rushing this step than any other. If you must move plants sooner, at least provide shade cloth or sheer curtain filtering for that critical period. And when misting leaves in Step 5, do it early in the day so foliage dries before evening—this prevents fungal issues while maintaining humidity.
Yes, but preparation is key! Start by rinsing roots gently to remove hydroponic nutrients, then transplant into moist, well-draining soil. Acclimate plants by reducing humidity gradually over 3–5 days to prevent shock. Avoid heavy clay soil—mix in perlite or coconut coir for better aeration.
Transplant during the early vegetative stage (before flowering) for minimal stress. Aim for cool, overcast days or evenings to reduce moisture loss. If moving to soil, ensure roots are 2–3 inches long but not root-bound. Avoid transplanting during extreme heat or cold.
Don’t panic—wilting is normal for 24–48 hours! Check for overwatering (soggy soil) or underwatering (dry roots). Trim damaged roots, mist leaves, and provide shade. If wilting persists, dip roots in a weak hydrogen peroxide solution (1 tsp/gallon) to prevent rot.
Yes! Rinse roots gently with lukewarm water (pH 6.0–6.5) to remove residual nutrients, which can burn soil-dwelling microbes. Skip harsh scrubbing—focus on loosening debris. For clay pebbles or rockwool, soak in water for 10 minutes to ease removal.
Match the water temperature, pH, and nutrient strength between systems. Transfer plants with their grow medium (e.g., rockwool cubes) intact. If changing systems (e.g., DWC to NFT), acclimate roots by submerging them in the new solution for 1–2 hours first.
