
Beautiful Plants For Your Interior
Beautiful Plants For Your Interior
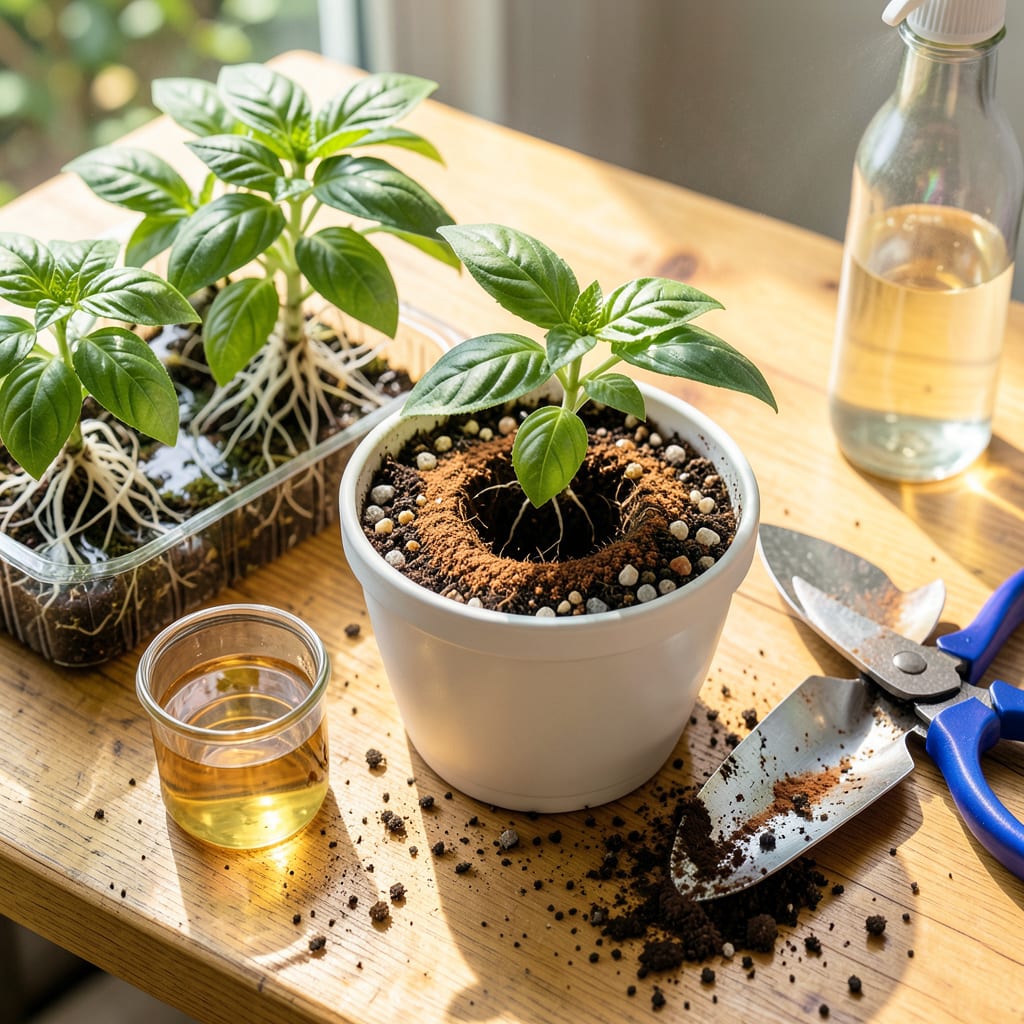
Moving hydroponic plants to soil feels like teaching a fish to walk—but I’ve done it successfully with everything from lettuce to tomatoes. The key is preparing both the plant and the soil before making the switch, so roots don’t panic when they meet their new home. Most failures happen in the first 48 hours, but with the right steps, your plants won’t even flinch.
You’ll need a gentle touch, the right soil mix (think airy and nutrient-rich, not dense garden dirt), and a short hardening-off period to ease the transition. I’ve found that plants with well-developed roots adapt fastest, while delicate seedlings need extra TLC. By day 7, they’ll act like they’ve been in soil all along—no shock, no drama, just growth.
📚 In This Guide
Making the switch from water to soil doesn’t have to be stressful—here’s how I do it without shocking the plants.
Start by reducing the hydroponic nutrient strength by 50% over 3-5 days before transplanting. This helps the roots prepare for soil’s different nutrient availability. You’ll notice the water may look clearer as the plants absorb the remaining nutrients.
Gently rinse the roots with lukewarm water to remove any clinging hydroponic solution. Be thorough but careful—roots are delicate at this stage. I use my fingers to lightly comb through the roots while rinsing to ensure all residue is gone.
Select a lightweight, well-draining potting mix designed for seed starting or container gardening. Avoid heavy garden soil—it compacts too easily and can suffocate tender hydroponic roots. I recommend a mix with 40-50% perlite or vermiculite for optimal aeration.
Moisten the soil until it’s evenly damp but not soggy. You want it to hold together when squeezed but not drip water. Fill your containers about ¾ full, leaving room for the plant’s root system. Tap the container gently to settle the soil without compacting it.
Create a planting hole slightly larger than the root ball. Hold the plant by its leaves (never the stem) and lower it into the hole. Spread the roots outward gently—they’ll naturally grow downward once covered. The crown (where roots meet stem) should sit just above the soil line.
Backfill with soil, pressing lightly to eliminate air pockets. Don’t firm too hard—you want the soil to cradle the roots, not compress them. Water immediately with ¼-strength balanced fertilizer to help the transition. You’ll see the soil settle slightly after watering.
Place plants in bright, indirect light for the first 3-5 days. Direct sun can stress them during this adjustment period. Maintain consistent moisture—soil should feel like a wrung-out sponge. I check daily by inserting my finger 1 inch deep into the soil.
Watch for wilting in the first 24-48 hours—this is normal as roots adapt. If leaves remain wilted after 3 days, the plant may be struggling. In that case, trim off 20-30% of the foliage to reduce stress on the roots while they establish.
After 5-7 days, begin introducing the plants to their permanent growing conditions. Move them to morning sun only for 2-3 days, then gradually increase sun exposure. This slow introduction prevents sunburn on leaves that developed in hydroponic conditions.
Resist fertilizing at full strength for 2 weeks. The roots need time to establish their relationship with soil microbes. You’ll know they’ve adjusted when you see new leaf growth—that’s your signal everything is working. From there, treat them like any soil-grown plant.
Transitioning plants from water to soil can feel intimidating, but these practical insights will help you avoid common pitfalls.
The Preparation Window: That 3-5 day nutrient reduction period in Step 1 isn’t just about nutrients—it’s about root adaptation. I’ve found plants transition best when I extend this to the full 5 days for sensitive varieties like lettuce or herbs. The roots develop tiny hair-like structures during this time that help them “learn” to seek nutrients differently. Watch your water clarity closely; when it stays clear for 24 hours, your plants are ready for the next step.
Root Handling Technique: When rinsing roots in Step 1, here’s what nobody tells you—use a spray bottle set to a gentle mist rather than running water. The pressure from a faucet can damage delicate root tips even if you’re being careful. I learned this after losing several basil plants to what looked like perfect rinsing. The mist method also lets you work more thoroughly without risking breakage.
Soil Moisture Secret: In Step 2, that “wrung-out sponge” consistency isn’t just a cute analogy—it’s critical. Here’s how to test it perfectly: grab a handful of your prepared soil and squeeze. If a single drop of water appears at your fingertips, it’s too wet. If it crumbles immediately, it’s too dry. You want it to hold shape for 2-3 seconds before gently breaking apart. This exact moisture level prevents root suffocation while providing enough water for the transition.
Post-Transplant Monitoring: During those first 24-48 hours mentioned in Step 4, set up a simple support system. Use bamboo skewers or chopsticks to create a mini trellis around wilt-prone plants like tomatoes or peppers. The stems are often weaker than they appear after hydroponic growth, and this prevents them from flopping over permanently during the adjustment period. Remove the supports after 3 days if the plants have perked up.
No! Direct transplanting often causes transplant shock. First, harden off plants by gradually exposing them to outdoor conditions over 7–10 days. Use a light, well-draining soil mix (50% potting soil + 50% perlite/coco coir) to mimic hydroponic aeration. Avoid heavy clay or compacted garden soil at first.
Most plants need 2–4 weeks to fully adapt. Leafy greens (like lettuce) may recover in 1–2 weeks, while fruiting plants (tomatoes, peppers) can take longer. Watch for new growth—it’s the best sign of success! Reduce stress by keeping soil consistently moist (not soggy) during this period.
Wilting is normal for 24–48 hours, but if it persists:
Can I switch hydroponic plants back to soil permanently, or is it temporary?
Yes, it can be permanent! Once roots establish in soil (after ~4 weeks), treat them like traditional soil-grown plants. Key tip: Hydroponic plants may need extra nitrogen initially since soil microbes take time to break down nutrients. Use a balanced organic fertilizer (5-5-5) after the transition.
Are there plants that shouldn’t be transplanted from hydroponics to soil?
Some plants struggle more than others:
