
Beautiful Plants For Your Interior
Beautiful Plants For Your Interior
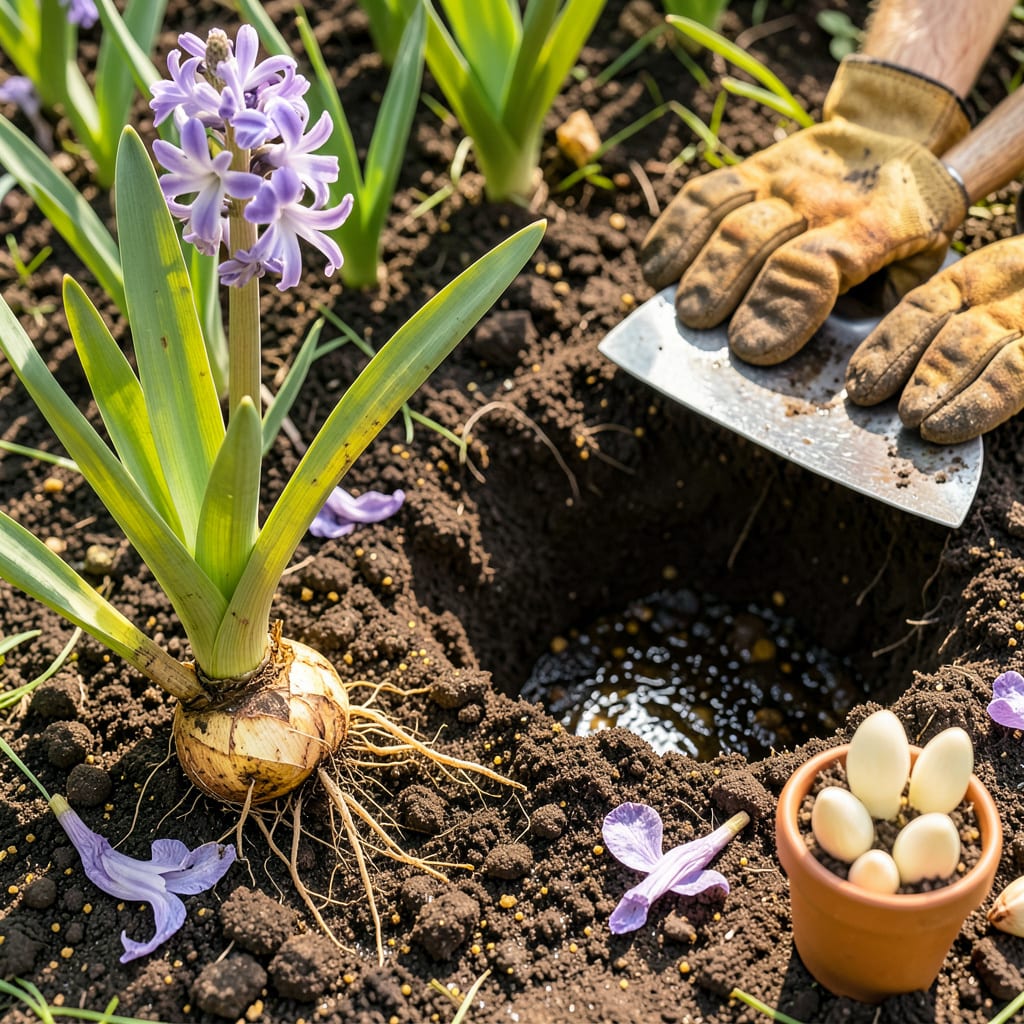
Moving hyacinths feels like giving your garden a second chance. I’ve relocated dozens of these bulbs over the years, and the secret isn’t luck—it’s timing and technique. Transplant them when they’re dormant (late summer to early fall), and they’ll reward you with bigger, brighter blooms come spring. Skip this step, and you risk stunted growth or no flowers at all.
The process is simpler than it seems: dig carefully, keep roots intact, and replant at the right depth (about 4-6 inches deep). I’ve seen hyacinths bounce back from less-than-perfect moves, but do it right, and they’ll thrive for years. No green thumb required—just a trowel, a little patience, and this no-fail method.
📚 In This Guide
With the right timing and technique, you’ll give your hyacinths a fresh start for even more spectacular blooms next season.
The ideal window for moving hyacinths is after the foliage turns yellow but before it completely dies back—typically 6-8 weeks after flowering. This gives the bulbs time to store energy for next year while minimizing transplant shock. I check by gently tugging on the leaves; if they pull away easily, the bulb is ready to move.
Avoid transplanting during active growth or dormancy. Late summer to early fall works best in most climates, giving roots 4-6 weeks to establish before winter. If you’re in a warm climate, wait until soil temperatures drop below 60°F to prevent premature sprouting.
Select a location with full sun to partial shade and well-draining soil—hyacinths rot in soggy ground. I dig the new holes 4-6 inches deep and space them 4-6 inches apart, which gives bulbs room to multiply without competing. Mix a handful of compost into the bottom of each hole for nutrients.
Test drainage by filling the hole with water. If it doesn’t drain within 30 minutes, amend the soil with coarse sand or perlite. Hyacinths thrive when their roots stay cool but never waterlogged, so avoid low spots where water collects after rain.
Use a garden fork to gently lift the bulbs from the soil, starting 6 inches away from the foliage to avoid slicing into them. Shake off excess dirt, but don’t wash or scrub—you’ll damage the protective outer layers. Healthy bulbs feel firm and show no soft spots or mold.
Separate any offsets (small bulbs attached to the mother bulb) by twisting them gently. These can be replanted immediately, though they may take 1-2 years to flower. Discard any bulbs that feel mushy or have visible damage—they won’t recover after transplanting.
Place each bulb in its new hole with the pointed end facing up. The top should sit 2 inches below the soil surface—this depth protects from freezing while allowing proper emergence. Fill the hole halfway with soil, water lightly to settle it, then finish filling. This prevents air pockets around the roots.
Don’t fertilize immediately; wait until shoots appear in spring. I mark the planting spots with small stakes so I don’t accidentally disturb them while the soil settles. Mulch with 2-3 inches of straw after the ground freezes to insulate against temperature swings.
Water the newly transplanted bulbs deeply once, then reduce to once weekly unless rainfall exceeds 1 inch per week. Overwatering now causes rot, but consistent moisture helps roots establish. Remove any remaining foliage after it fully yellows—this prevents disease but doesn’t harm the bulb.
Resist the urge to check on bulbs during winter. Disturbing them breaks the dormancy cycle. Come spring, you’ll see purple-tipped shoots pushing through the soil—that’s your reward for proper transplanting. Expect full blooms the following year, often with increased vigor.
Getting the timing and technique right makes all the difference in successfully transplanting hyacinths. Here’s what I’ve learned from years of trial and error.
Timing Secret: That 6-8 weeks after flowering window in Step 1 is absolutely critical. I learned this the hard way after transplanting too early and losing half my bulbs to shock. The foliage needs that full time to photosynthesize and store energy in the bulb for next year’s blooms. If you’re unsure, wait until the leaves are mostly yellow but still slightly attached—they should pull away with just a gentle tug.
Soil Preparation Tip: When testing drainage in Step 2, don’t just watch the clock for those 30 minutes. Dig your test hole where you actually plan to plant, not in a random spot—soil composition can vary dramatically even within a small garden bed. I once made the mistake of testing in a sandy corner while planting in clay-heavy soil, and my hyacinths suffered for it. If water pools after the test, mix in coarse sand or perlite until it drains properly.
Depth Matters: The 2 inches below soil surface planting depth in Step 4 isn’t arbitrary. Too shallow and the bulbs may freeze; too deep and they’ll struggle to emerge. I use a simple trick: lay a ruler across the hole to check depth before planting. After filling halfway with soil and watering as directed, the bulb should sit exactly at that 2-inch mark when you finish filling. This prevents the sinking that often happens with loose soil.
Post-Transplant Care: That once weekly watering schedule in Step 5 assumes average conditions. In hot climates, you might need to water every 5 days, while cooler areas may stretch to 10 days between waterings. The key is checking soil moisture 2 inches down—it should feel slightly damp but never soggy. I lost several bulbs my first year from overwatering; when in doubt, wait an extra day. Hyacinths handle dry better than wet.
The ideal time is early fall (September–October), 4–6 weeks before the first frost. This gives roots time to establish before winter. Avoid transplanting in spring—bulbs may skip blooming that year. In warm climates (Zones 8+), chill bulbs for 8–10 weeks before planting.
It’s risky! Transplanting during bloom can shock the plant, causing wilted flowers or bulb rot. If absolutely necessary, move the entire clump with soil intact, water deeply, and keep it shaded for 3–5 days. Wait until foliage yellows (late spring) for safest results.
Dig holes 6–8 inches deep (measure from the bulb’s base), spacing bulbs 4–6 inches apart. Deeper planting protects from frost; shallower depths may cause floppy stems. In heavy clay soil, add 1 inch of sand beneath bulbs to improve drainage.
Common causes:
Yes! Use pots with drainage holes, well-draining soil, and plant bulbs at the same depth as in-ground. Chill potted bulbs at 40–45°F for 10–12 weeks (e.g., unheated garage) to force blooms. Post-bloom, move pots outdoors or transplant bulbs to the garden.
