
Beautiful Plants For Your Interior
Beautiful Plants For Your Interior
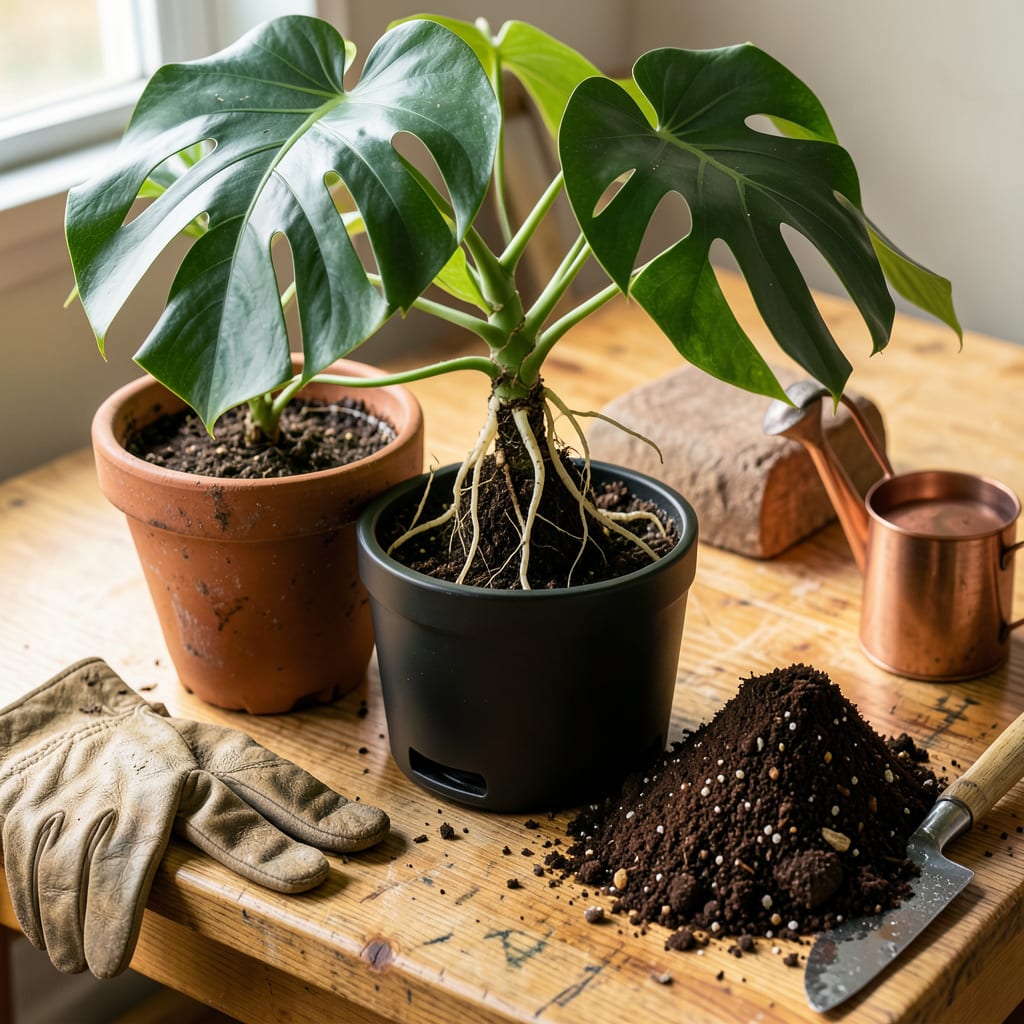
I used to lose half my plants after repotting—until I learned the right way. Transplanting doesn’t have to be stressful for you or your plants. The secret is timing it right (spring growth spurts work best) and handling roots like they’re made of silk, not steel.
You’ll need just three things: a pot 2 inches wider than the current one, fresh potting mix, and 10 minutes of focus. No fancy tools, no horticulture degree required. What you get is a plant that doesn’t just survive the move—it thrives, pushing new growth within 7-10 days instead of wilting in protest.
📚 In This Guide
Moving your plants to new homes doesn’t have to be stressful—for you or them. Here’s my no-fail approach.
Pick a day when your plant is slightly thirsty (soil dry to the touch but not bone-dry) and you can work without rushing. I always transplant in the evening or on cloudy days—direct sun stresses plants during recovery. Select a new pot 1-2 inches wider than the current one with drainage holes.
Wash the new container with mild soap and warm water to remove dust or manufacturing residues. This prevents salt buildup that could damage roots later. Cover the drainage holes with a small piece of screen or a coffee filter—this keeps soil in while allowing water to flow freely.
Water your plant lightly 2-3 hours before transplanting—this helps the root ball hold together. Turn the pot sideways, place your hand over the soil with the stem between your fingers, and gently squeeze the pot’s sides. If it resists, run a butter knife around the inner edge to loosen the root ball.
Once free, examine the roots. Healthy roots are white or light tan and firm. If you see dark, mushy roots, trim them with clean scissors. Gently loosen the outer roots with your fingers—this encourages them to grow into the new soil rather than continuing to circle.
Add a 1-2 inch layer of fresh potting mix to the bottom of the new container. Center the plant so it sits at the same depth as before—burying the stem too deep can cause rot. Fill around the root ball with additional mix, pressing lightly to eliminate air pockets but not compacting the soil.
Leave about ½ inch of space between the soil surface and the pot rim. This prevents water from spilling over when you water. I like to create a slight mound in the center that slopes down toward the edges—this helps water distribute evenly rather than pooling in one spot.
Water immediately after transplanting until you see it drain from the bottom holes. This settles the soil around the roots and eliminates air pockets. Place the plant in bright, indirect light for 3-5 days—even sun-loving plants need protection while they adjust to their new container.
Avoid fertilizing for 2-3 weeks after transplanting. The roots need time to heal from any minor damage and establish in the new soil. You’ll know your plant has recovered when you see new growth—that’s your signal that everything worked perfectly.
Transplanting doesn’t have to be intimidating—these simple adjustments make all the difference between a struggling plant and one that thrives in its new home.
Timing is Everything: That 2-3 hour window before transplanting in Step 2 is critical. Watering too far in advance means dry soil that crumbles, while watering too close to transplanting creates a soggy mess. I set a phone timer to remind myself when it’s go time. The slightly moist soil helps the root ball stay intact without being waterlogged.
Root Handling Secret: When examining roots in Step 2, resist the urge to trim healthy white roots—only remove the dark, mushy ones. I learned this the hard way after over-trimming and stunting growth. Gently teasing the outer roots with your fingers (as mentioned in the instructions) is enough to encourage outward growth without damaging the plant.
Soil Level Precision: In Step 3, that 1-2 inch layer of fresh potting mix at the bottom isn’t arbitrary. Too little and drainage suffers; too much and your plant sits too low. I use a ruler to measure—it seems fussy, but prevents root rot from improper depth. The same goes for maintaining that ½ inch space at the top; it’s the difference between controlled watering and a muddy overflow.
Recovery Care Insight: The 3-5 day period of bright, indirect light in Step 4 isn’t just about light—it’s about reducing all stressors. I once made the mistake of returning a transplanted succulent to full sun immediately, and it developed crispy edges from the combined shock of new soil and intense light. Even sun-lovers need this adjustment period.
Most houseplants need repotting every 12–18 months, but watch for roots growing through drainage holes or soil drying out too fast. Slow-growing plants (like succulents) can wait 2–3 years, while fast growers (like pothos) may need it annually. Spring or early summer is the best time for minimal stress.
Can I transplant a plant without repotting it? (Alternative methods?)
Yes! Try “root pruning”—trim overgrown roots and add fresh soil to the same pot. For slightly root-bound plants, loosen the root ball and top-dress with new soil instead. This works well for plants that dislike disturbance, like fiddle-leaf figs.
Wilting is normal for 2–7 days due to transplant shock. Keep soil moist (not soggy), avoid direct sun, and mist leaves to boost humidity. If wilting persists beyond a week, check for overwatering or root damage—trim any mushy roots and repot in fresh soil.
Both! Water 1–2 days before to hydrate roots, then lightly water after to settle the new soil. Avoid soaking—this can compact soil and suffocate roots. For succulents, wait 3–5 days post-transplant to water.
Use a well-draining mix tailored to your plant:
