
Beautiful Plants For Your Interior
Beautiful Plants For Your Interior
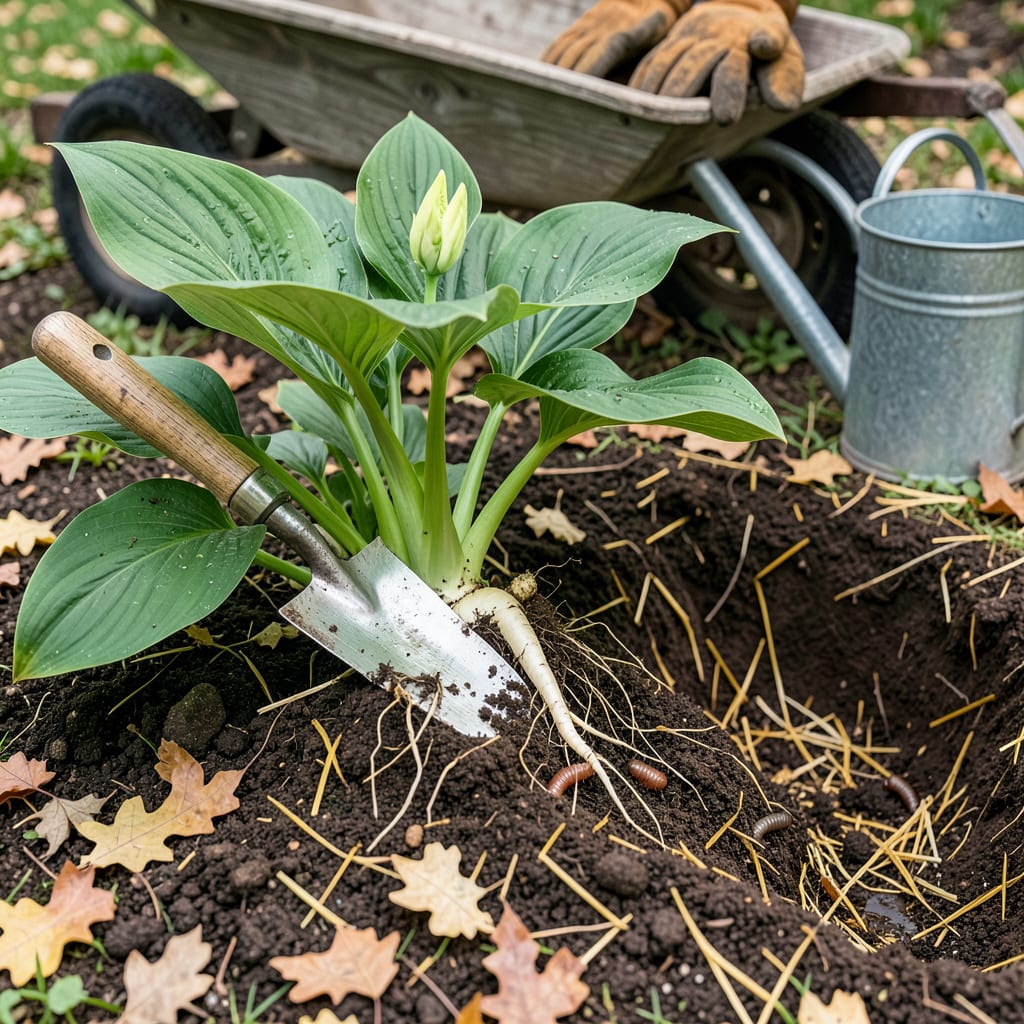
Early spring is the secret window for moving hostas—cool soil and gentle rains help roots settle before summer’s heat arrives. I’ve transplanted dozens over the years, and the plants that go in the ground now always outperform those moved later. The key is timing: wait until the soil is workable but before leaves fully unfurl.
You’ll end up with fuller plants, better growth, and fewer transplant shock issues. Dividing overcrowded clumps now means more hostas to spread around your garden or share with neighbors. The process takes less than 30 minutes per plant with the right technique—and I’ll walk you through every step.
📚 In This Guide
Spring transplanting gives your hostas the best start—here’s how to do it without stressing the plants.
Transplant hostas in early spring as soon as the soil is workable and new shoots emerge but before leaves fully unfurl. This timing minimizes shock because the plant isn’t actively growing yet. I check soil readiness by squeezing a handful—if it crumbles instead of forming a muddy ball, it’s perfect.
Water the hosta thoroughly 24 hours before moving to hydrate roots and reduce transplant stress. Use a garden fork to gently loosen the soil in a 12-inch radius around the plant, working outward from the base. This prevents root damage when lifting.
Use a sharp spade to dig a trench around the plant, angling inward to create a root ball about 8-10 inches deep. Hostas have shallow, spreading roots, so go wide rather than deep. Once the trench is complete, slide the spade underneath to lift the entire clump.
Here’s the thing—hosta roots are surprisingly tough but hate drying out. Immediately wrap the root ball in damp burlap or place it in a bucket with moist soil if you’re not replanting right away. Never let roots sit exposed to sun or wind for more than 10 minutes.
Dig the new hole twice as wide as the root ball but only as deep. Hostas thrive when planted at the same depth they grew previously—burying the crown too deep causes rot. I mix a handful of compost into the bottom of the hole to give roots immediate nutrients.
Check drainage by filling the hole with water. If it doesn’t drain within 30 minutes, improve the site by working in 2-3 inches of organic matter or choosing a better location. Hostas despise soggy roots more than almost any other condition.
Place the hosta in the hole, ensuring the crown (where stems meet roots) sits 1 inch above soil level. Backfill with native soil, gently firming as you go to eliminate air pockets. Create a shallow water basin around the plant by mounding soil in a 3-inch-high ring about 6 inches from the base.
Water deeply until the basin fills, then let it drain completely before adding more. This ensures moisture reaches the deepest roots. I apply 2-3 inches of mulch (shredded bark works well) to retain moisture and suppress weeds, but keep it 1 inch away from the crown to prevent rot.
Keep the soil consistently moist (but not soggy) for the first 2-3 weeks. You’ll know it’s working when new leaves begin unfurling normally. If leaves wilt during the day but recover by morning, that’s normal transplant stress—just maintain even moisture.
Avoid fertilizing for 4-6 weeks after transplanting. The roots need time to establish before processing extra nutrients. If you notice yellowing leaves after a week, that’s usually a sign of overwatering rather than underwatering—ease up on irrigation slightly.
Transplanting hostas doesn’t have to be stressful—these practical insights will help your plants thrive.
Timing is Everything: The 24 hours of pre-watering mentioned in Step 1 isn’t just helpful—it’s critical. I’ve found that deeply hydrated roots recover from transplant shock much faster. If your soil is very dry, you might even want to water thoroughly twice: once the day before and again a few hours before moving. This gives the plant maximum moisture reserves for the transition.
Root Protection Strategy: When you’re working through Step 2, remember that 10 minutes is your absolute maximum for exposed roots. I learned this the hard way after losing a prized hosta to wind exposure. Keep a bucket of water and some burlap nearby before you even start digging. The moment that root ball comes out of the ground, wrap it immediately—don’t wait until you’ve finished digging the new hole.
Drainage Test Insight: The 30-minute drainage test in Step 3 reveals more than just drainage issues. If water sits longer than this, it also indicates potential soil compaction problems. When this happens, I work in 3 inches of organic matter (slightly more than the minimum) and mix it thoroughly with the native soil. This creates better long-term conditions than just improving drainage temporarily.
Post-Transplant Monitoring: During those first 2-3 weeks mentioned in Step 5, pay special attention to the oldest leaves. They’ll show stress first through wilting or yellowing. I make it a habit to check my transplanted hostas at dawn and dusk during this period—the morning check tells me if they’re recovering from the previous day’s stress, while the evening check shows how they handled the day’s conditions.
Yes! Early spring (before leaves fully unfurl) is ideal. If sprouts are 2–3 inches tall, transplant carefully to avoid damaging new growth. Water deeply after moving, and shade them for 3–5 days to reduce stress. Pro tip: Work on cloudy days to prevent wilting.
Early morning or late afternoon is best—avoid midday heat. Cooler temps and lower sun intensity help roots settle without shock. If transplanting multiple plants, start early to finish before noon. Bonus: Overcast days are perfect for minimal stress!
Not required, but spring is a great time to divide overcrowded clumps! Use a sharp spade to split the root ball into sections with 2–3 shoots each. Replant divisions immediately, keeping roots moist. Skip dividing if the plant is small or stressed.
Water daily for the first week (unless rain helps), then taper to 2–3 times weekly for 2–3 weeks. Keep soil evenly moist but not soggy—hostas hate “wet feet.” Mulch with shredded bark to retain moisture and block weeds.
Wilting is often from transplant shock (too much sun, dry roots, or rough handling). Trim damaged leaves, water deeply, and provide temporary shade. If the crown is firm, it’ll likely recover in 1–2 weeks. No improvement? Check for rot or pests.
