
Beautiful Plants For Your Interior
Beautiful Plants For Your Interior
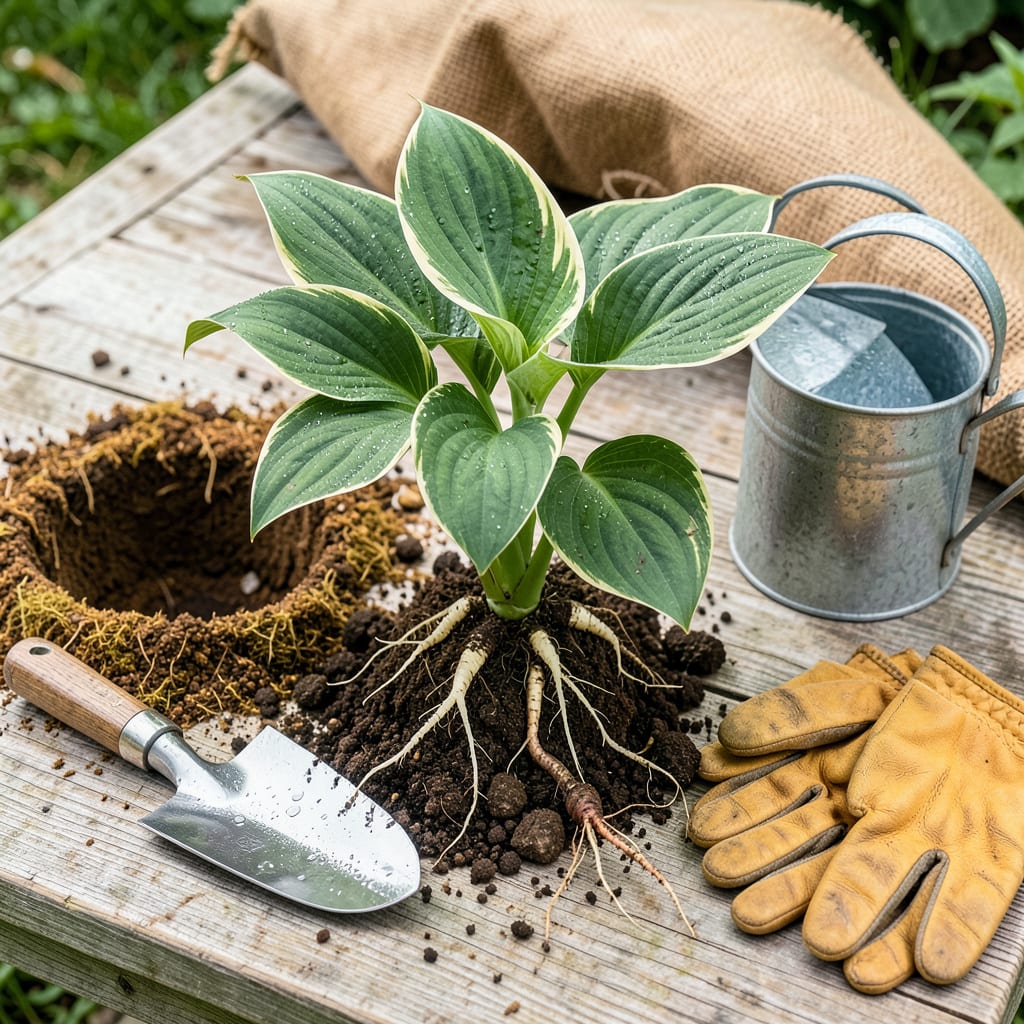
Moving hostas feels intimidating until you realize they’re tougher than they look. I’ve relocated dozens over the years—some in early spring, others in fall—and the plants barely skip a beat when you do it right. The secret isn’t luck; it’s timing and technique. Get the roots settled before summer heat hits, and you’ll have lush foliage by next season.
What surprises most gardeners is how forgiving hostas are during transplant. You don’t need fancy tools—just a sharp spade, some compost, and a watering can. The real magic happens in the first week: keep the soil consistently moist (not soggy), provide afternoon shade, and watch for new growth. That’s when you know they’ve taken hold.
📚 In This Guide
Moving hostas is simpler than you think—follow my method for plants that thrive in their new home.
Early spring or early fall is ideal for transplanting hostas, when temperatures stay between 50-75°F. Avoid moving them during summer heat or winter dormancy. I like to work on an overcast day or in the late afternoon to minimize stress on the plants.
Dig the new hole first—it should be twice as wide as the root ball and just as deep. Mix a handful of compost into the soil you removed and set it aside. You want the new location to have similar light conditions to the original spot, as hostas struggle with sudden exposure changes.
Water the hosta thoroughly the day before transplanting to hydrate the roots and make digging easier. Use a sharp spade to cut a wide circle around the plant, about 6-8 inches out from the base. Hostas have shallow, spreading roots, so go deep enough to lift the entire root system intact.
Slide the spade under the root ball and gently lift. If the plant resists, work around it again rather than forcing it—broken roots mean transplant shock. I always keep the root ball as large as possible, even if it means moving more soil. Shake off excess dirt but don’t wash the roots.
Place the hosta in the new hole so the crown (where leaves meet roots) sits 1 inch above ground level. This prevents rot—hostas planted too deep will suffocate. Fill around the roots with your compost-amended soil, gently firming as you go to eliminate air pockets.
Create a shallow water basin around the plant by mounding soil in a 3-inch-high ring about 8 inches out from the base. This helps direct water to the roots during the critical establishment period. Water immediately after planting until the soil is saturated.
Keep the soil consistently moist (but not soggy) for the first 2-3 weeks. I check daily by feeling the soil 1 inch deep—if it’s dry, it’s time to water. Mulch with 2-3 inches of shredded bark to retain moisture and regulate soil temperature.
Don’t fertilize immediately—wait until you see new growth, usually 3-4 weeks after transplanting. If leaves wilt slightly at first, don’t panic; this is normal. Just maintain even moisture and shade from harsh afternoon sun until the plant recovers its vigor.
Here’s what I’ve learned from years of moving hostas—small details that make a big difference in how well your plants adjust to their new home.
Timing is Everything: The 50-75°F temperature range mentioned in Step 1 isn’t arbitrary—it’s when hostas are actively growing but not stressed by heat. I’ve found that early fall transplanting (September in most zones) gives roots extra time to establish before winter. If you must move them in spring, aim for early April before new shoots emerge. Avoid the temptation to transplant during summer “just this once”—I lost three mature plants that way before learning my lesson.
Root Ball Preservation: When you’re digging that 6-8 inch circle in Step 2, think of it as a life-saving boundary. Hostas store energy in their roots, and every root you sever means less recovery power. I use a horihori knife to cleanly cut through stubborn roots rather than tearing them. If you’re moving a particularly large hosta, consider wrapping the root ball in burlap to hold it together during the move—this trick saved my ‘Blue Angel’ when I had to transport it across the yard.
The Water Basin Trick: That 3-inch-high soil ring you create in Step 3 does more than just hold water—it’s your insurance against transplant shock. After watering, I fill this basin completely, let it drain, then fill it again. This double-watering technique ensures moisture reaches the deepest roots. Check the basin daily during that critical 2-3 week period; if it’s empty, your hosta is thirsty. I lost count of how many times this simple step saved wilting plants that seemed beyond hope.
Aftercare Observation: The 3-4 weeks mentioned in Step 4 before fertilizing isn’t just about avoiding burn—it’s about watching for subtle signs of stress. Check the undersides of leaves daily for the first week; pale green or yellowing indicates too much sun, while brown edges suggest wind burn. I keep a lightweight row cover handy to drape over newly transplanted hostas if unexpected hot weather arrives. It’s amazing how much difference just 50% shade cloth can make during that vulnerable period.
Early spring (as soon as the soil thaws) or early fall (4-6 weeks before frost) are ideal. Avoid summer heat, which stresses plants. If needed, transplant in late summer with extra watering. Morning or overcast days reduce shock.
Only as a last resort! If you must, water deeply 2-3 days before moving, transplant on a cloudy day, and prune back ⅓ of the foliage to reduce stress. Mulch heavily and keep soil moist for weeks.
Match the original depth—bury the crown (where stems meet roots) just below soil level. Too deep causes rot; too shallow dries roots. Add compost to the hole, but avoid piling soil against the stem.
Don’t panic! Wilting is normal for 1-2 weeks. Keep soil consistently moist (not soggy) and provide shade. If leaves turn crispy, trim damaged foliage. New growth means success—hostas are tough!
Spring or fall is perfect. Use a sharp knife to split the root ball into sections with 2-3 shoots each. Replant divisions immediately, water well, and space them 18–36 inches apart for future growth.
