
Beautiful Plants For Your Interior
Beautiful Plants For Your Interior
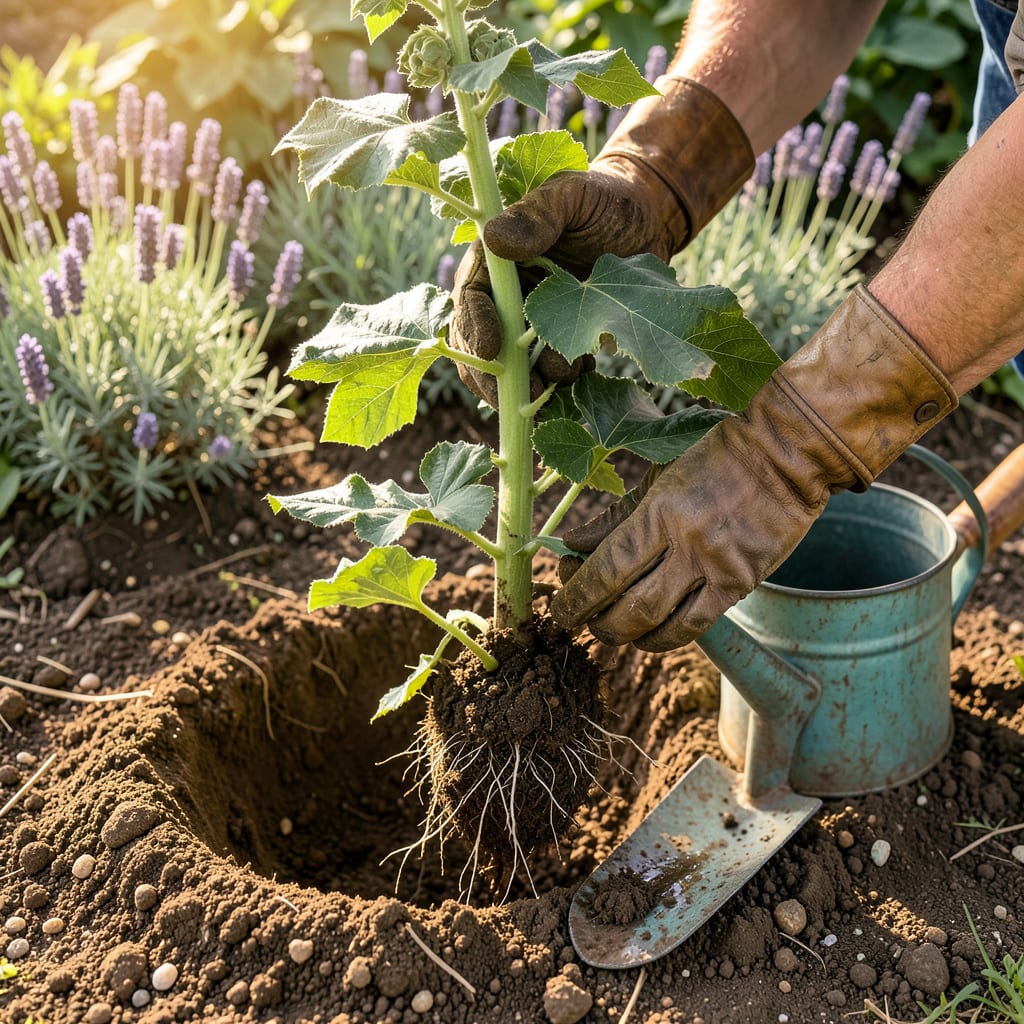
Moving hollyhocks feels intimidating until you realize they’re tougher than they look. I’ve transplanted dozens over the years, and the plants that get the right start reward you with taller stems and more blooms the following season. Timing matters most—early spring or fall, when soil is workable but not waterlogged, gives roots time to establish before summer heat or winter cold.
The secret isn’t fancy tools but handling that taproot with respect. A sharp trowel, a bucket of water, and 30 minutes is all you need. What you’ll get is a plant that settles in faster, suffers less shock, and comes back stronger next year. Even my first attempt (which involved a broken stem and a prayer) survived and thrived.
📚 In This Guide
Moving hollyhocks doesn’t have to be stressful—here’s how I do it with minimal shock and maximum success.
Early spring or early fall is ideal for transplanting hollyhocks, when temperatures are mild and plants aren’t actively blooming. I always pick a day when the soil is slightly moist but not soggy—digging in dry, compacted soil damages roots, while waterlogged soil makes it impossible to get a clean root ball.
Select a sunny spot with well-draining soil. Hollyhocks thrive in full sun (at least 6-8 hours daily) and need space—they grow 4-6 feet tall and 2-3 feet wide. Dig a hole about twice the width of the root ball and the same depth as the plant’s current container or root zone.
Water the hollyhock thoroughly the day before transplanting—this helps the root ball hold together. When ready, use a sharp spade to dig a wide circle around the plant, starting about 6-8 inches from the stem. Hollyhocks have deep taproots, so dig 12-18 inches deep to avoid severing them.
Once the root ball is loose, gently lift the plant by the root ball, not the stem. If it’s in a container, tap the sides and slide it out carefully. I always check for white, healthy roots—if they look dark or mushy, trim those areas with clean shears before moving.
Place the hollyhock in the prepared hole at the same depth it was growing before—the soil line should match its original level. Backfill with native soil, gently firming it around the roots to eliminate air pockets. Don’t amend the soil too much; hollyhocks adapt better to native conditions than overly rich soil.
Water deeply right after planting until the soil is saturated and you see moisture at the base. I use 1-2 gallons per plant initially, then water every 2-3 days for the first week unless rain does it for me. The goal is to keep the soil consistently moist but not waterlogged while roots establish.
Hollyhocks often need staking after transplanting, especially tall varieties. I insert a 4-5 foot stake about 6 inches from the stem and loosely tie the plant with soft twine or cloth strips. This prevents wind damage while allowing some movement, which actually helps roots grow stronger.
Watch for transplant shock—wilting or yellowing leaves are normal for the first few days. If the plant doesn’t perk up after a week, check for root damage or insufficient water. I avoid fertilizing for 2-3 weeks to let roots settle; new growth means the transplant was successful.
Transplanting hollyhocks successfully comes down to a few key details that most gardeners overlook. Here’s what I’ve learned from years of moving these beautiful plants.
Timing is Everything: The early spring or early fall window mentioned in Step 1 isn’t just a suggestion—it’s critical. I once tried moving hollyhocks in mid-summer and lost half of them to heat stress. The mild temperatures during these seasons give roots time to establish before extreme weather hits. If you must transplant during other times, provide temporary shade for at least a week afterward.
Root Ball Protection: When digging that 6-8 inch circle around the plant in Step 2, resist the urge to rush. I’ve found that using a sharp spade and working slowly around the perimeter preserves more feeder roots. If the root ball starts to crumble, wrap it in burlap or an old towel to hold it together during the move—this simple trick saved several of my plants when the soil was particularly dry.
Watering Wisdom: The 1-2 gallons per plant recommendation in Step 3 might seem like a lot, but I’ve measured this precisely. Newly transplanted hollyhocks need that deep watering to reach their entire root system. What most people miss is checking the soil moisture 3-4 inches down—surface dryness doesn’t mean the roots are getting enough water. Stick your finger in the soil to verify moisture at depth.
Support System: While the 4-5 foot stake mentioned in Step 4 works well, I’ve had better success using two shorter stakes (about 3 feet each) placed on opposite sides of the plant. This creates a more stable support system that prevents the tall stems from twisting in wind. Use soft cloth strips rather than wire or plastic ties—they’re gentler on the stems and allow for natural movement that strengthens the plant.
While fall is ideal (cooler temps, less stress), you can transplant in early summer if needed. Water deeply before/after moving, provide shade for a week, and avoid extreme heat. Late summer transplants risk shock—wait until temps drop below 80°F for best results.
Dig a hole twice as wide as the root ball but no deeper—planting too deep suffocates stems. Position the crown (where roots meet stems) 1–2 inches above soil level to prevent rot. Gently firm soil around roots to eliminate air pockets.
Don’t panic! Wilting is normal for 2–3 days (transplant shock). Keep soil evenly moist (not soggy) and trim back half the foliage to reduce stress. If stems stay limp after a week, check for root damage or overwatering. Most bounce back with TLC!
Yes! Potted hollyhocks often transplant better than bare-root plants. Harden them off for 3–5 days (place pots outdoors in partial shade), then transplant on a cloudy day. Water the pot thoroughly before moving to ease root removal.
Instead of transplanting, try propagation: Take 4–6″ stem cuttings in spring, dip in rooting hormone, and plant in moist soil. Or, let seeds self-sow (hollyhocks are prolific!). For overcrowded plants, divide young clumps (under 3 years old) in early spring.
