
Beautiful Plants For Your Interior
Beautiful Plants For Your Interior
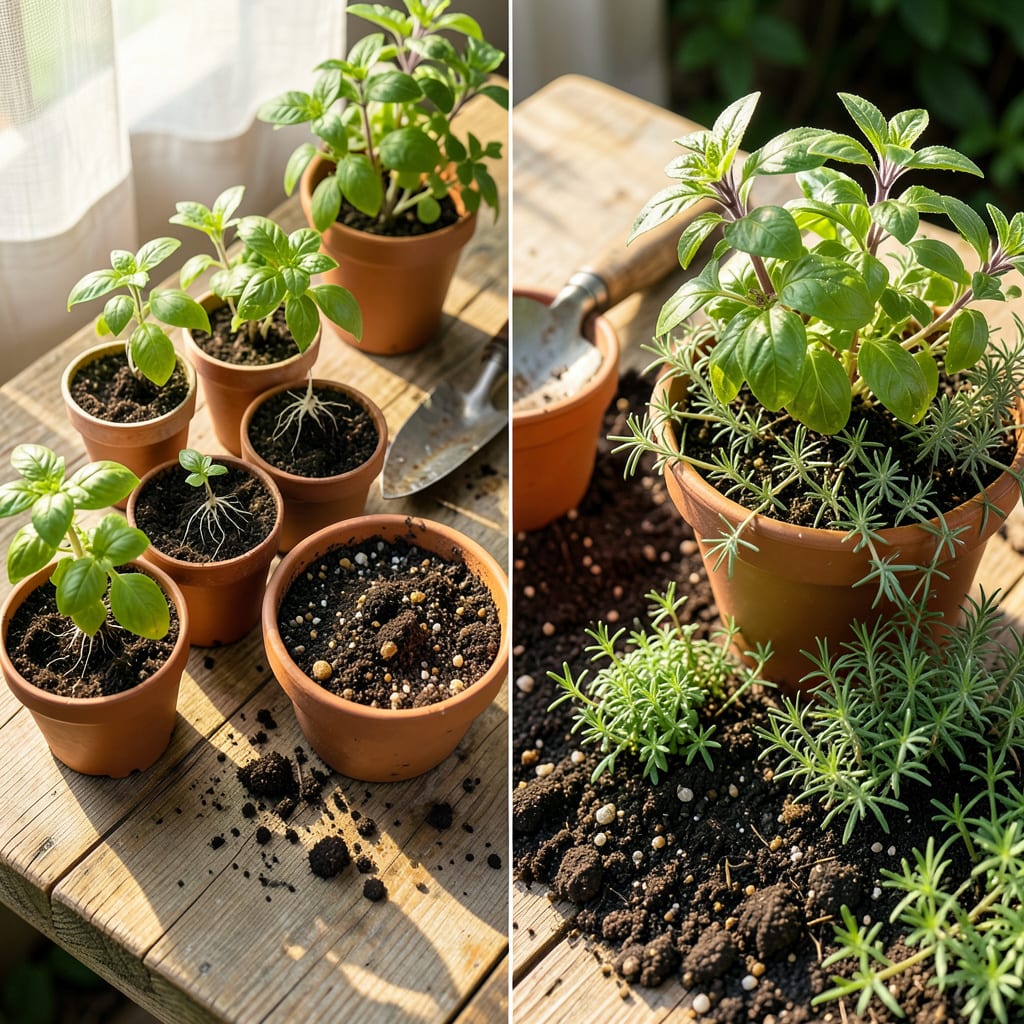
Transplanting herbs doesn’t have to be stressful—it’s actually the secret to stronger, bushier plants. I’ve moved dozens of basil, rosemary, and mint plants over the years, and the ones that get transplanted always outperform the ones left in their original pots. The key is timing: do it in early morning or on a cloudy day when plants are least stressed, and they’ll bounce back faster than you’d expect.
You’ll need just a few basics: a trowel, fresh potting mix, and a new container (or prepared garden spot) that’s 1-2 inches wider than the current one. The real magic happens in how you handle the roots—disturb them as little as possible, water immediately after moving, and keep them shaded for 24-48 hours. Herbs like thyme and oregano barely blink at the change, while basil might sulk for a day before perking up.
📚 In This Guide
Moving your herbs to new homes doesn’t have to be stressful—here’s how I do it without a single wilted leaf.
Start by selecting containers that are 2-3 inches wider than the current pots. For garden beds, dig holes slightly larger than the root balls. I always use fresh well-draining potting mix for containers, or loosen garden soil with compost to a depth of 8-12 inches.
Water the new soil thoroughly before planting—this prevents the roots from drying out during the move. You want the soil damp but not soggy, like a wrung-out sponge. For clay-heavy garden soil, mix in some sand or perlite to improve drainage before transplanting.
Water your herbs 1-2 hours before transplanting to help the roots hold together. Turn the pot sideways and tap the rim against a table edge while supporting the base of the plant. If it resists, slide a knife around the inside edge to loosen the roots.
Once free, cradle the root ball gently—don’t pull by the stems. If roots are tightly bound, use your fingers to gently tease them apart. This encourages outward growth in the new space. I’ve found that herbs like basil and parsley transplant most easily when slightly root-bound.
Place the herb in its new home at the same depth it grew before—burying stems too deep can cause rot. For woody herbs like rosemary, leave the top of the root ball slightly exposed. Fill around the roots with soil, pressing lightly to eliminate air pockets.
Water immediately after planting until you see moisture emerging from the drainage holes. This settles the soil around the roots. For container transplants, lift the pot to feel its weight—you’ll develop a sense for proper moisture levels with practice.
Keep transplanted herbs in bright, indirect light for 2-3 days to reduce stress. Avoid fertilizing for at least 1 week—fresh roots are sensitive. I mist the leaves daily during this adjustment period to maintain humidity.
Watch for wilting in the first few days—this is normal as roots adjust. If leaves remain wilted after 24 hours, the plant may need more water or less direct sun. Most herbs bounce back within a week when given proper care.
Check soil moisture daily for the first week—transplanted herbs often need water more frequently than established plants. After 7-10 days, resume your normal care routine. You’ll know your herbs have adapted when you see new growth appearing.
If transplant shock persists (yellowing leaves, stunted growth), trim back one-third of the foliage to reduce stress on the roots. This seems counterintuitive but helps the plant focus energy on root establishment rather than supporting leaves.
Transplanting herbs successfully comes down to understanding what your plants need during this vulnerable transition. Here’s what I’ve learned from years of moving everything from delicate basil to hardy rosemary.
Timing is Everything: The 1-2 hours of pre-watering in Step 2 makes all the difference. I’ve found that herbs watered exactly 2 hours before transplanting hold their root balls together best, while those watered only 30 minutes before often lose soil during the move. This simple step prevents root damage that can set back growth for weeks.
Root Handling Technique: When teasing apart roots as mentioned in Step 2, work gently from the bottom up. I use my fingertips to make small circular motions at the root ball’s base, gradually working upward. This mimics how roots naturally spread in soil and prevents the tearing that can happen when you pull roots apart from the top. For particularly stubborn root-bound herbs, soaking the root ball in water for 5 minutes first helps loosen things up.
The Depth Detail: Step 3’s instruction about planting at the same depth is more critical than most realize. I use a simple trick: lay a ruler or chopstick across the new container to mark the original soil line from the old pot. This visual guide prevents the common mistake of planting too deep, which I’ve seen cause stem rot in basil and mint. For woody herbs like rosemary, I actually plant them about 1/4 inch higher than their original depth to account for soil settling.
Post-Transplant Monitoring: During those first 2-3 days of indirect light in Step 4, I’ve developed a system that works every time. Place your transplanted herbs where they get morning sun but afternoon shade. The gentle morning light provides energy without stressing the plants. I also recommend setting up a temporary humidity dome using a clear plastic bag supported by stakes – just remove it for an hour daily to prevent mold while maintaining moisture.
Timing matters! Spring and early fall are ideal for most herbs (like basil or thyme) when temps are mild. Avoid extreme heat or frost. Tender herbs (cilantro, dill) prefer cooler weather, while hardy types (rosemary, oregano) can handle late fall moves in warmer zones.
Look for these signs: roots peeking from drainage holes, slowed growth, or soil drying out too fast. Seedlings should have 2-3 sets of true leaves (not just starter leaves). Pro tip: Gently tug—if roots resist, it’s ready! Avoid transplanting wilting or stressed plants.
Get creative! Use egg cartons (for small seedlings), mason jars (drill drainage holes), or even plastic takeout containers. Biodegradable options like peat pots or cowpots let you plant directly in soil later. Just ensure proper drainage to prevent root rot!
Transplant shock is common but fixable! Overwatering or underwatering is the usual culprit—keep soil moist but not soggy. Trim back ⅓ of the foliage to reduce stress, and shield plants from direct sun for 2-3 days. A diluted seaweed fertilizer can help recovery.
Hold off! Freshly transplanted herbs need time to adjust—fertilizer can burn tender roots. Wait 2-3 weeks before using a half-strength organic fertilizer (like fish emulsion or compost tea). Herbs like chives or mint thrive with light feeding; others (rosemary, thyme) prefer lean soil.
